Classroom Tour 2014-2015
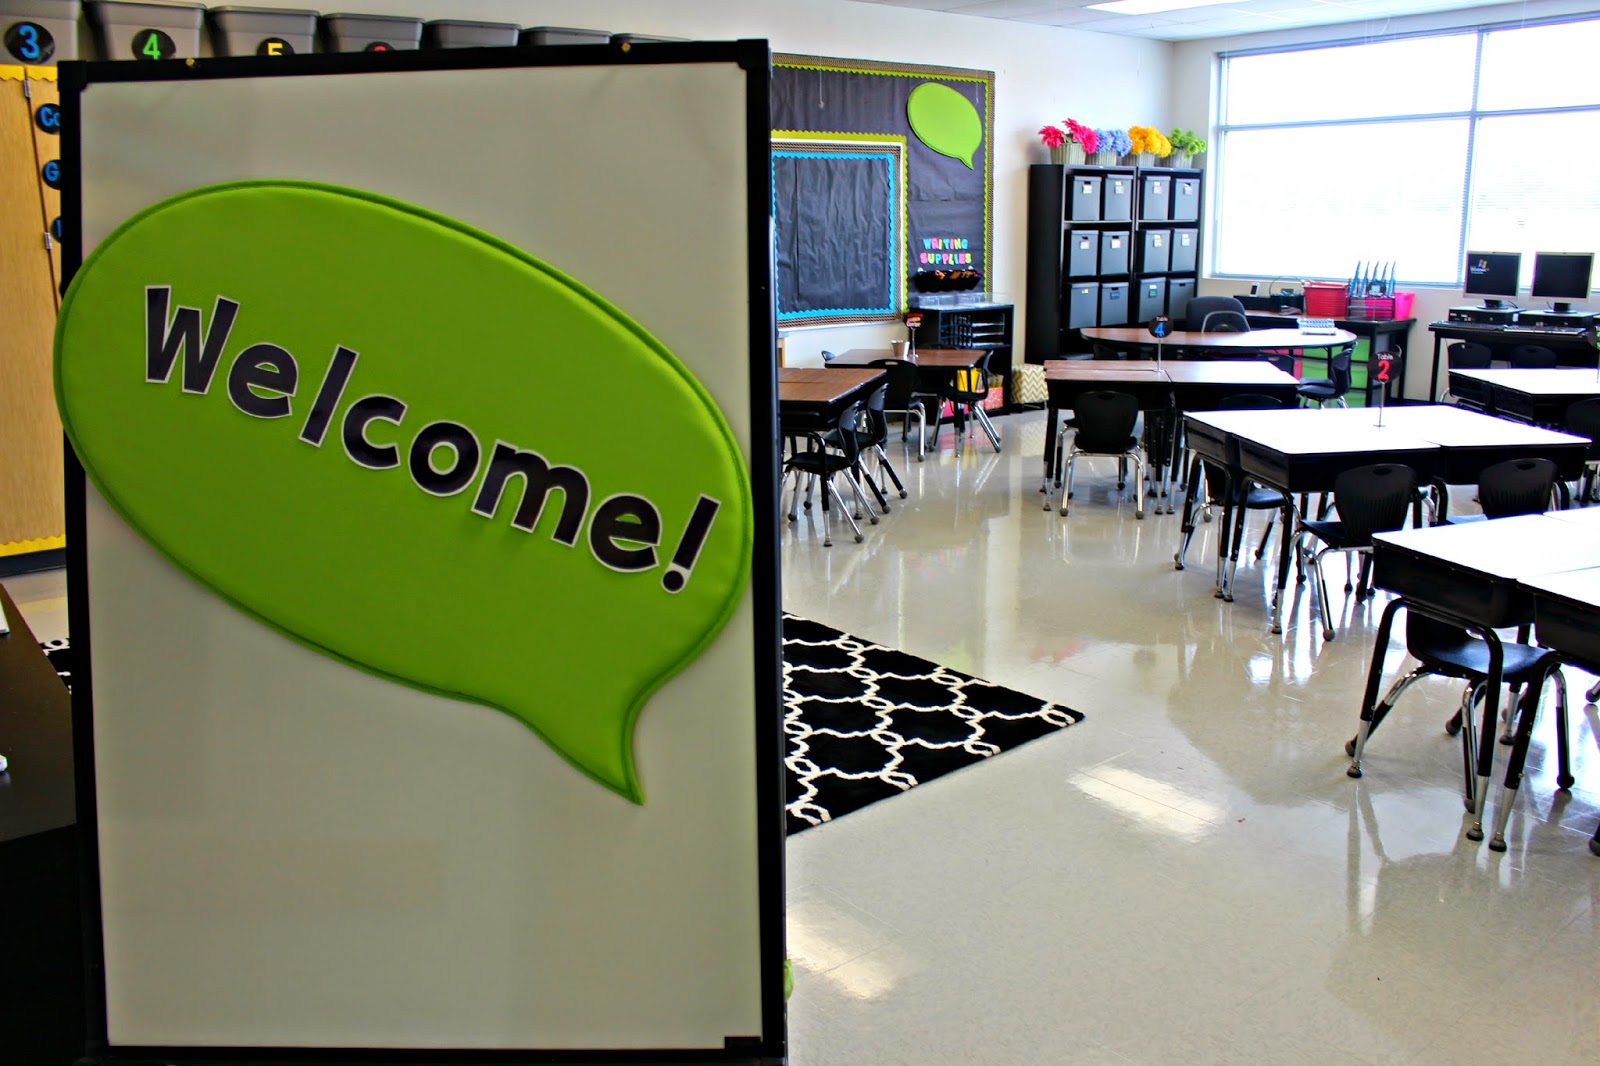
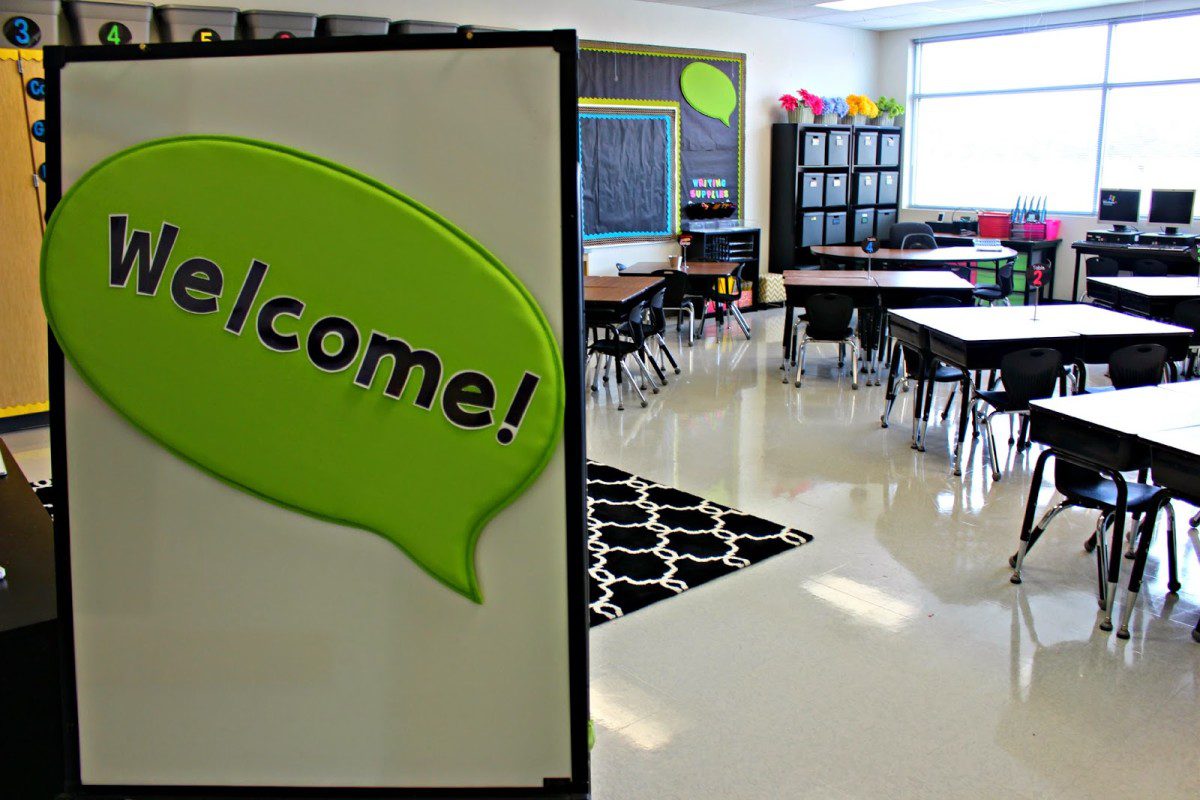
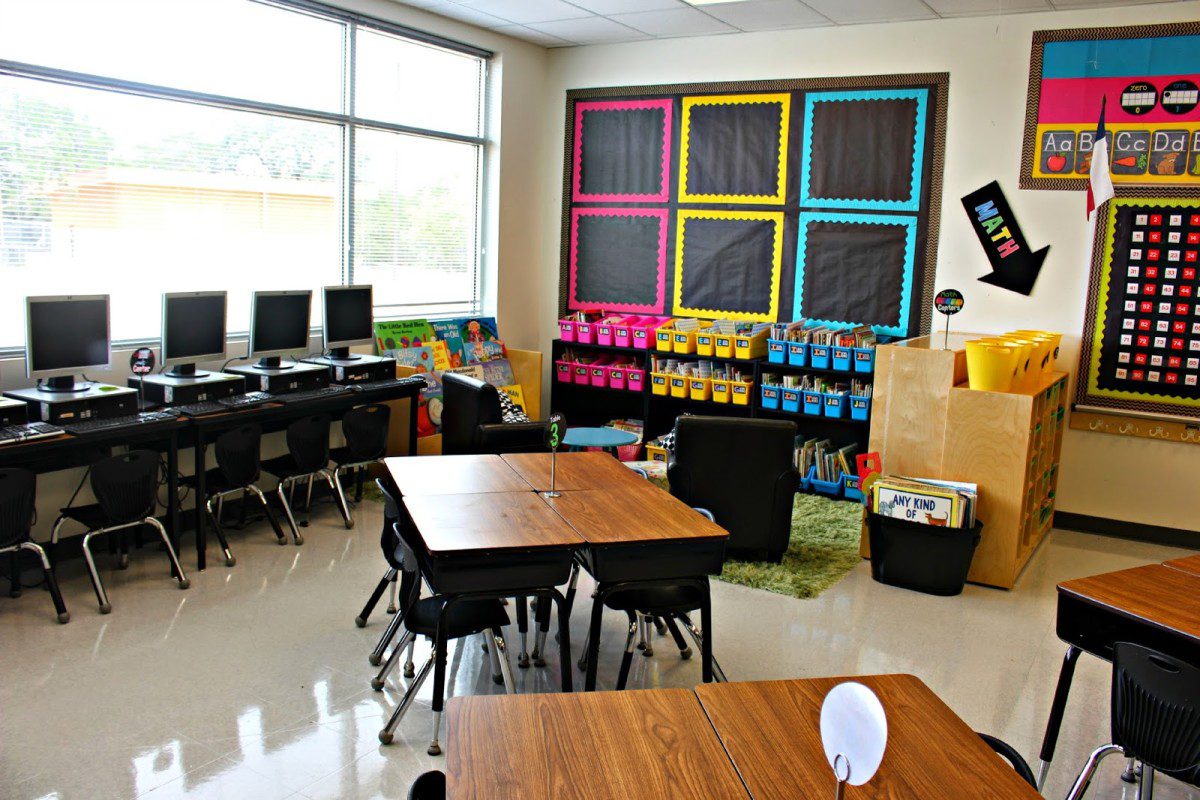
Whew…it happened. I got to a happy place in the room today. I hope it will be a wonderful space for my incoming first graders.
Before we start with the zillions of pictures let me just say that there is very little content on the walls to start. All the blank spots are meant for future charts, creations, and reference needs of the kids!
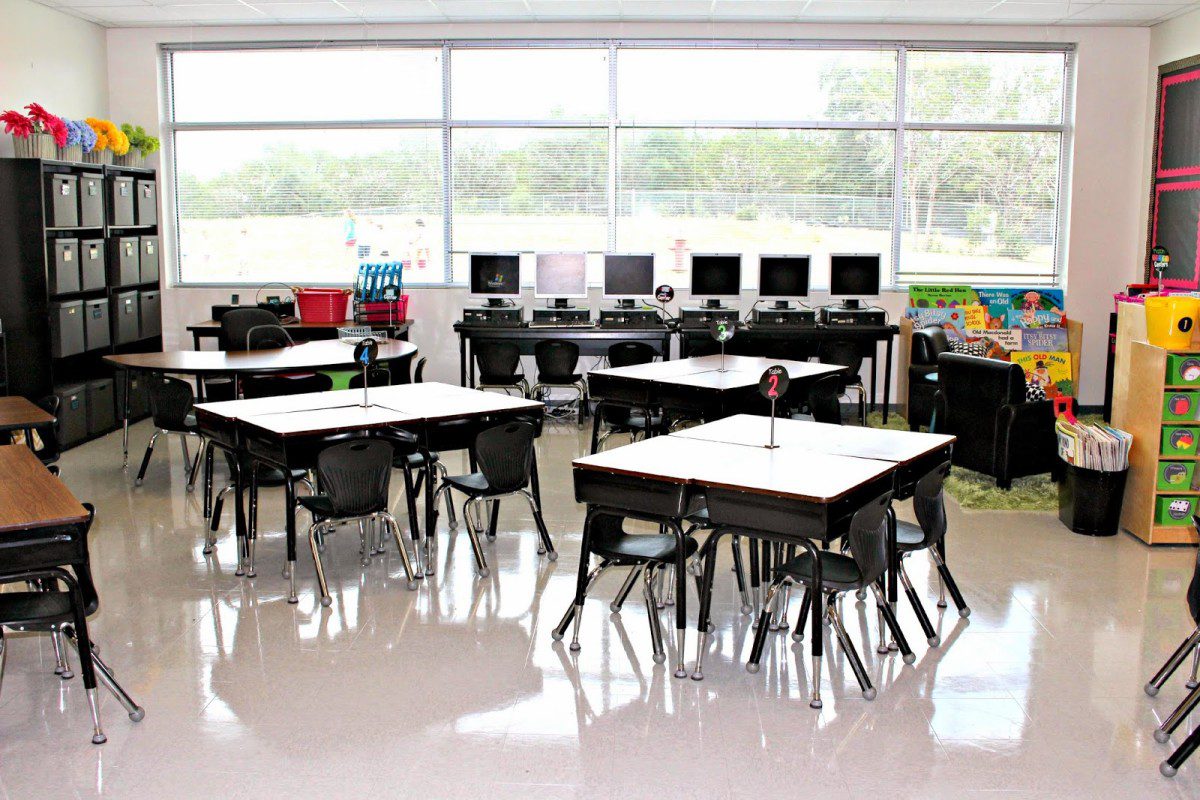
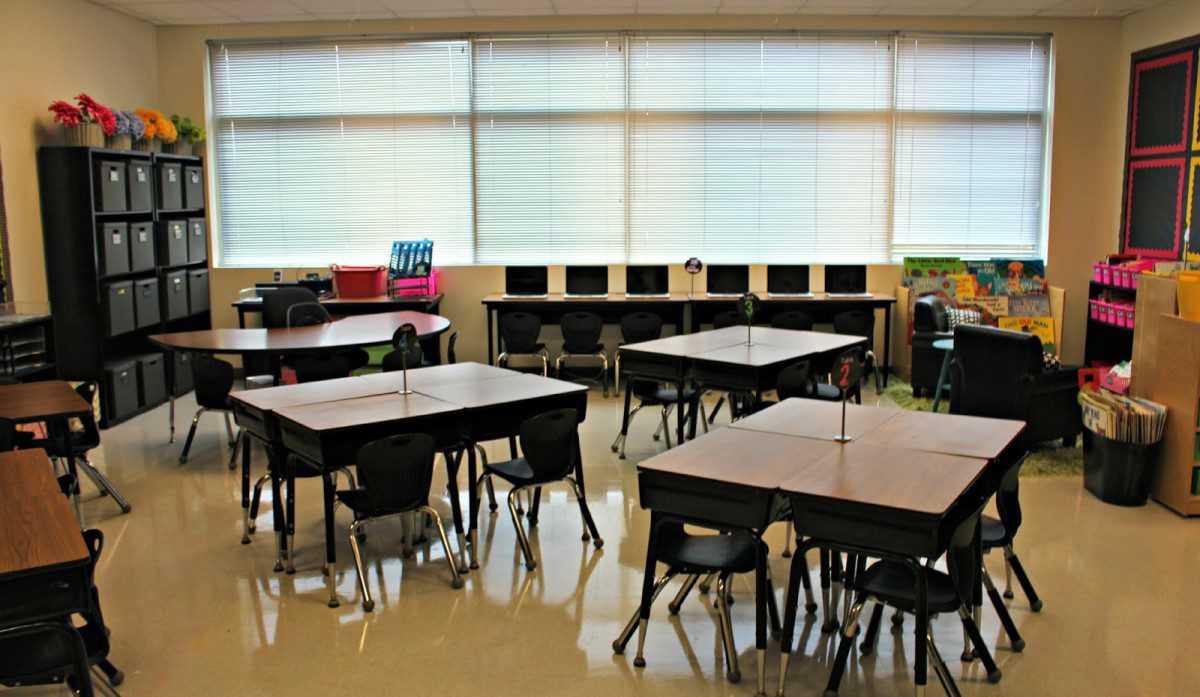
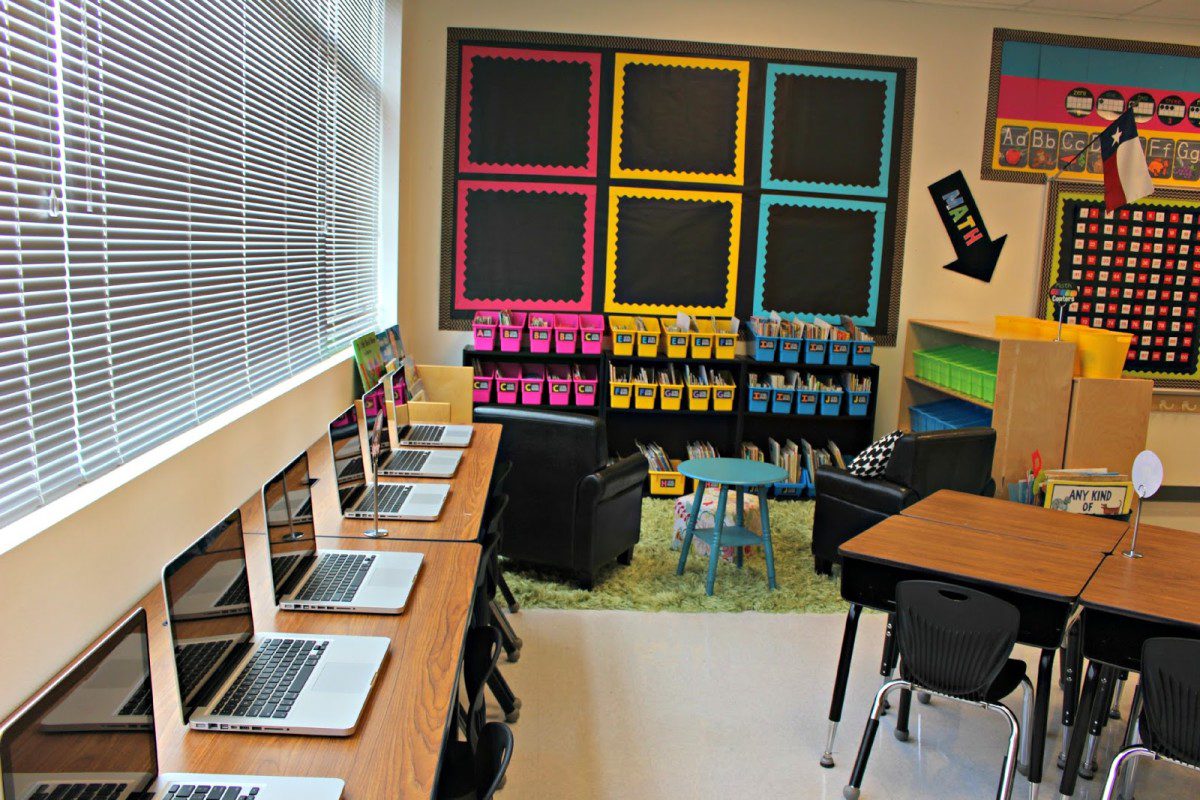
Another important thing to note is that the back wall of my room is all windows. I absolutely love it. The blinds are always open but in these pictures I had to close them because of lighting. If a picture looks dark I assure you it is not the case. This room is full of natural light with a pretty view too!
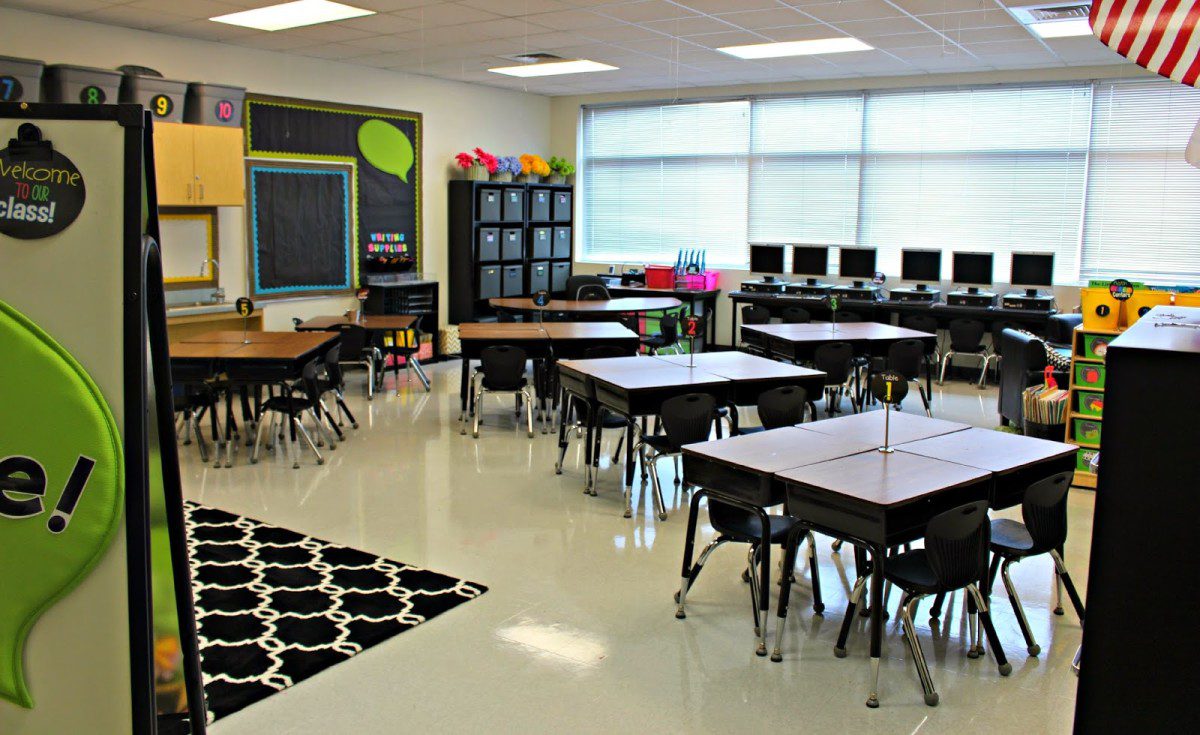
There is not a theme, but rather a color and organization scheme. The walls and floor are white and a lot of the furniture in this room is black. Because of these two factors, I decided to go with black and brights scheme honoring the clean modern feel.
I tell you I have been organizing for the last month and a half. Every single center and activity is now grouped by skill in boxes.
Enough…let’s get to the fun stuff!
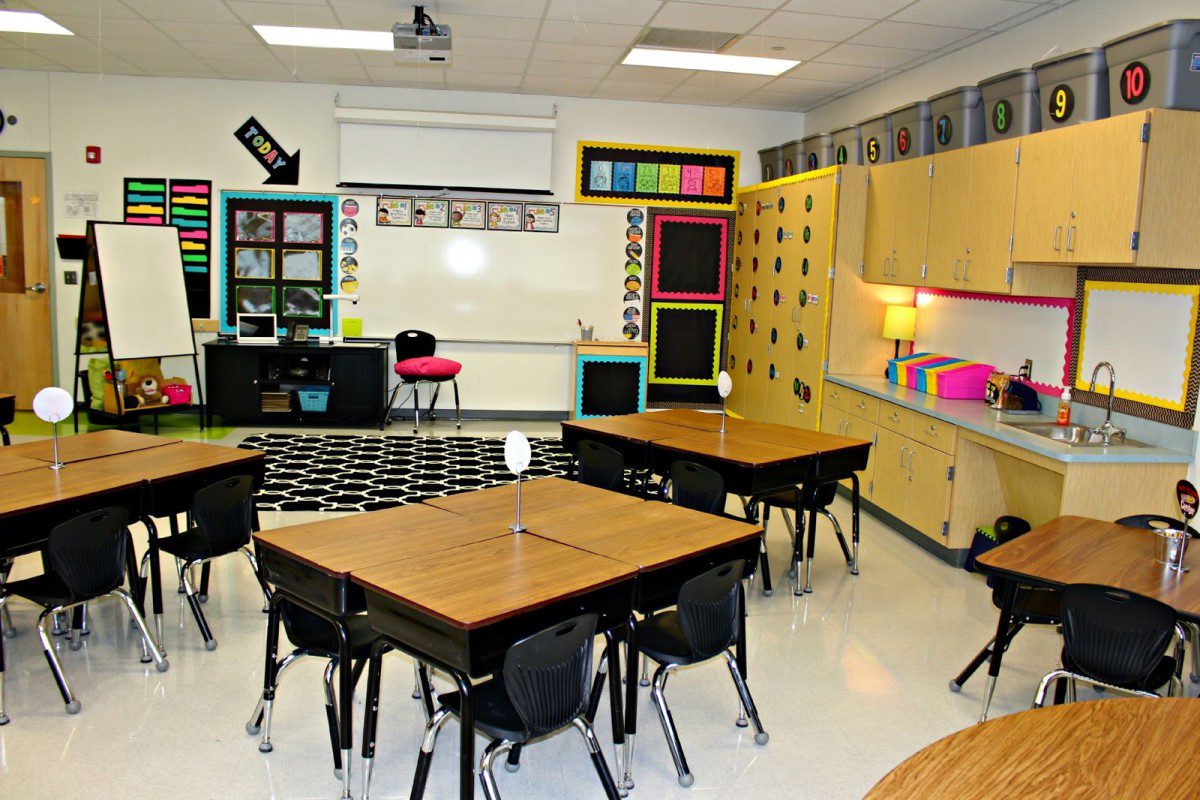
Standing at the doorway looking in.
Looking to your left from the door (front of the room}
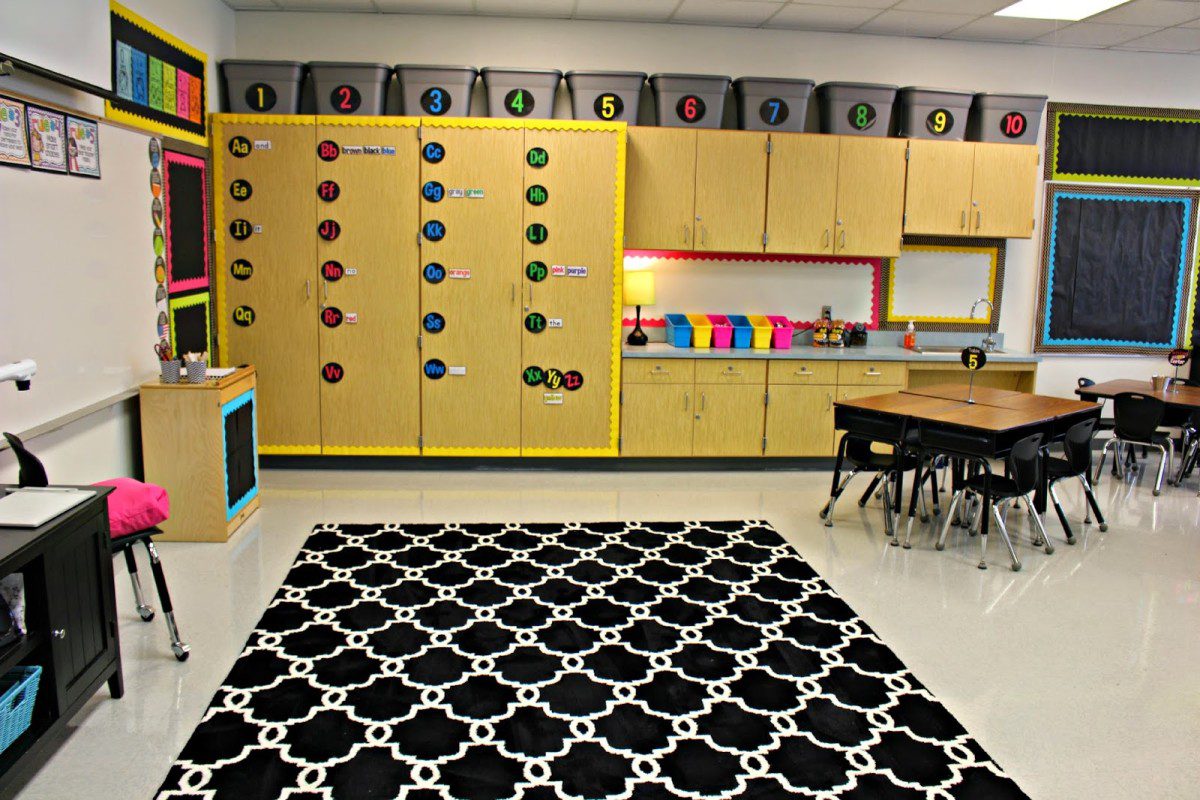
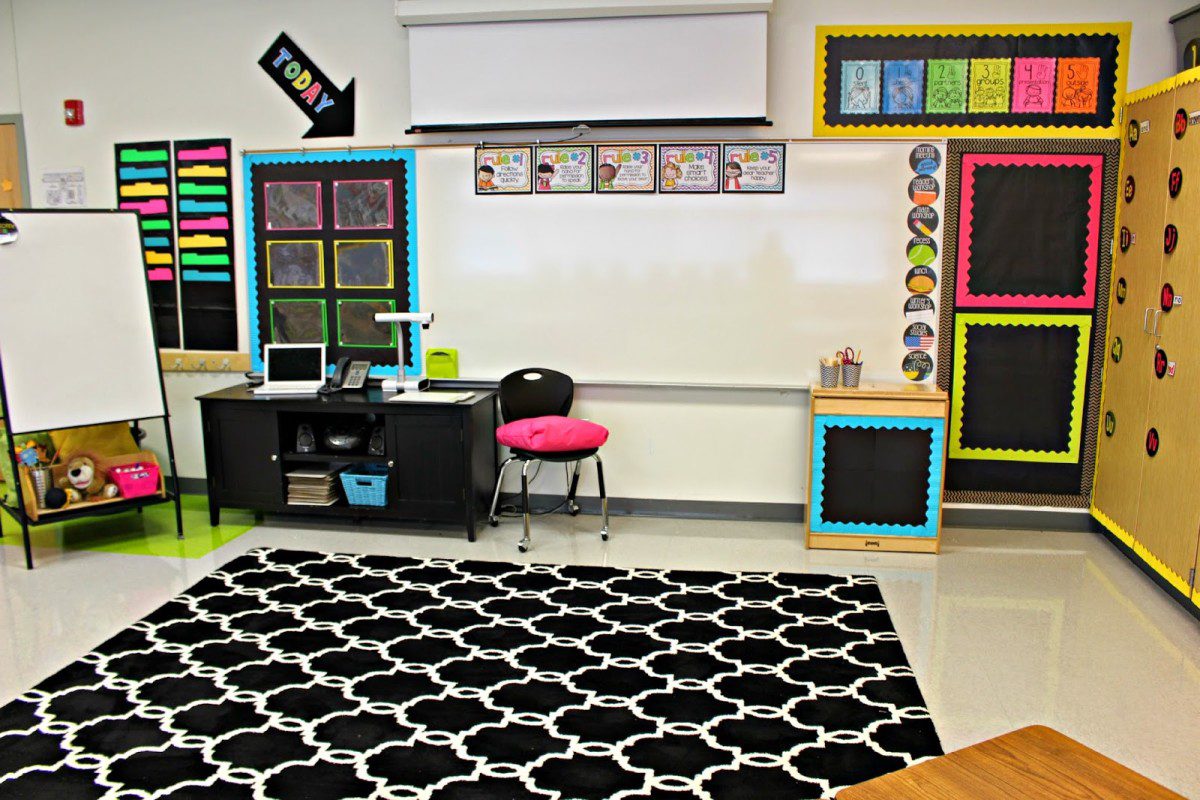
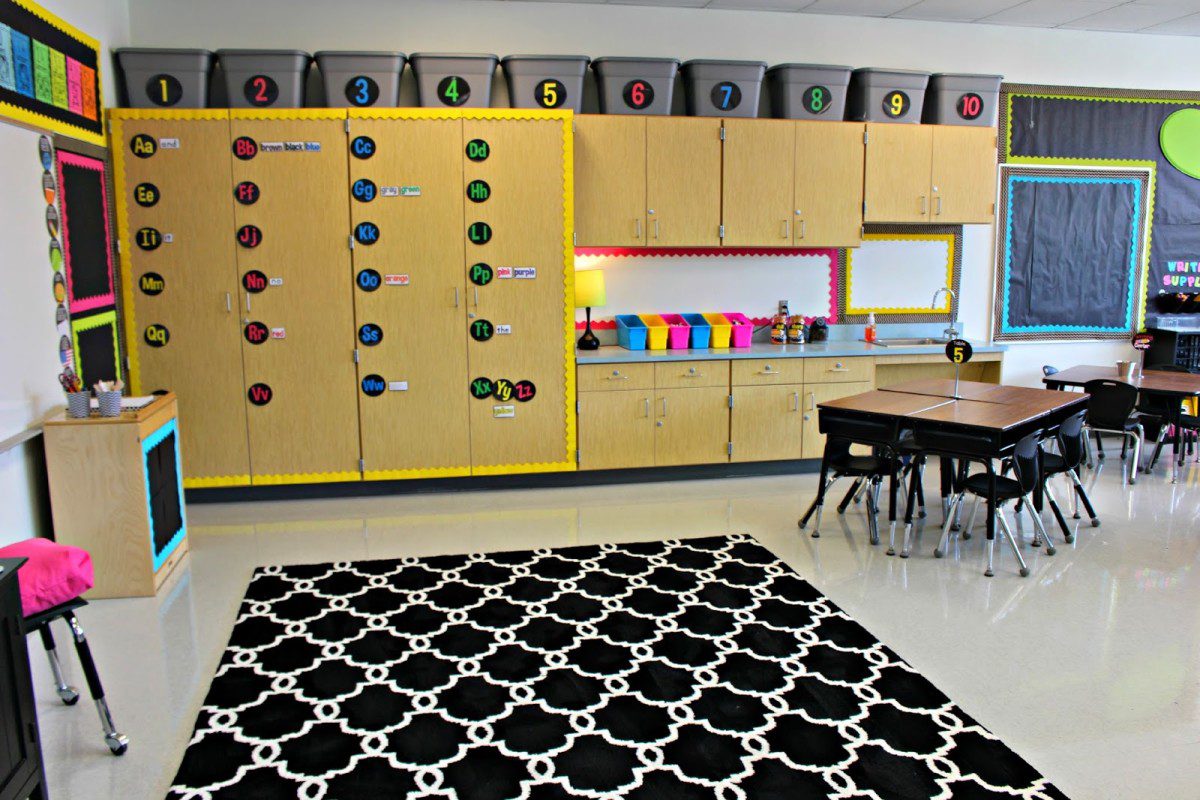
This rug came from HERE
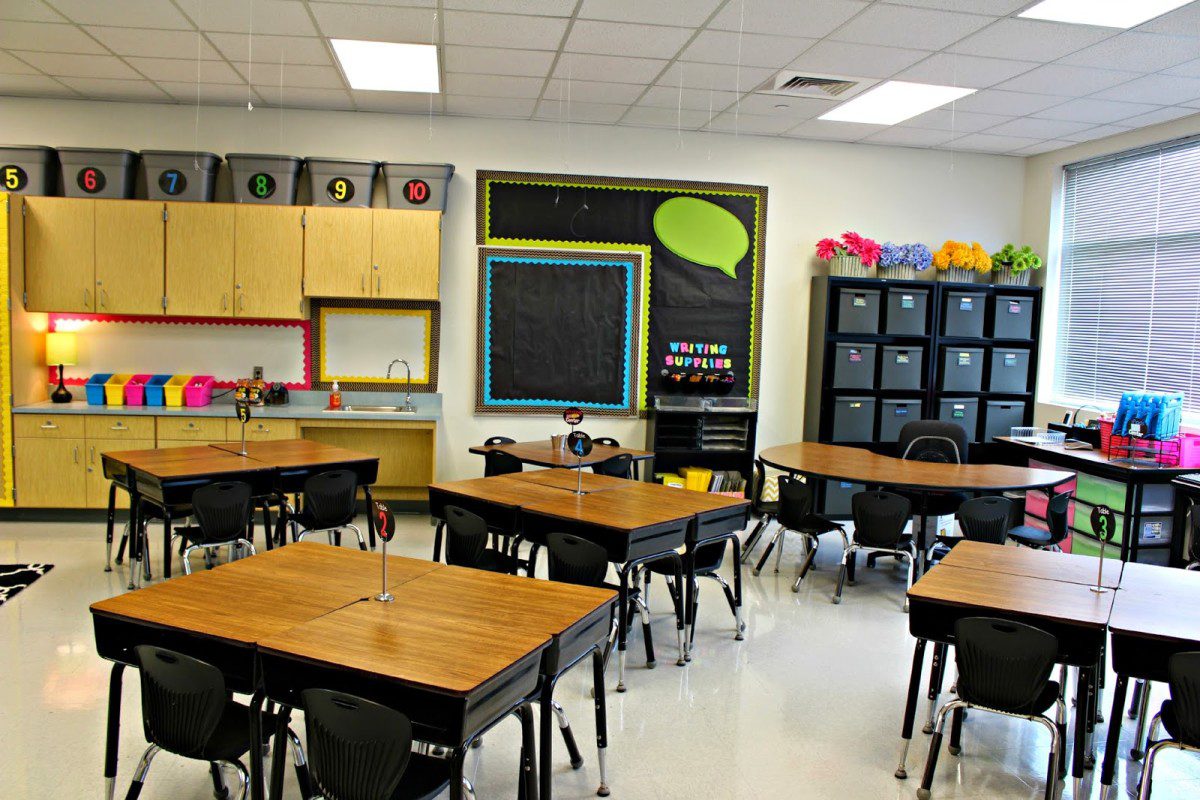
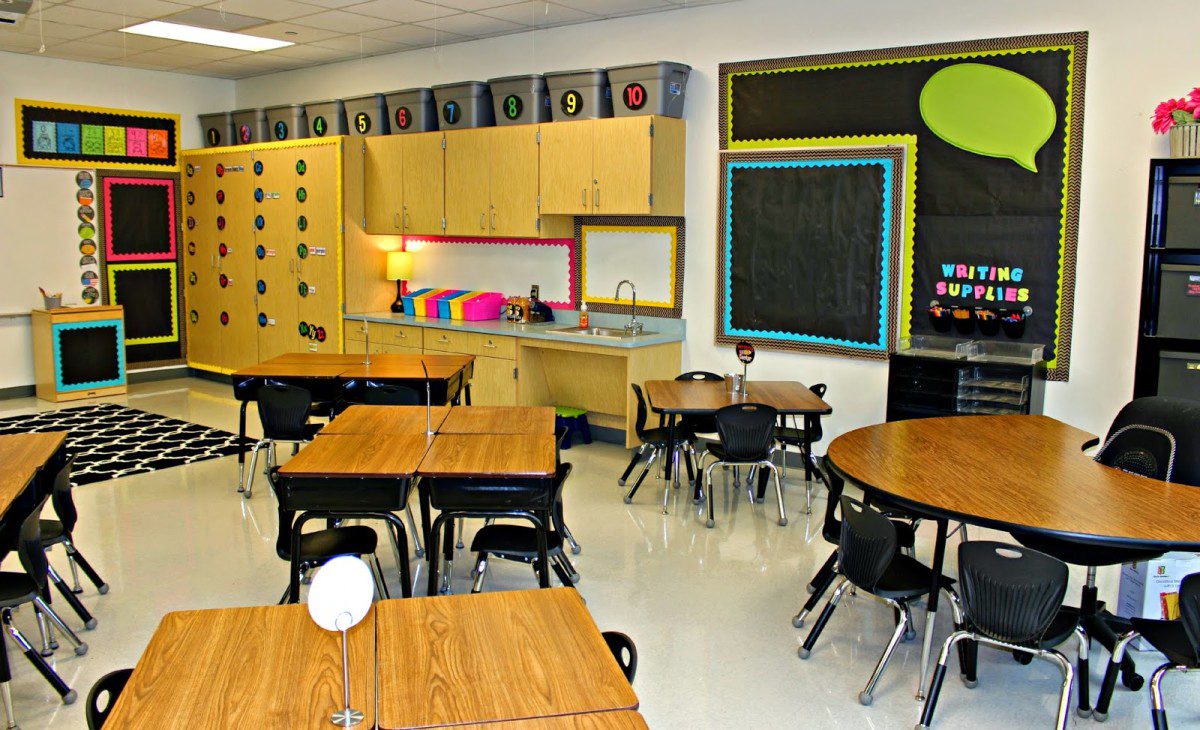
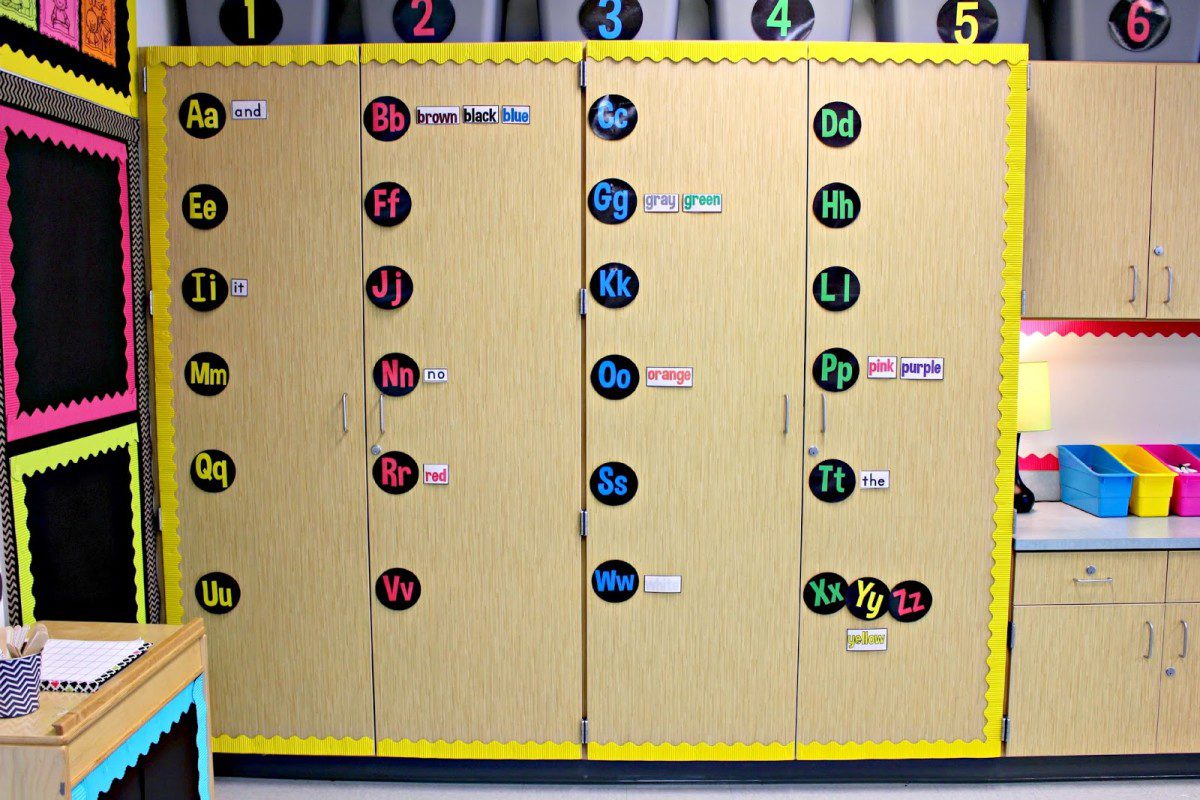
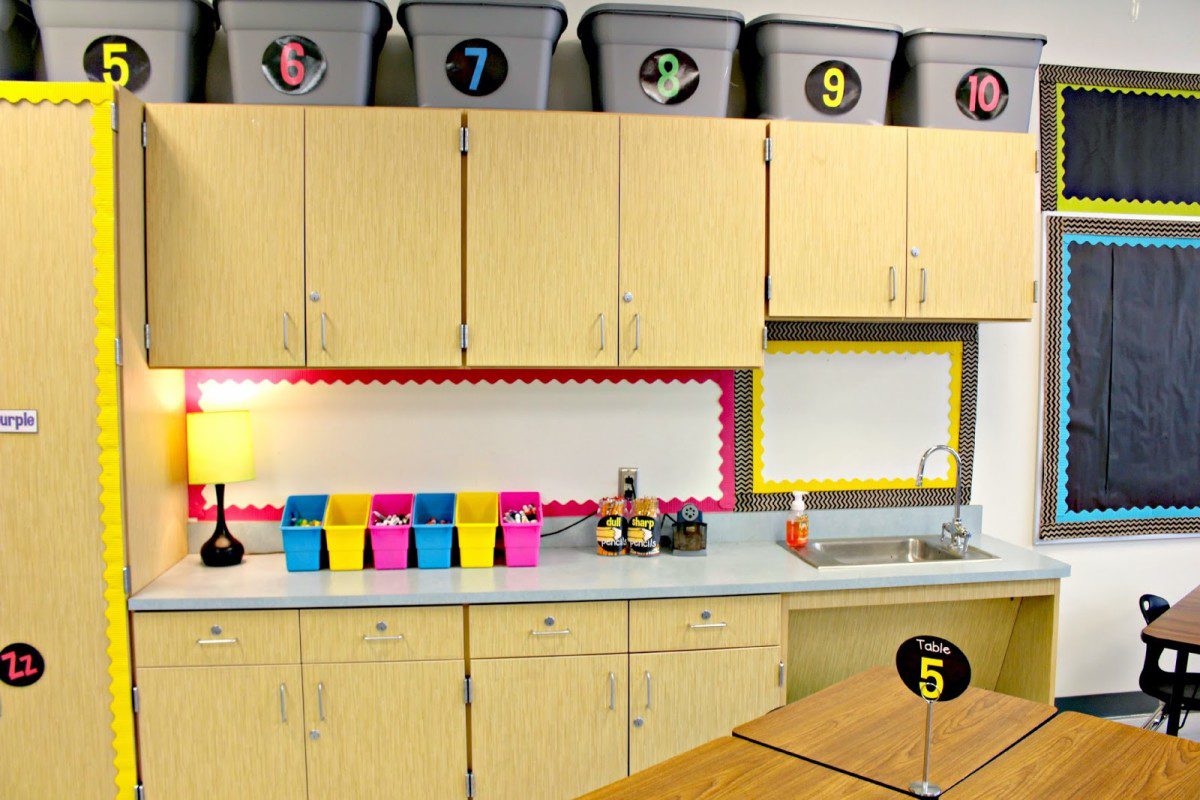
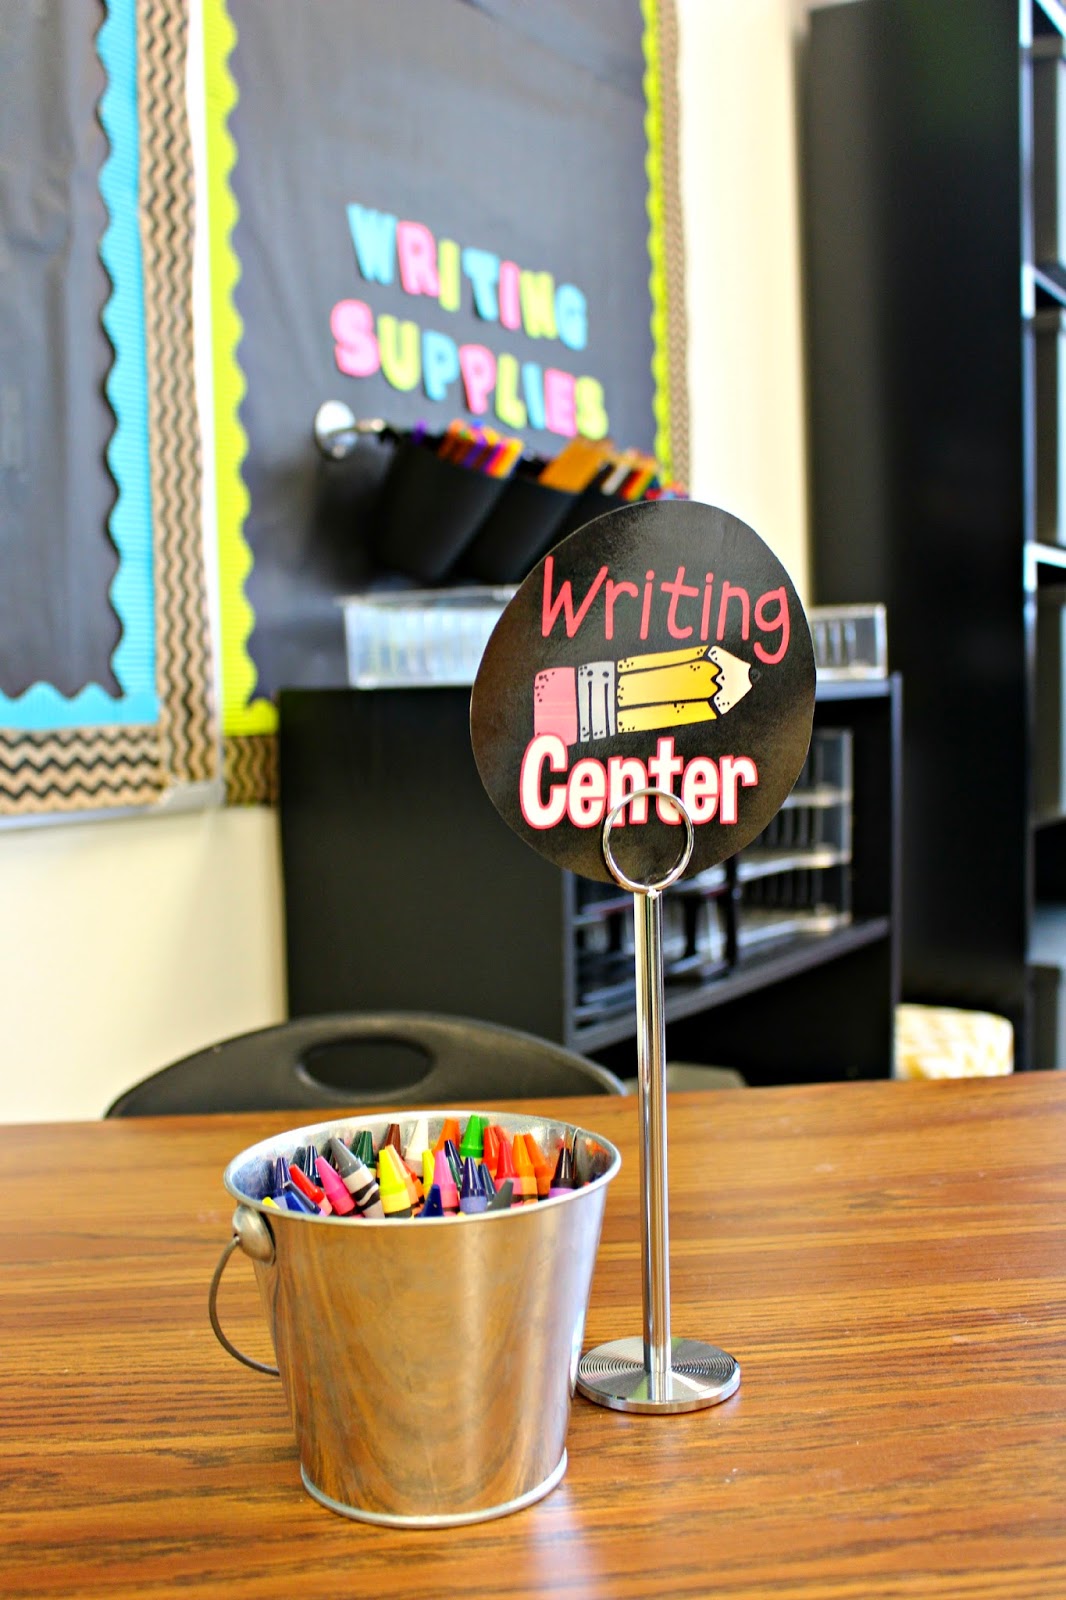
The writing center is here is nestled in the middle of the wall.
Back wall of the classroom with window blinds open as they usually are.
Standing in the back where the computers are while looking to the front towards the door.
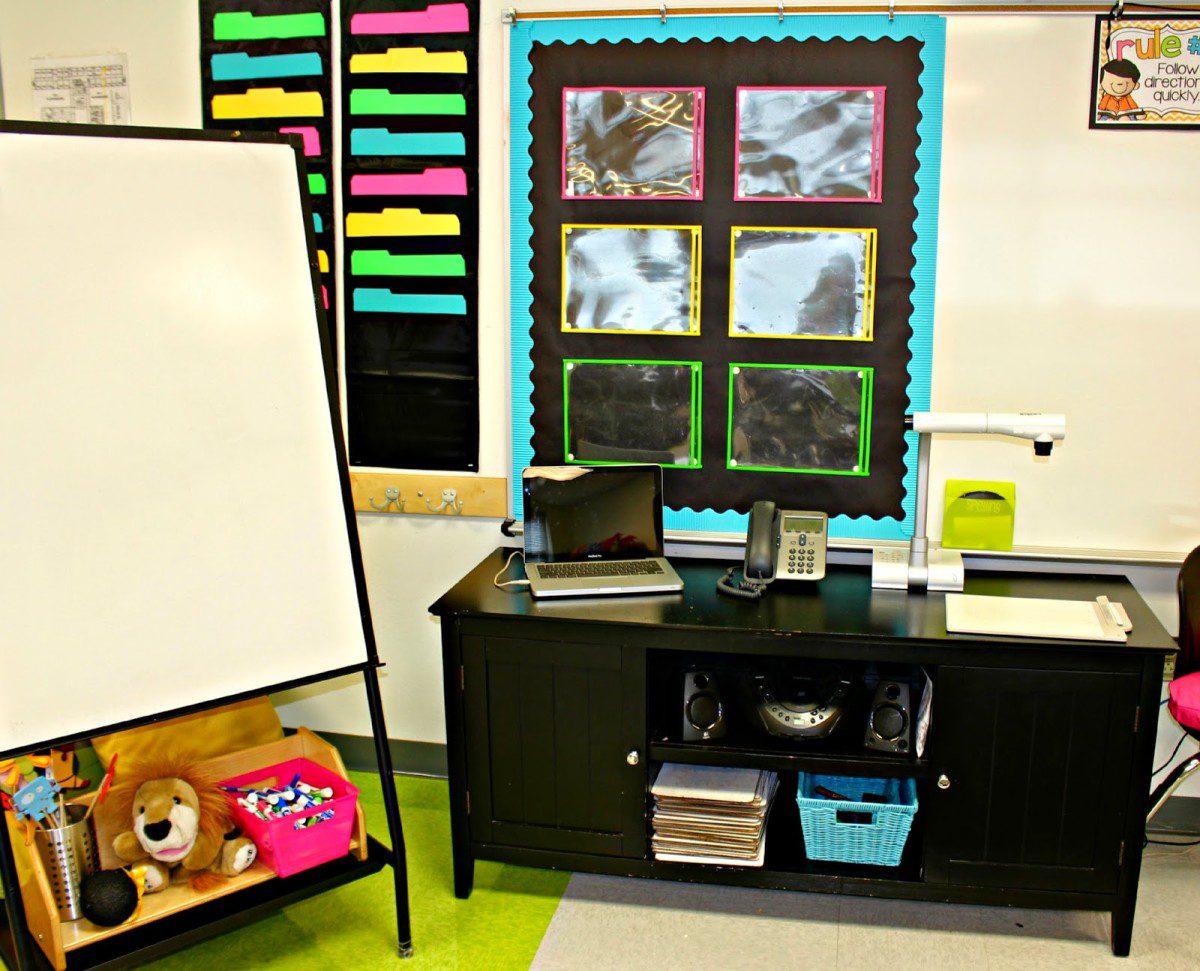
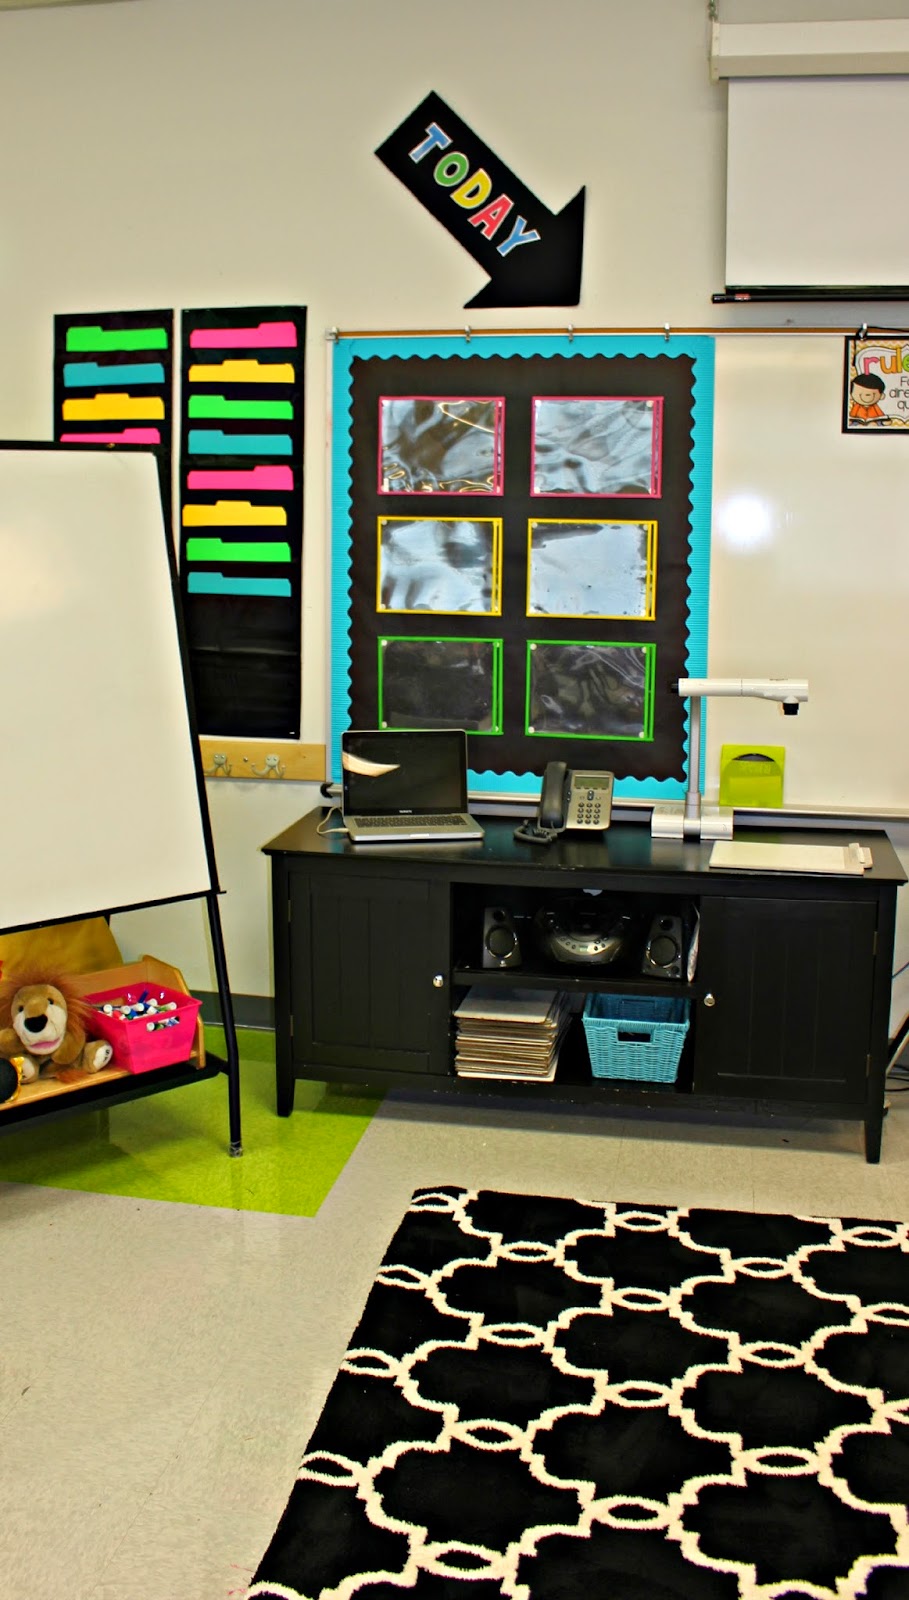
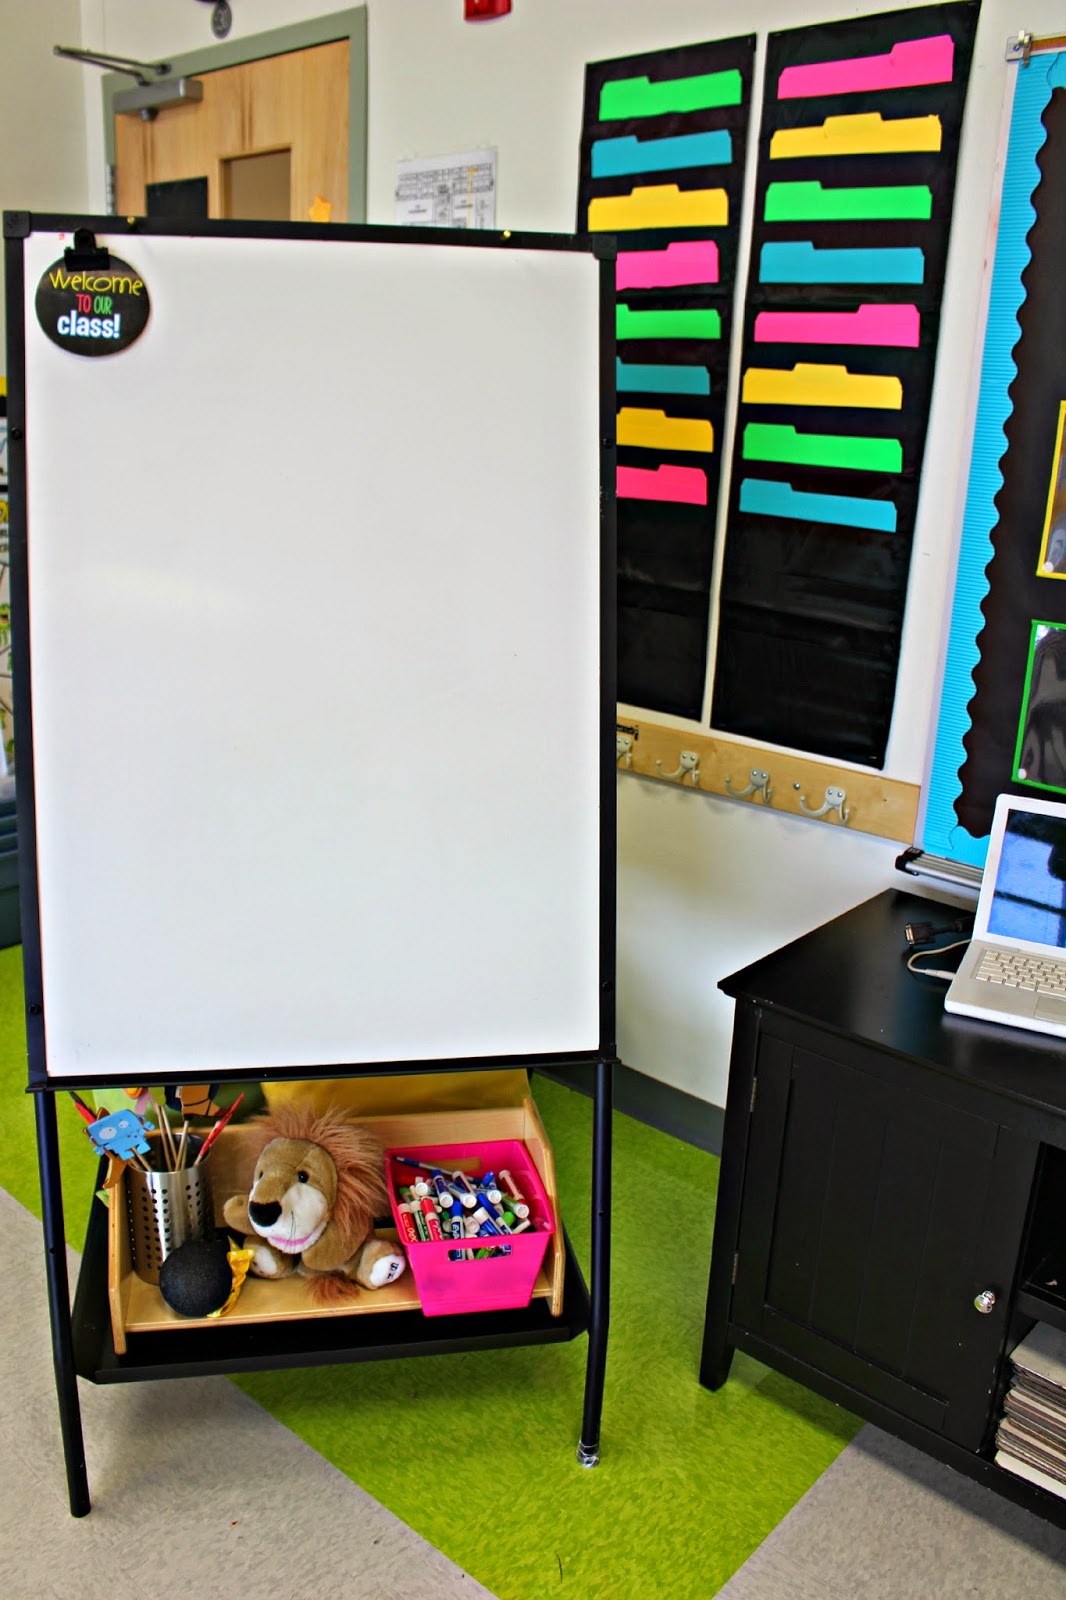
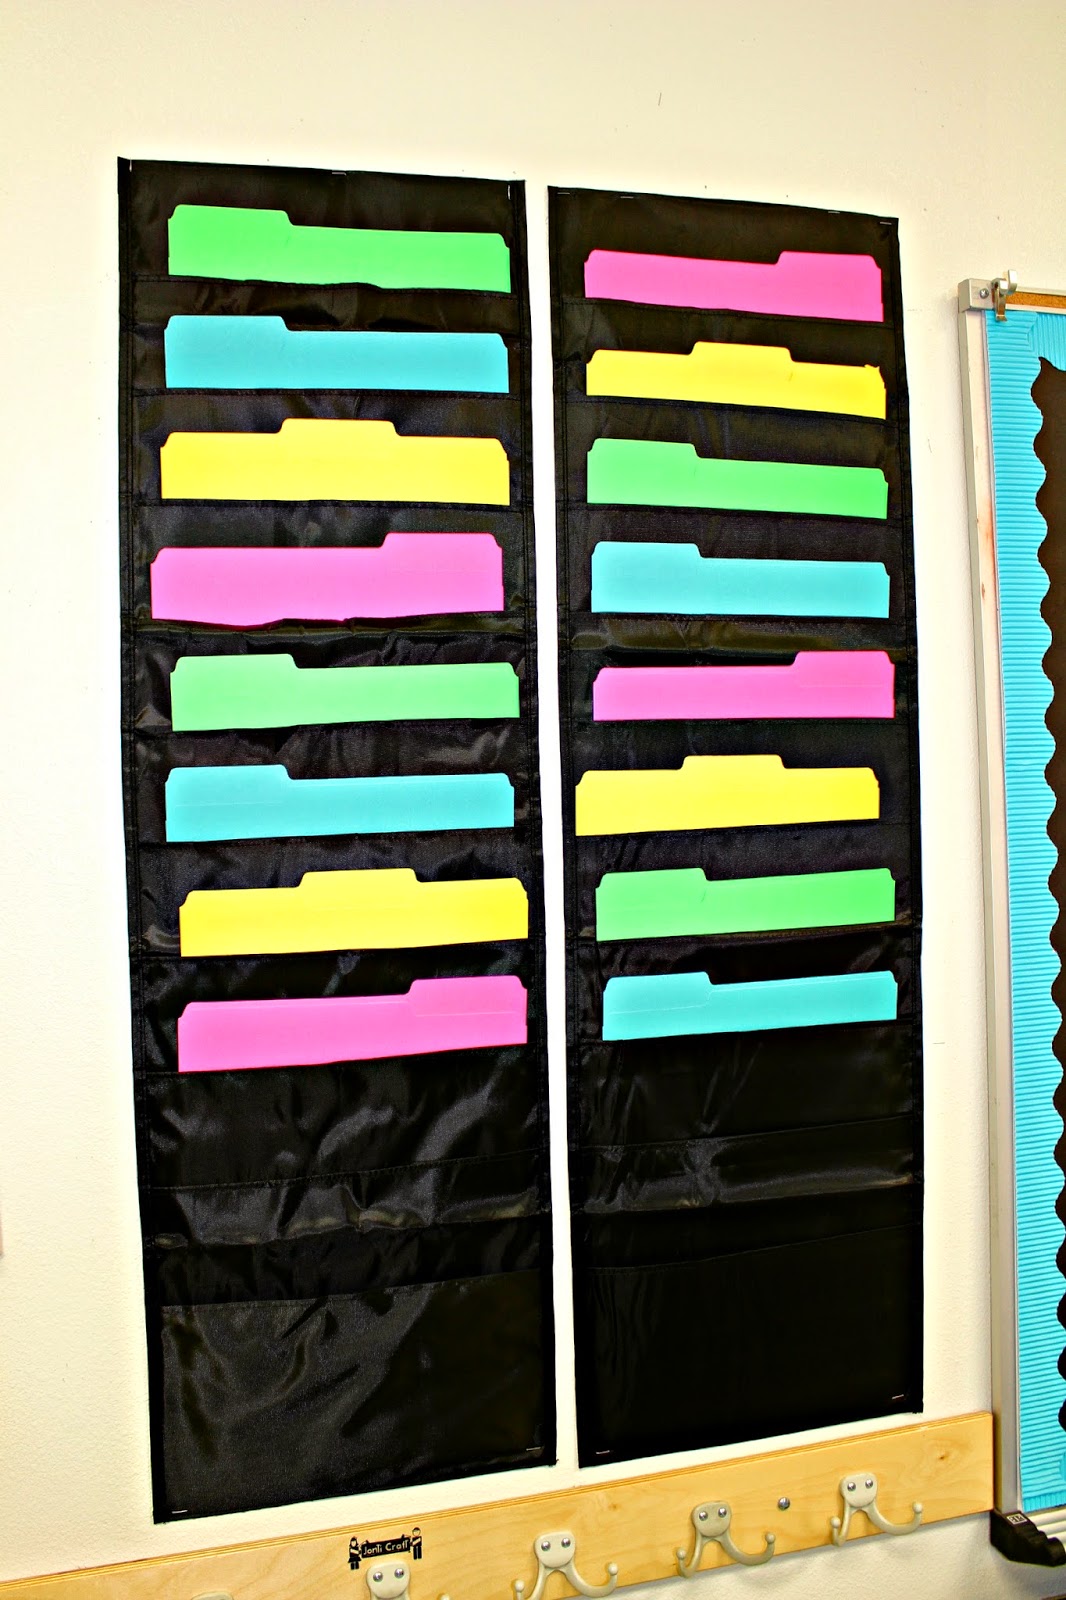
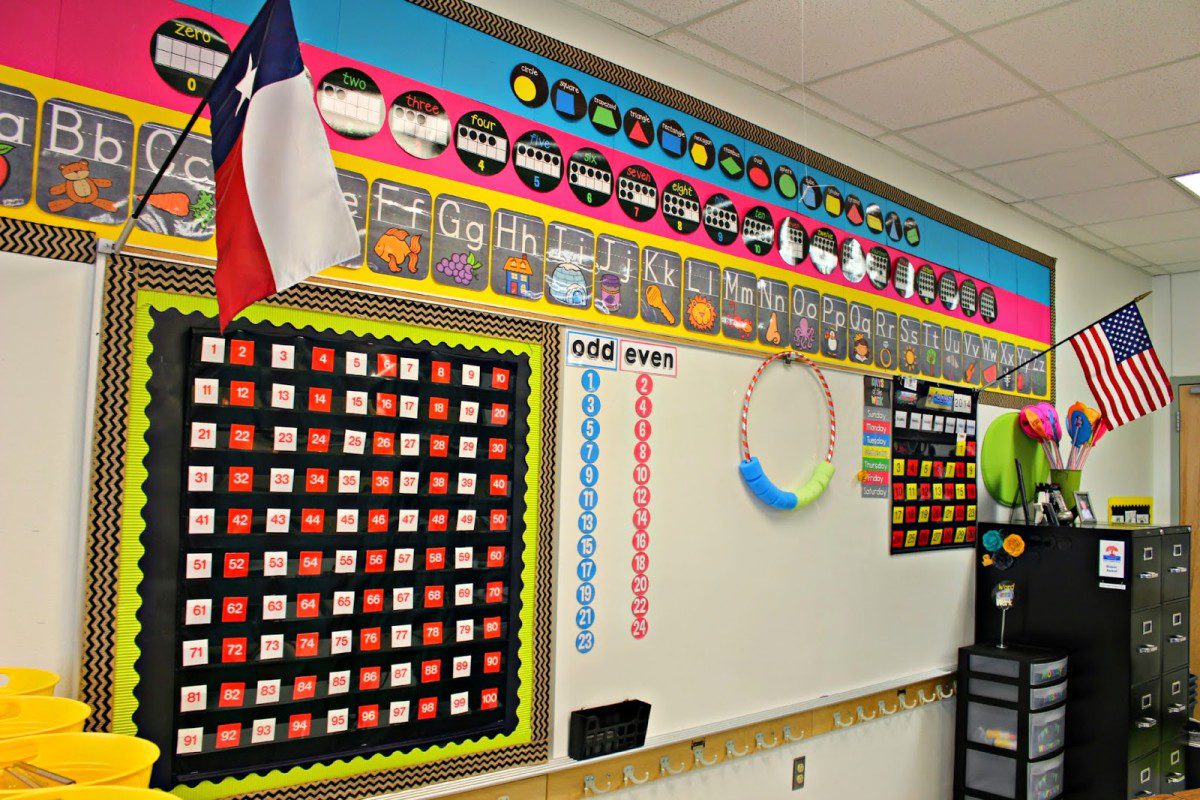
I grabbed these black file pockets at Scholastic HERE.
Right side of the front of the room a little closer up
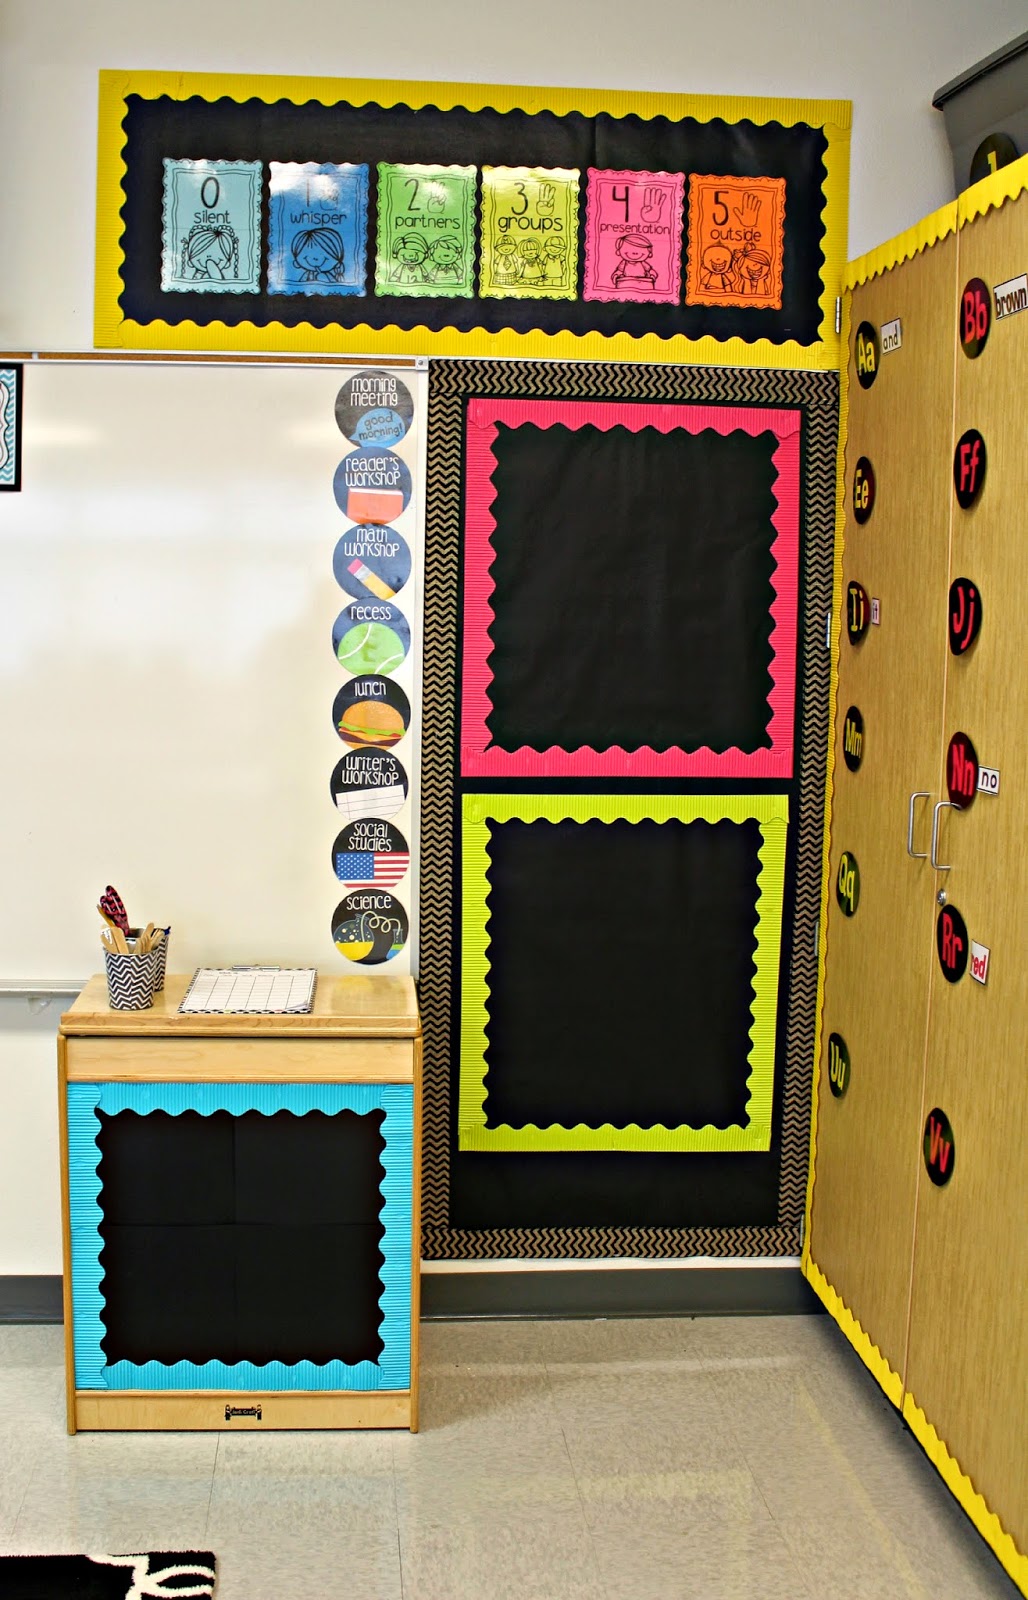
The circles are my schedule. I got them from the amazing Ladybug Teacher Files HERE.
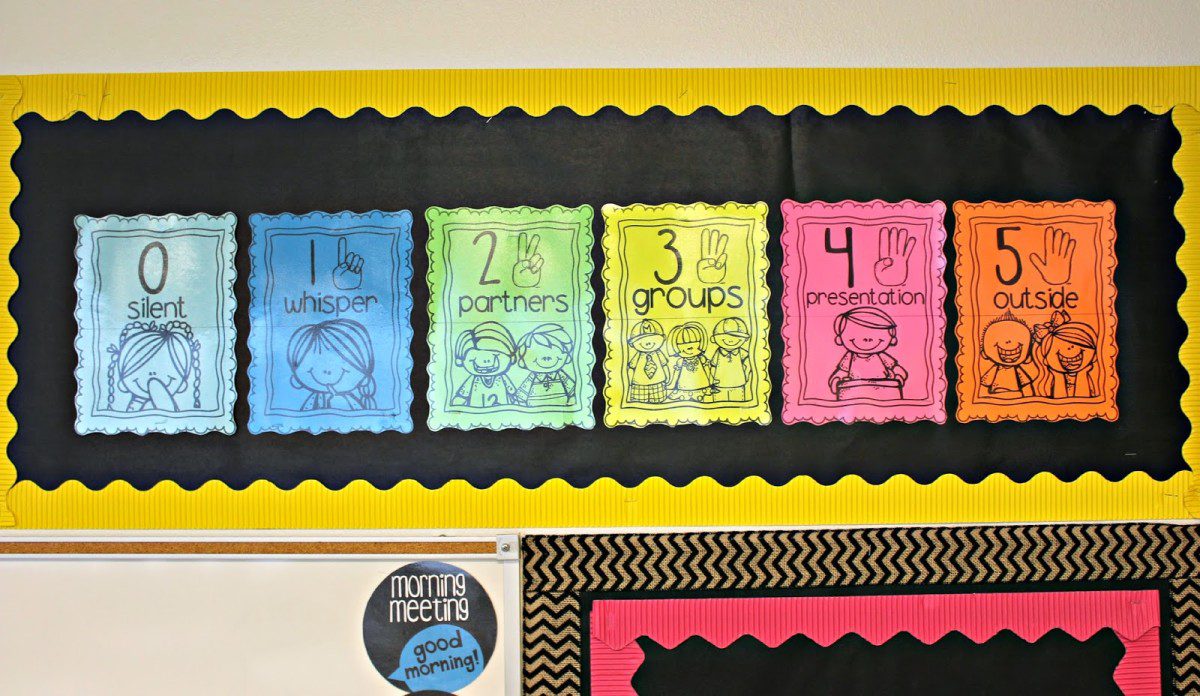
These are my free voice level charts
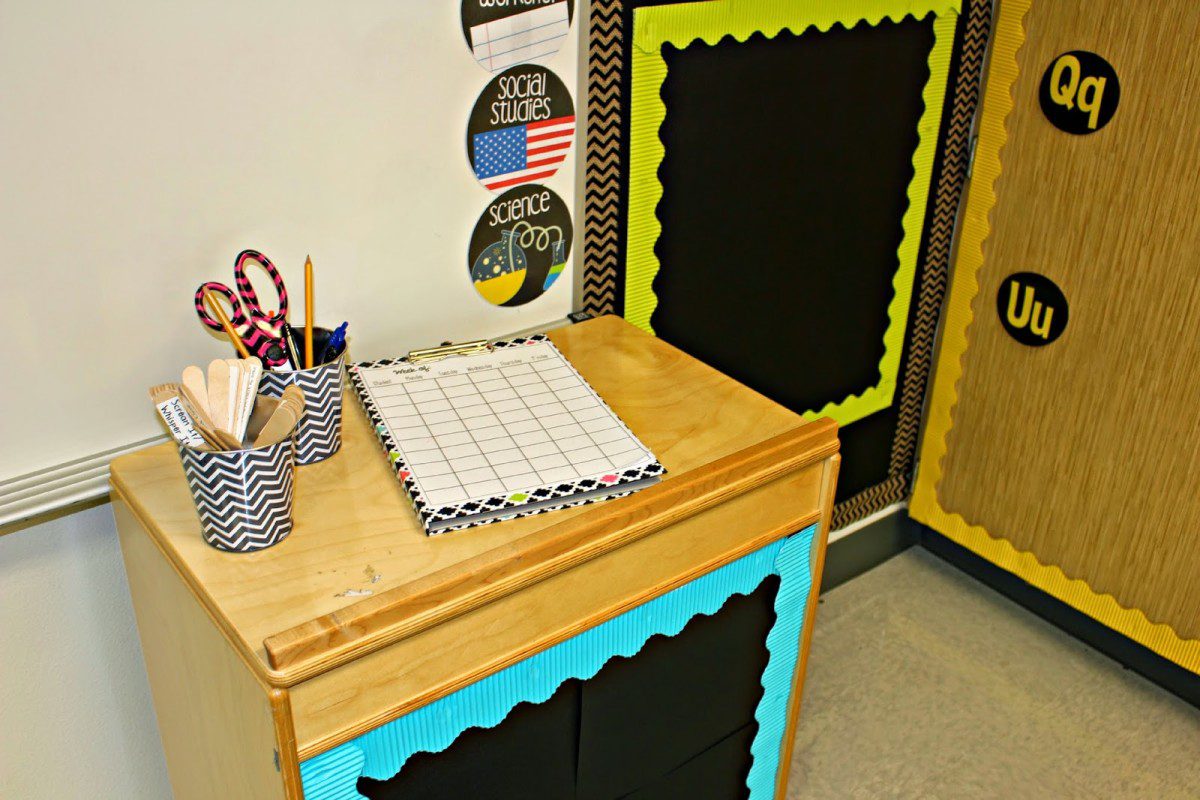
This clip board has my teacher cheat sheet which I use for daily documentation. Grab it on my Facebook Page under the freebie tab.
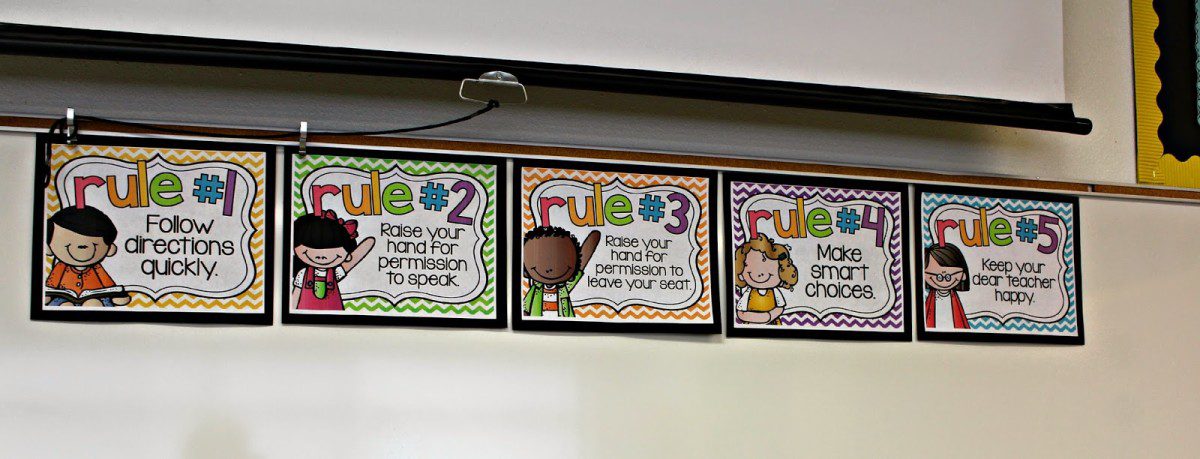
We use the super improvers wall and these are our class rules. I got them free from Amy HERE.
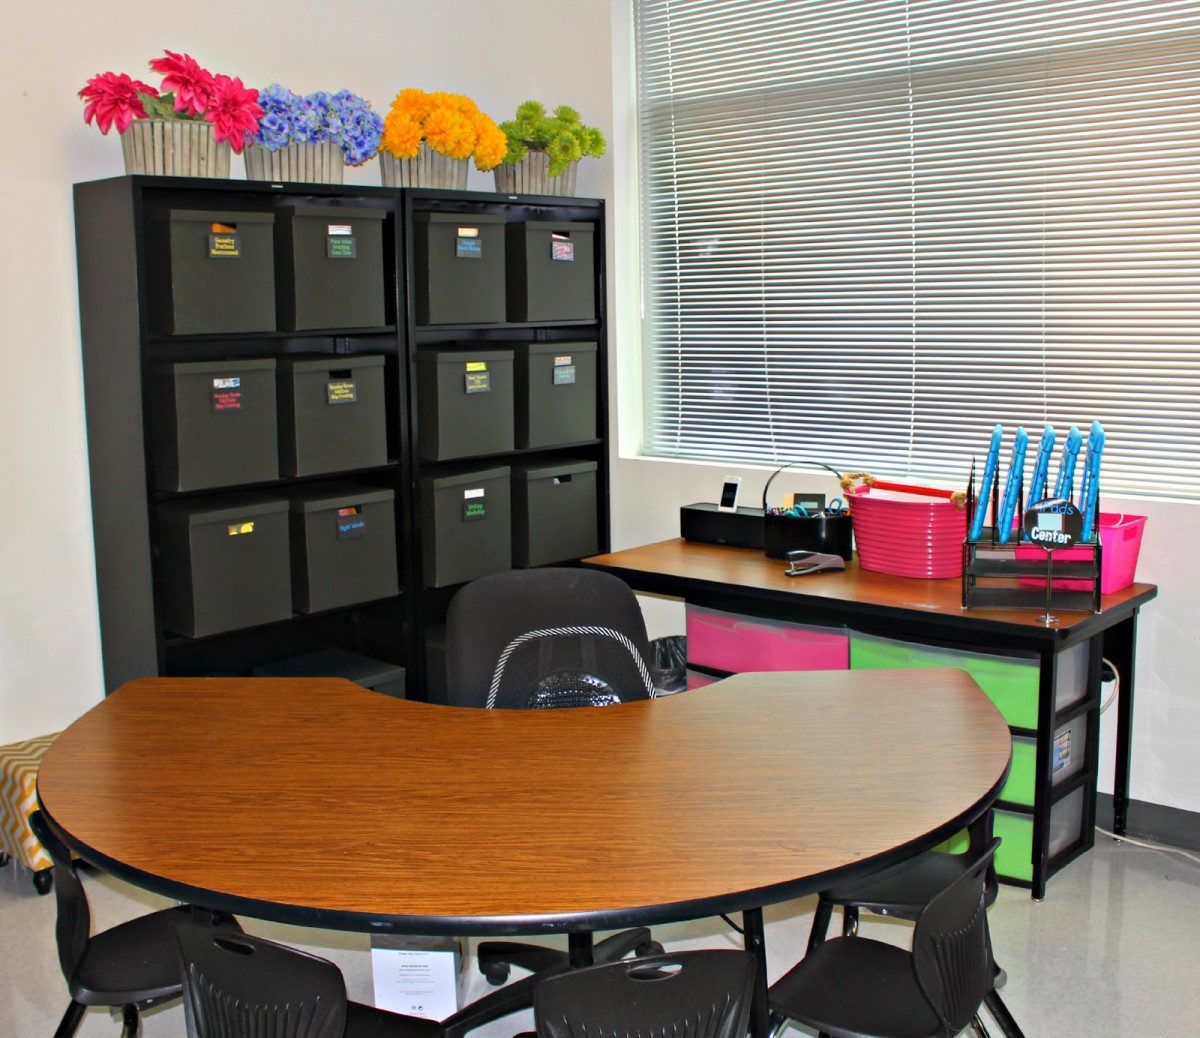
Let’s turn around and face the opposite wall now. We are going to explore the left corner where I have my small group table set up.
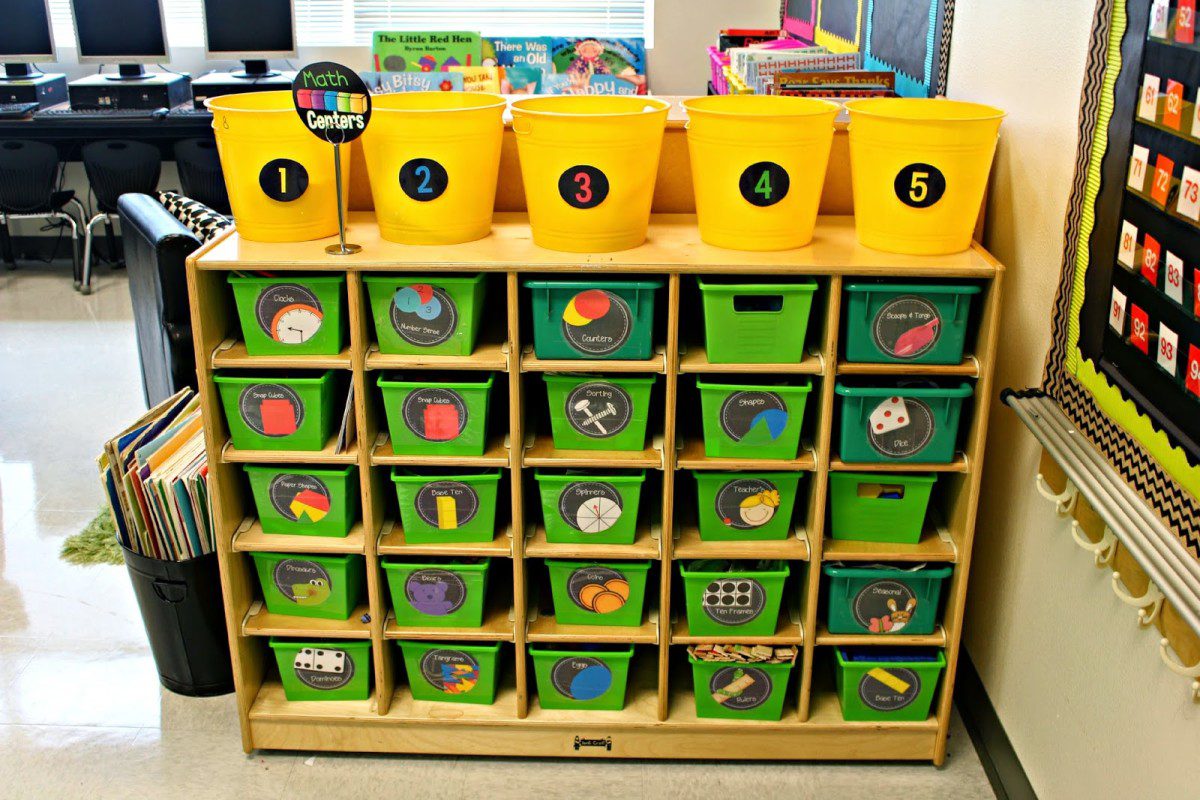
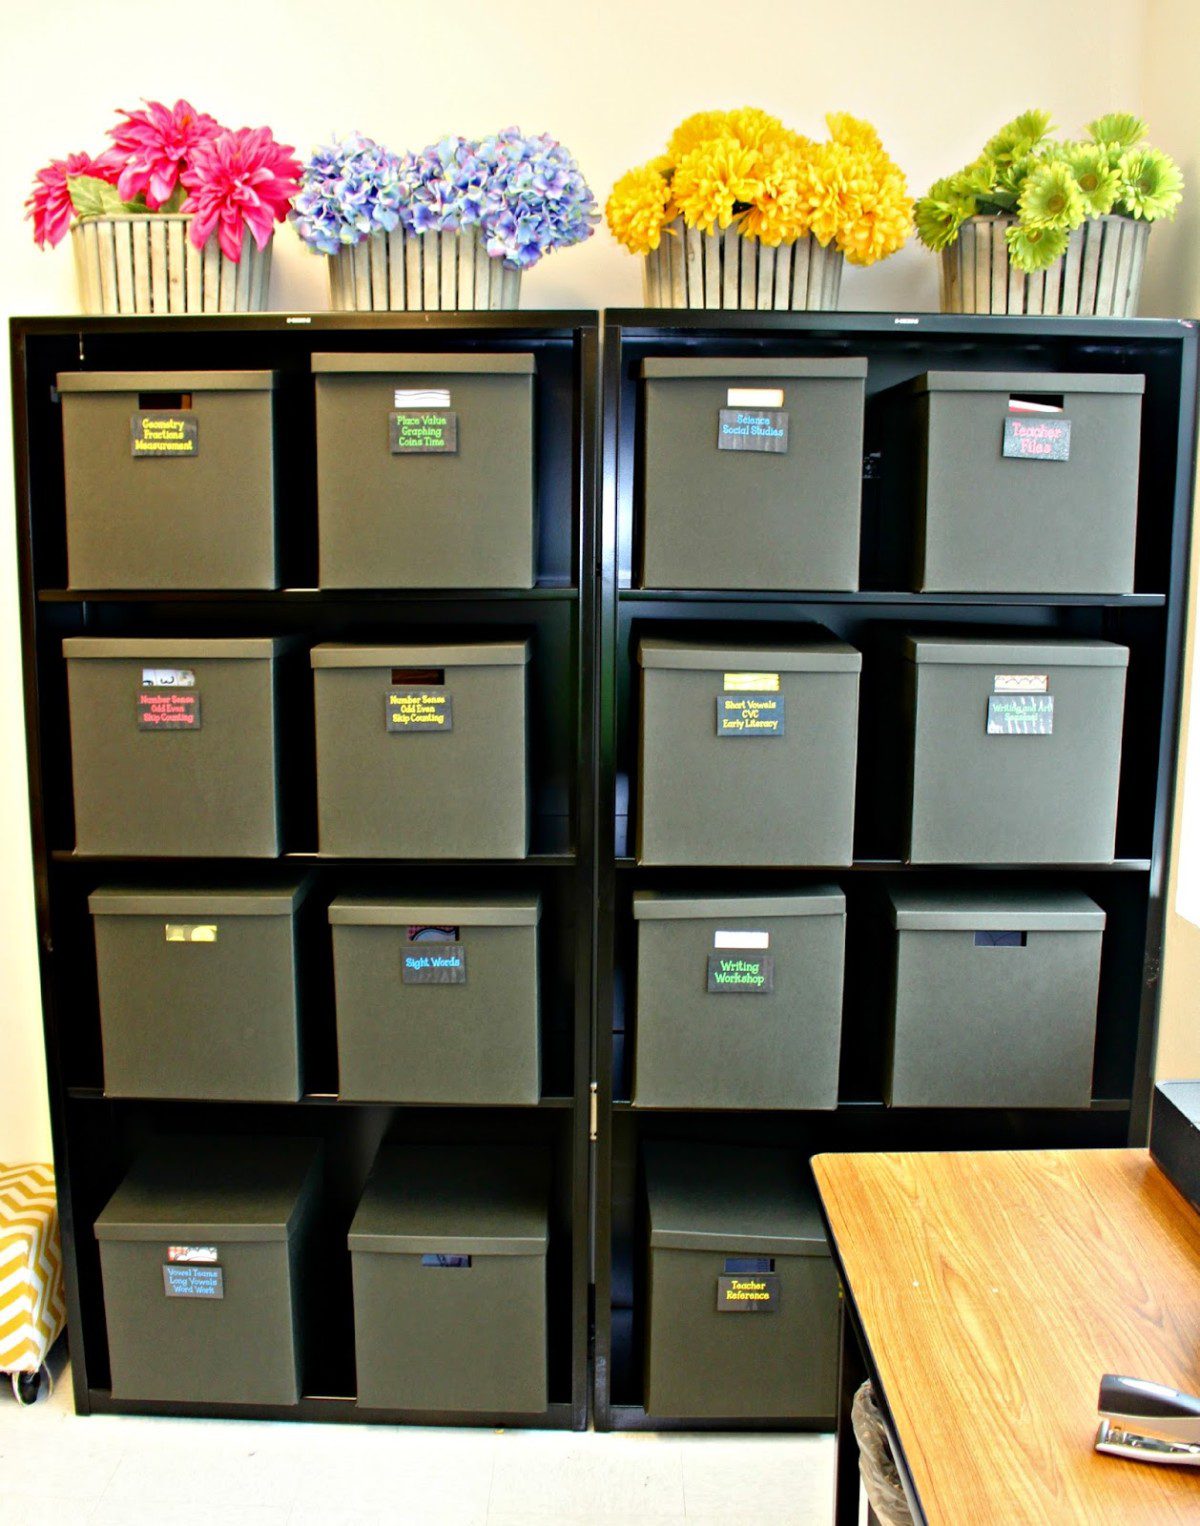
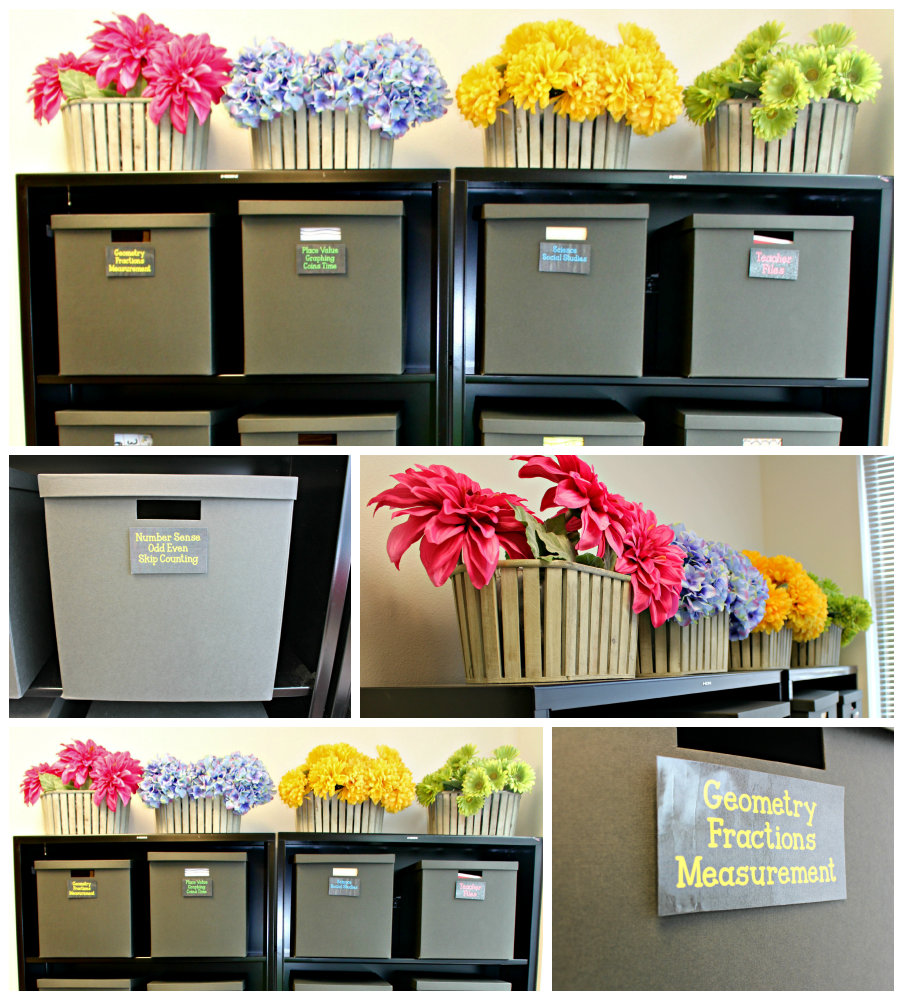
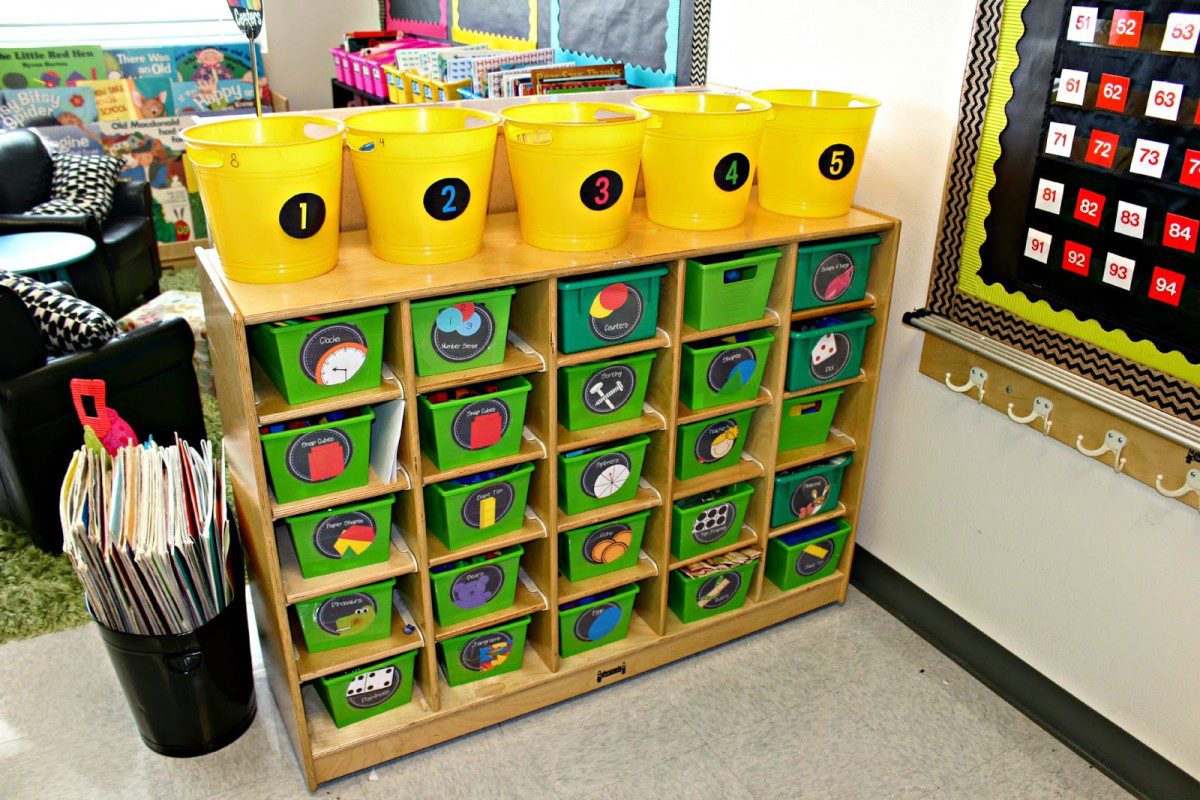
This is a much cleaner look for me this year! The boxes I got from ikea are full of my centers and grouped by skill.
I still need to make 2 labels.
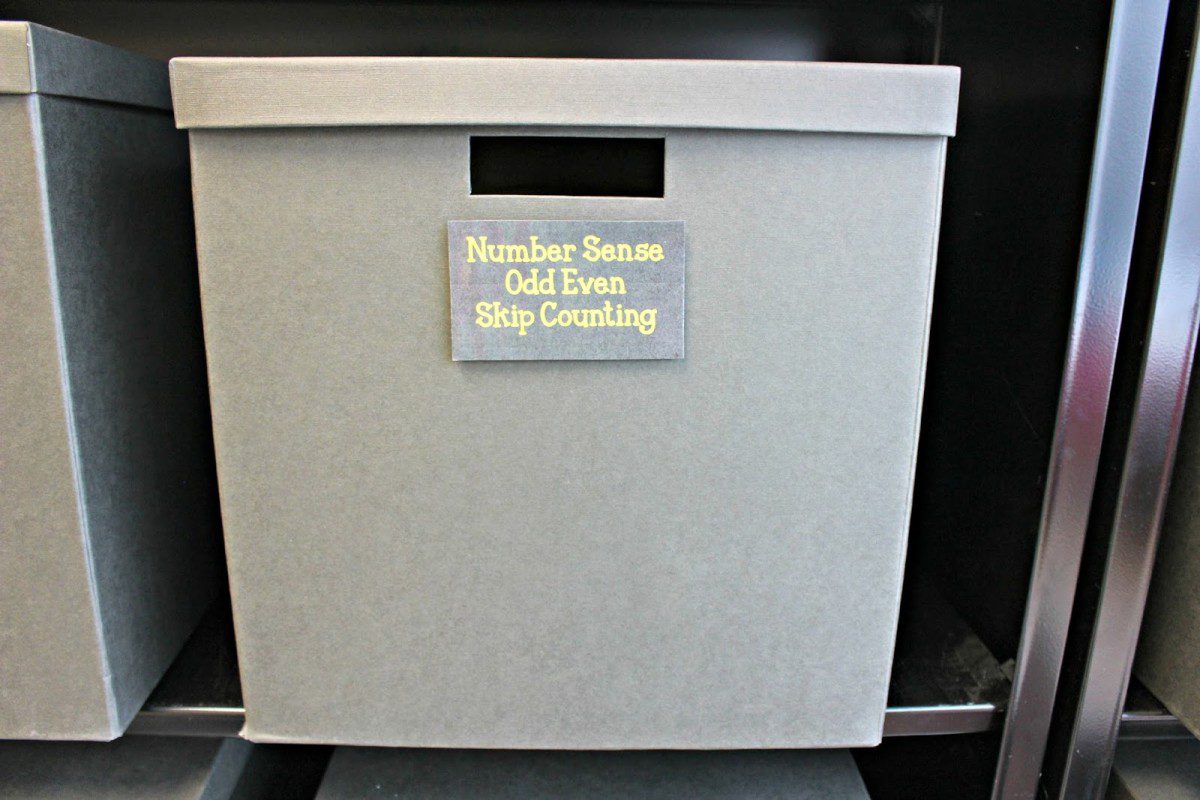
Example of how I grouped
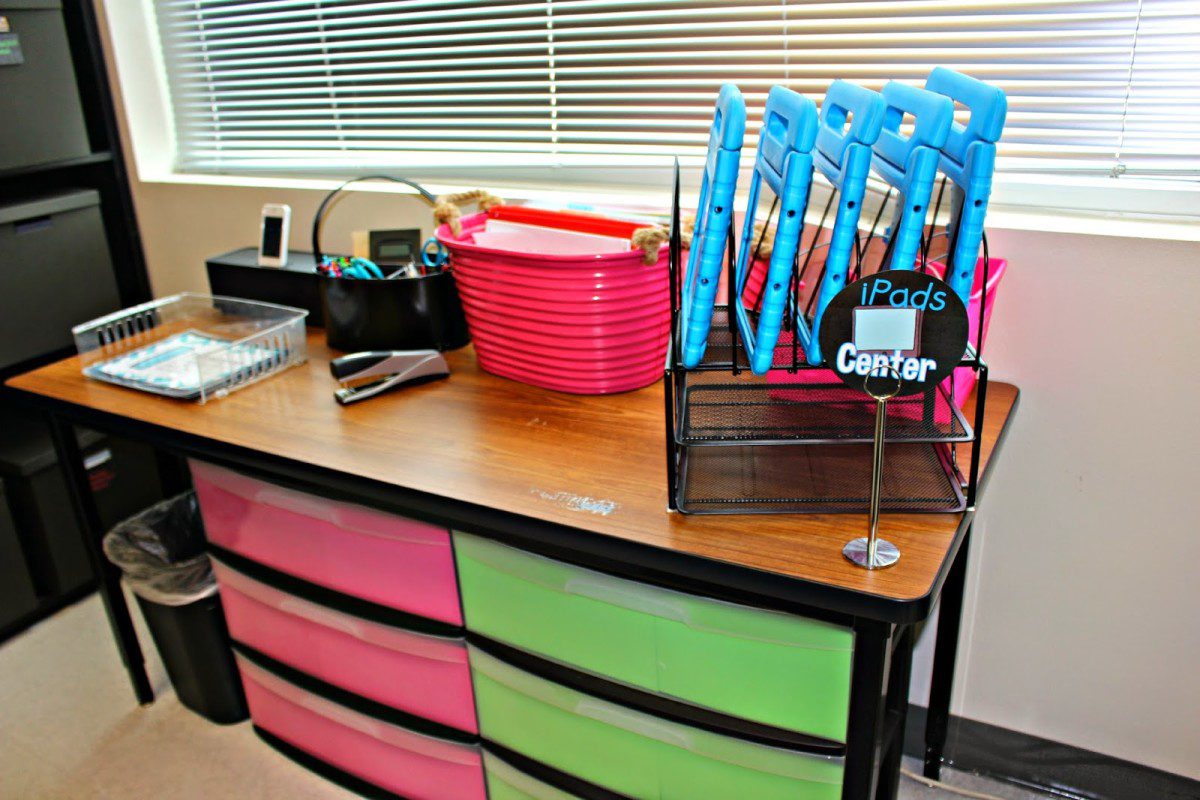
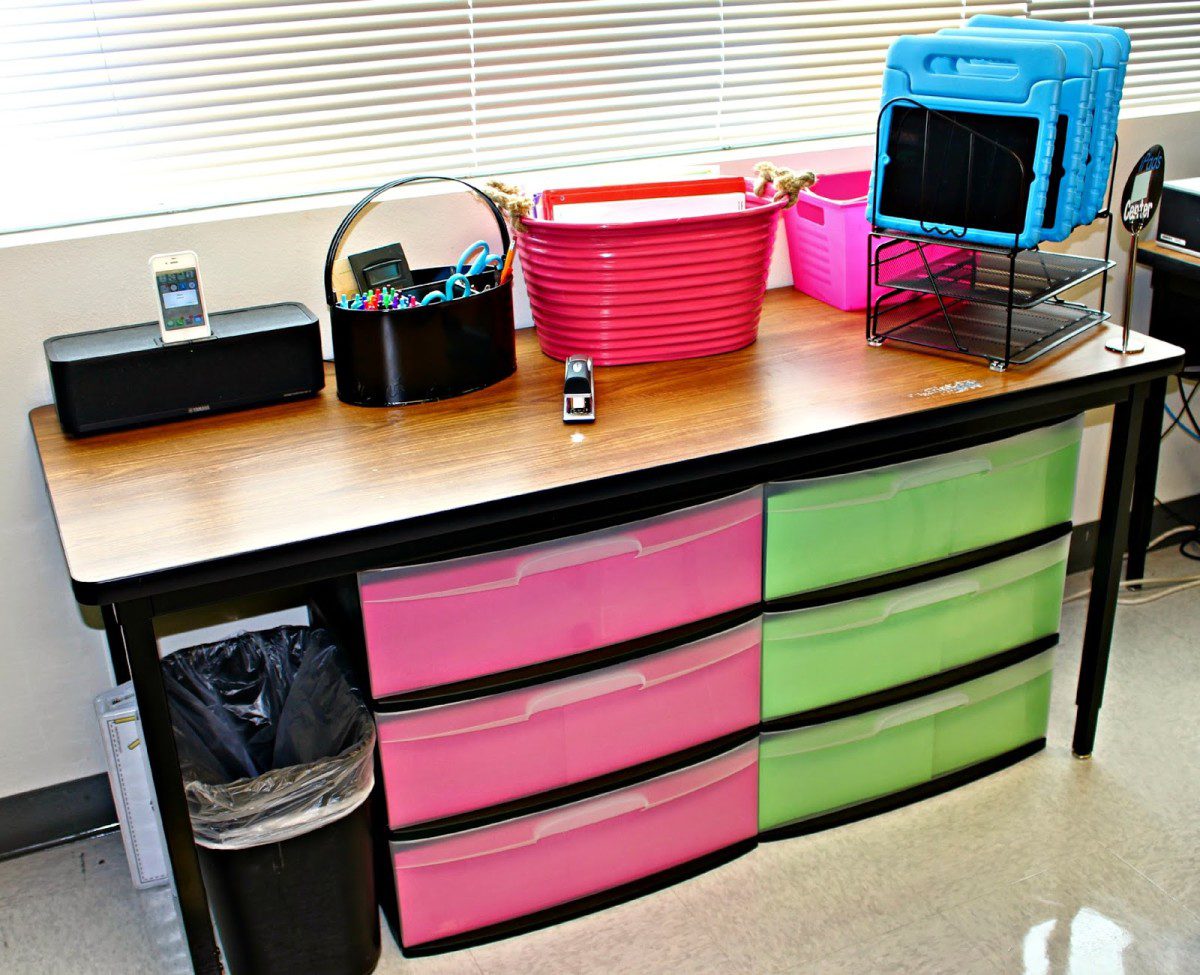
Behind my small group table I have a little teacher table. My docking station, bucket of lessons for the week. supply caddy and paper tray. Under the table I have a group of shelves for both math and reading small groups.
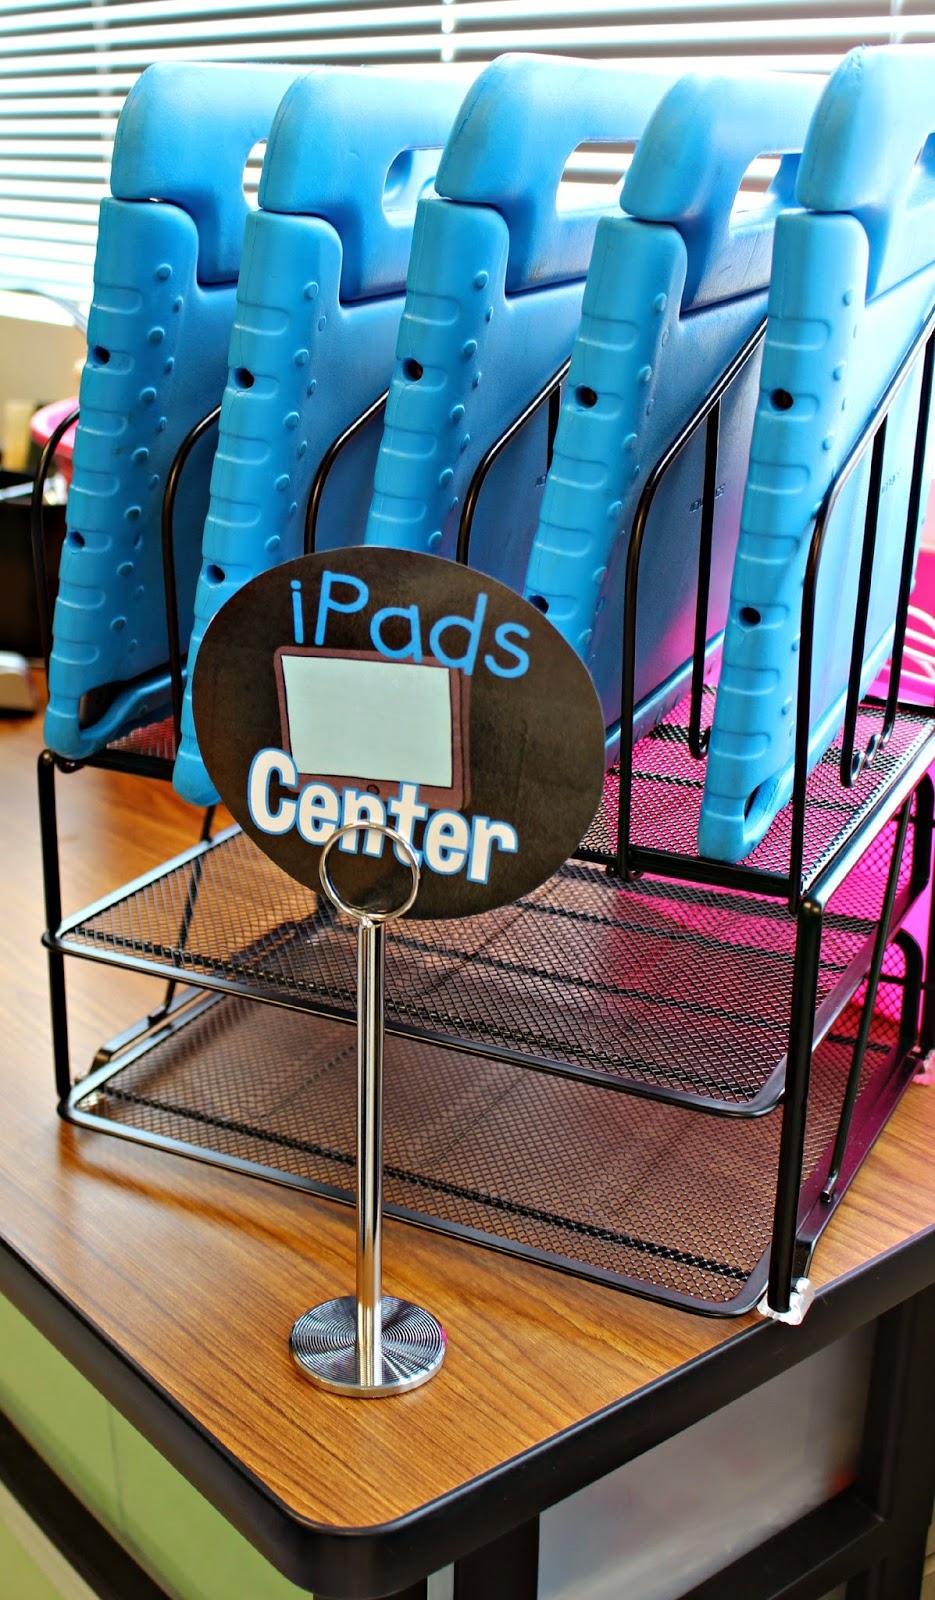
I ordered this organizer thingy on amazon and I am CRAZY about how it holds iPads. You can find it HERE.
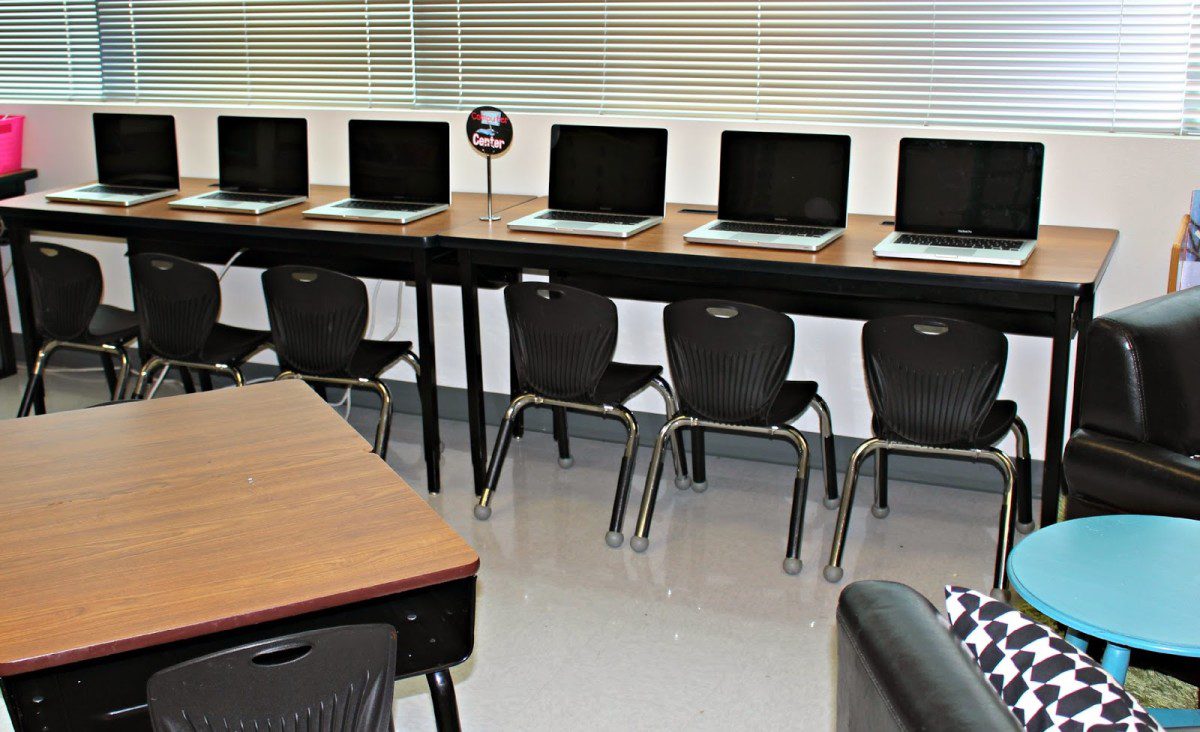
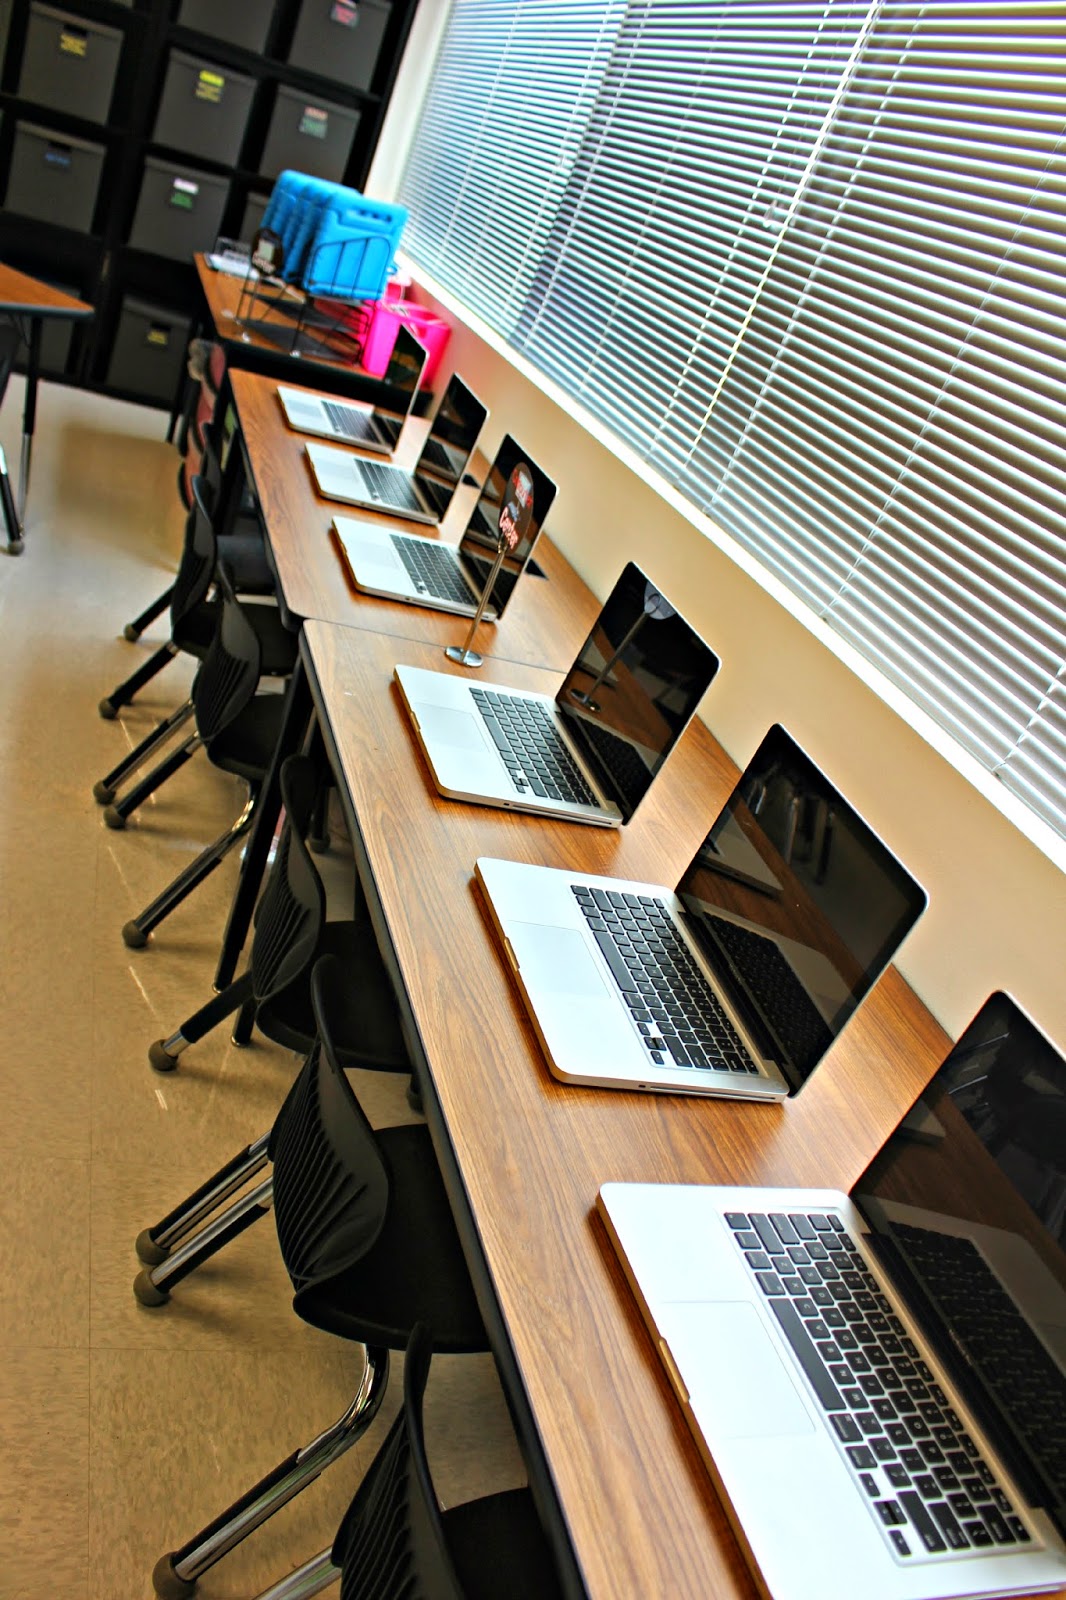
Going along the back wall are the computers. I tried to keep it clean and modern by lining them under the window in one long line.
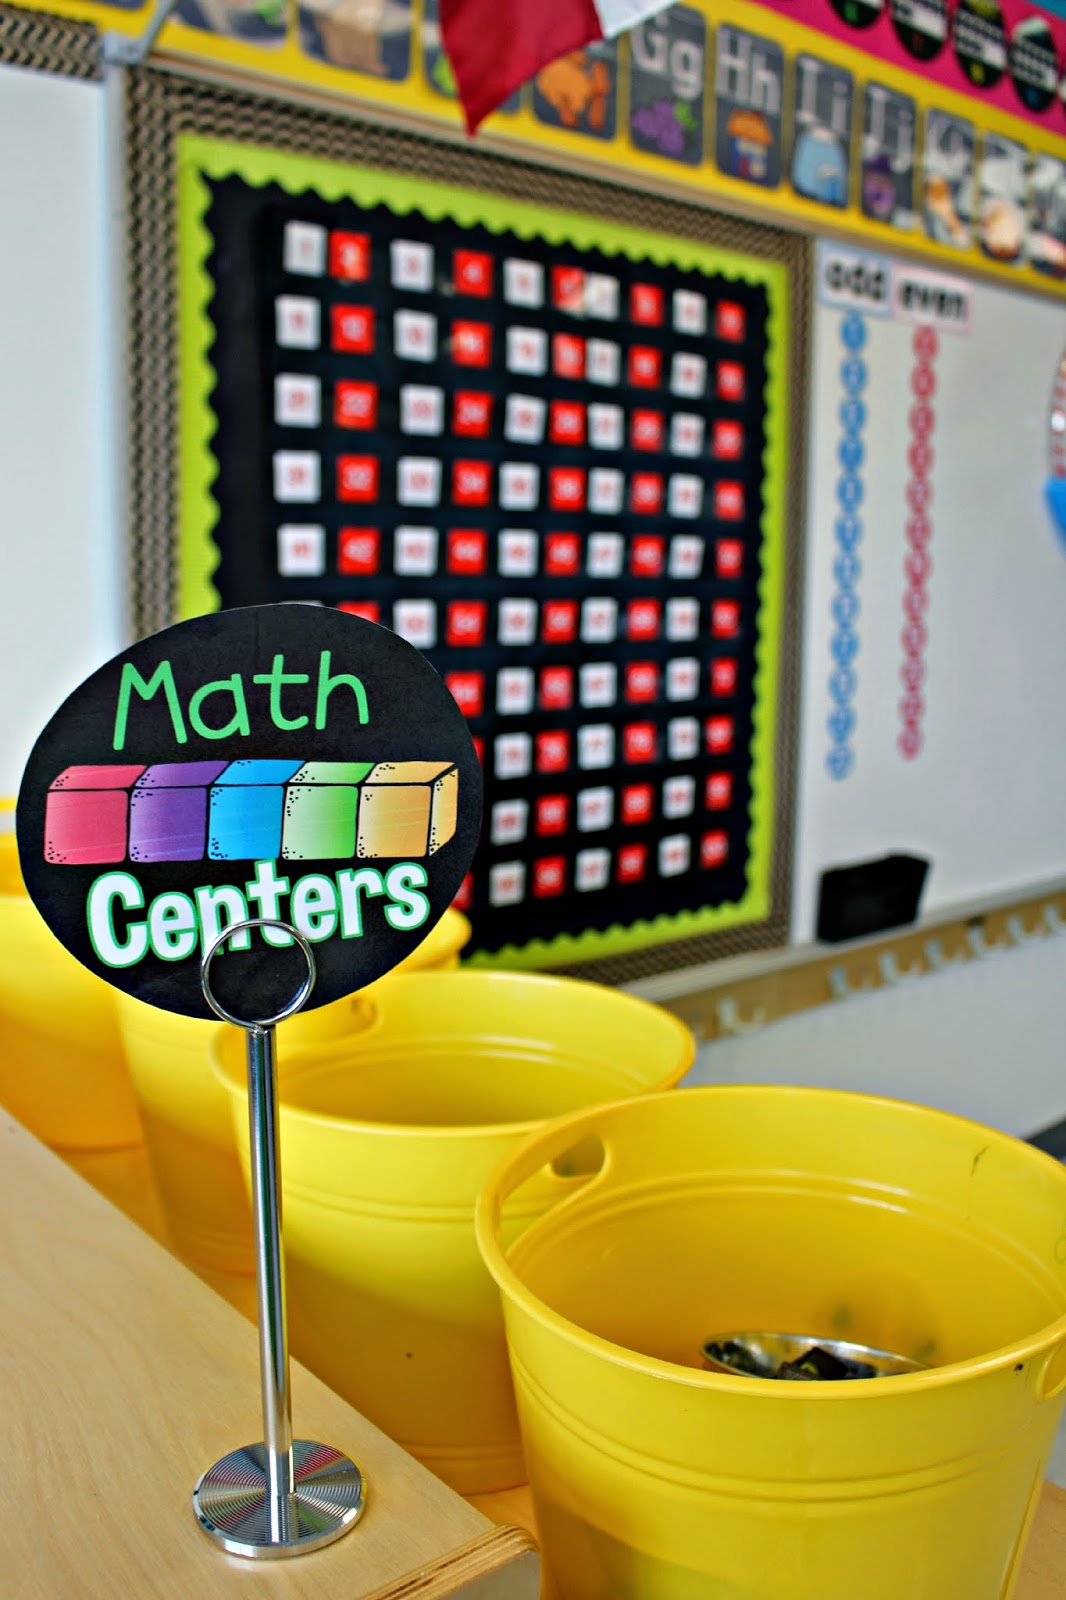
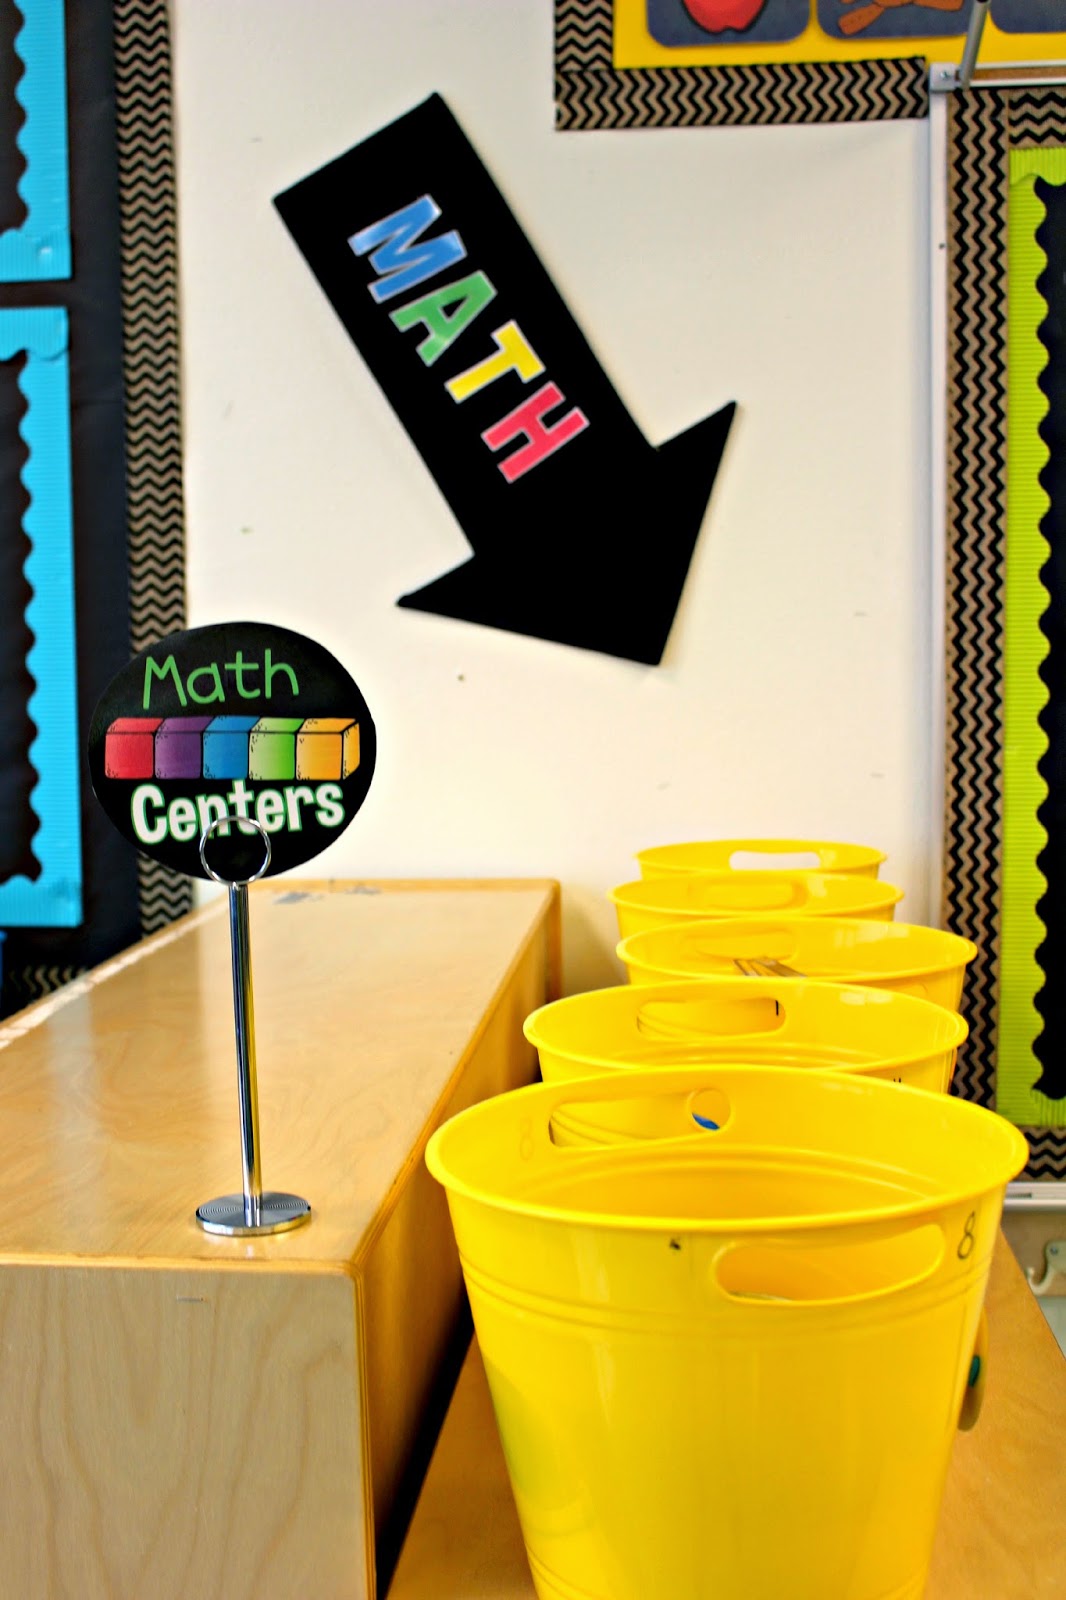
These table place holders can be found HERE.
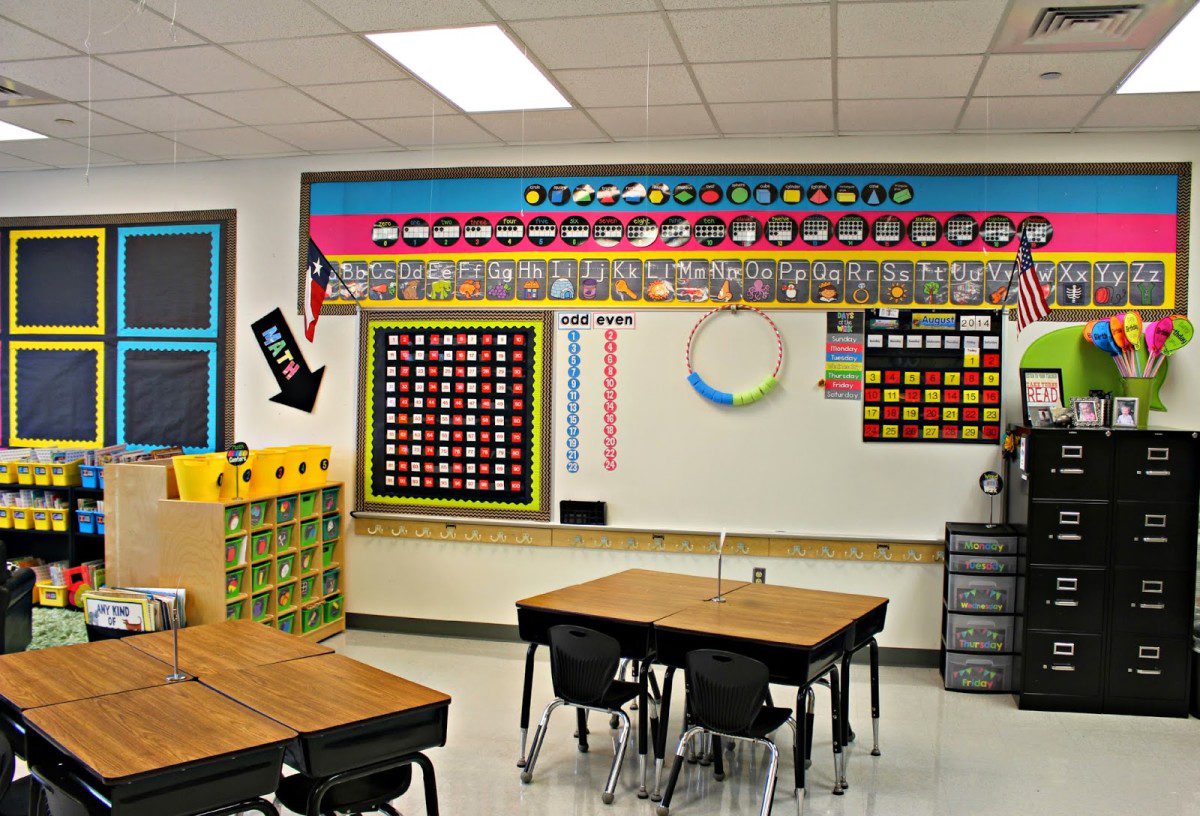
Jumping over the library we are going to check out the reference wall.
This is the most I have on the wall but I tried to keep all the reference items together to minimize the clutter. Everything here has a specific purpose in our daily routine. Students need to reference these concepts all year. Sorry about the glare! Lamination and flash do not mix!
The math bin labels below on the green bins can be found HERE.
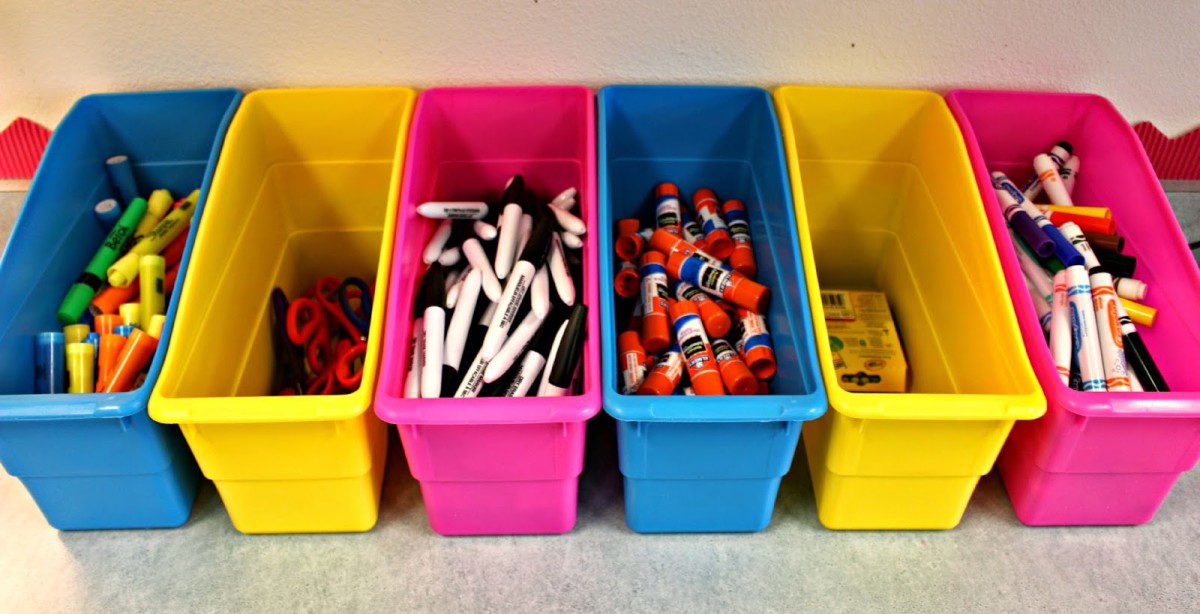
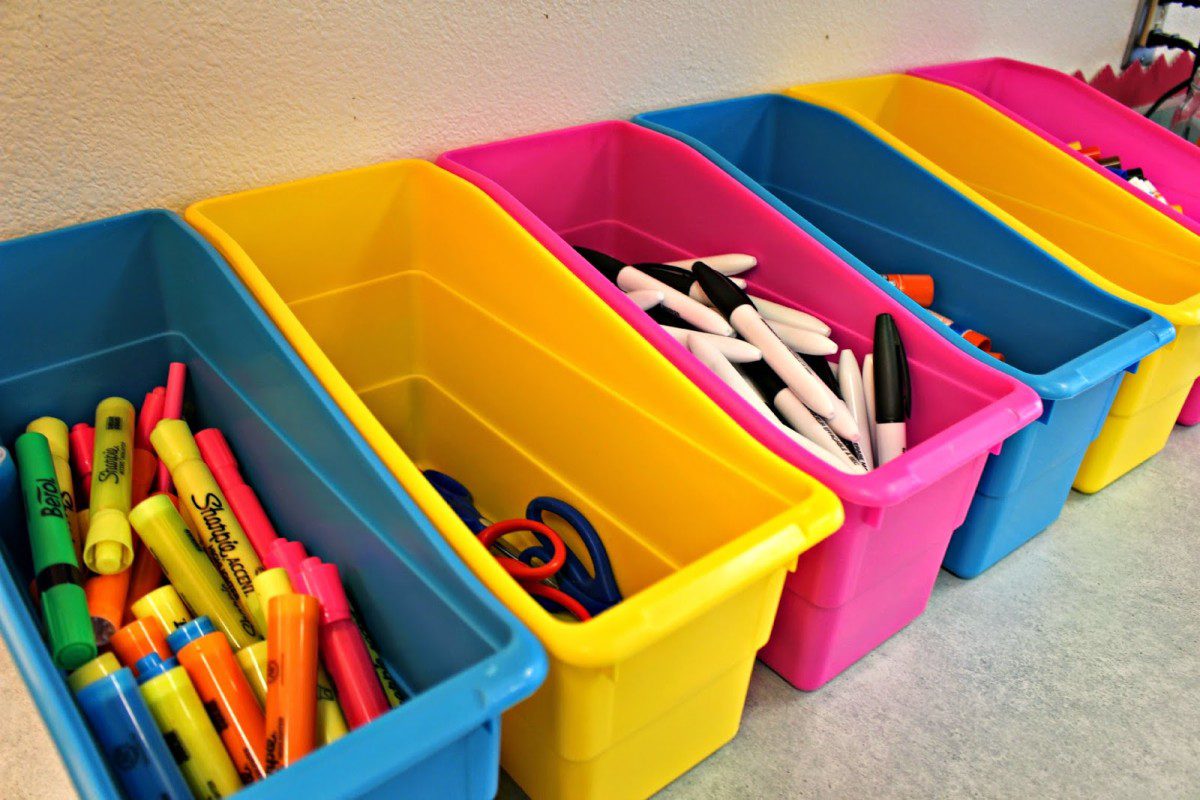
Next to the word wall I have some counter space. I put extra student supplies here.
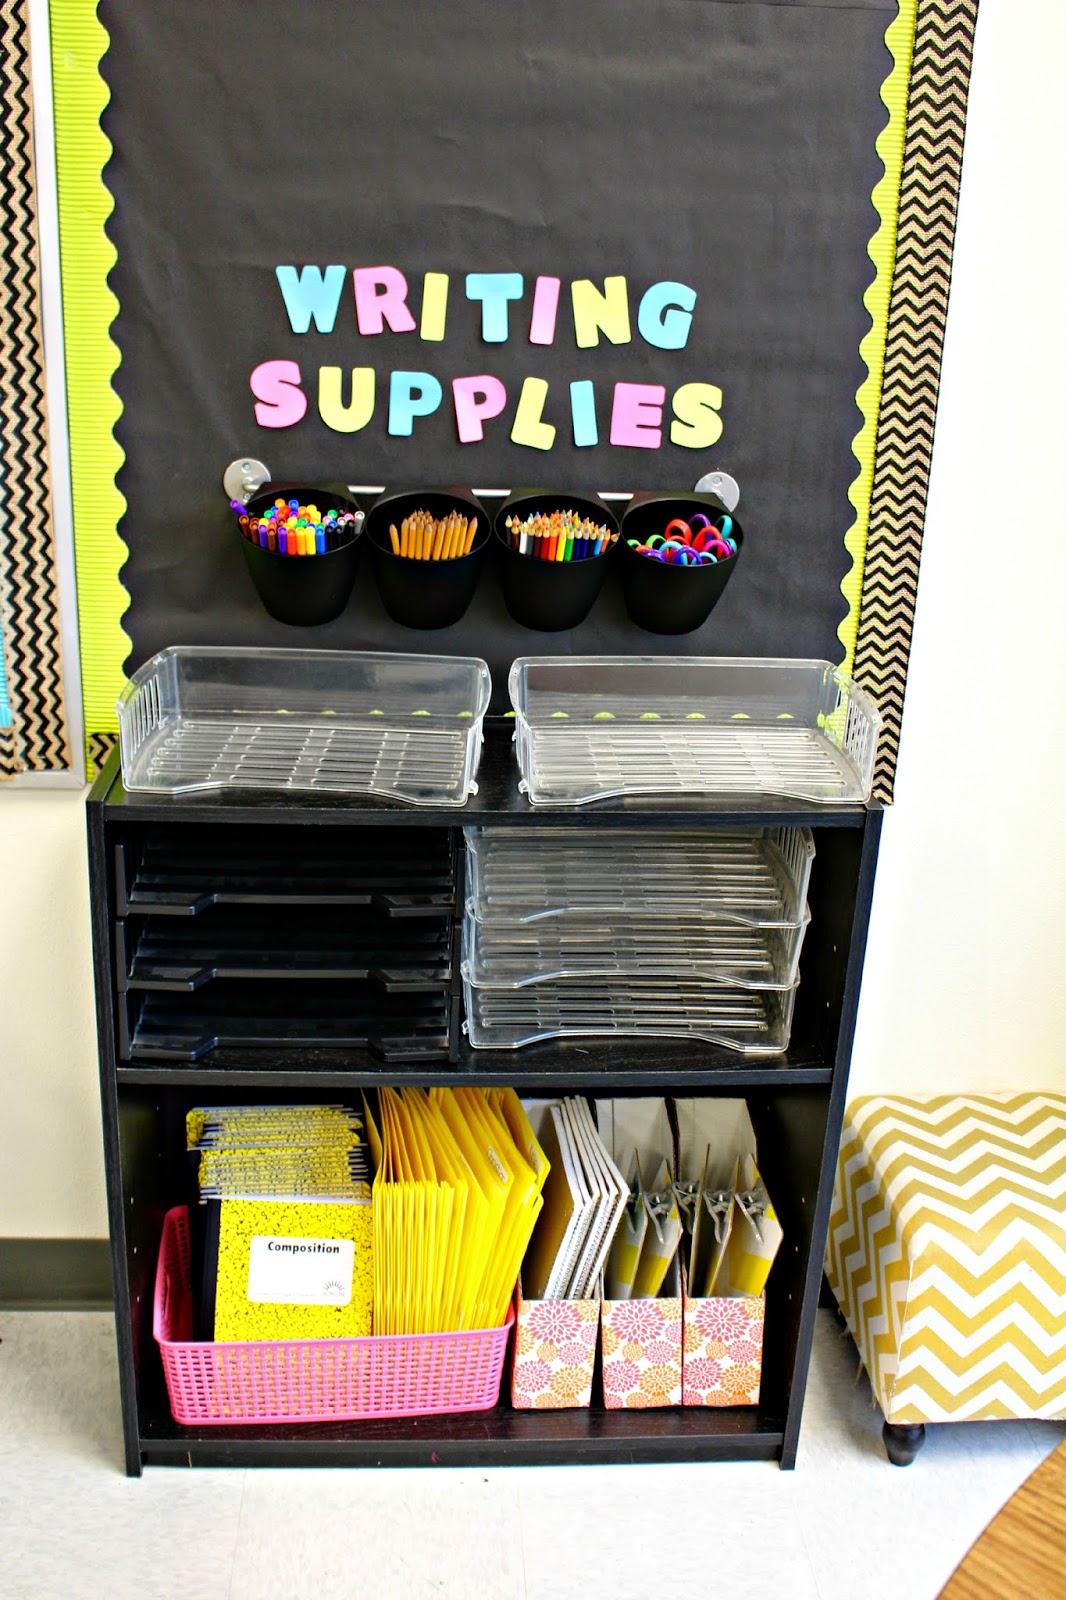
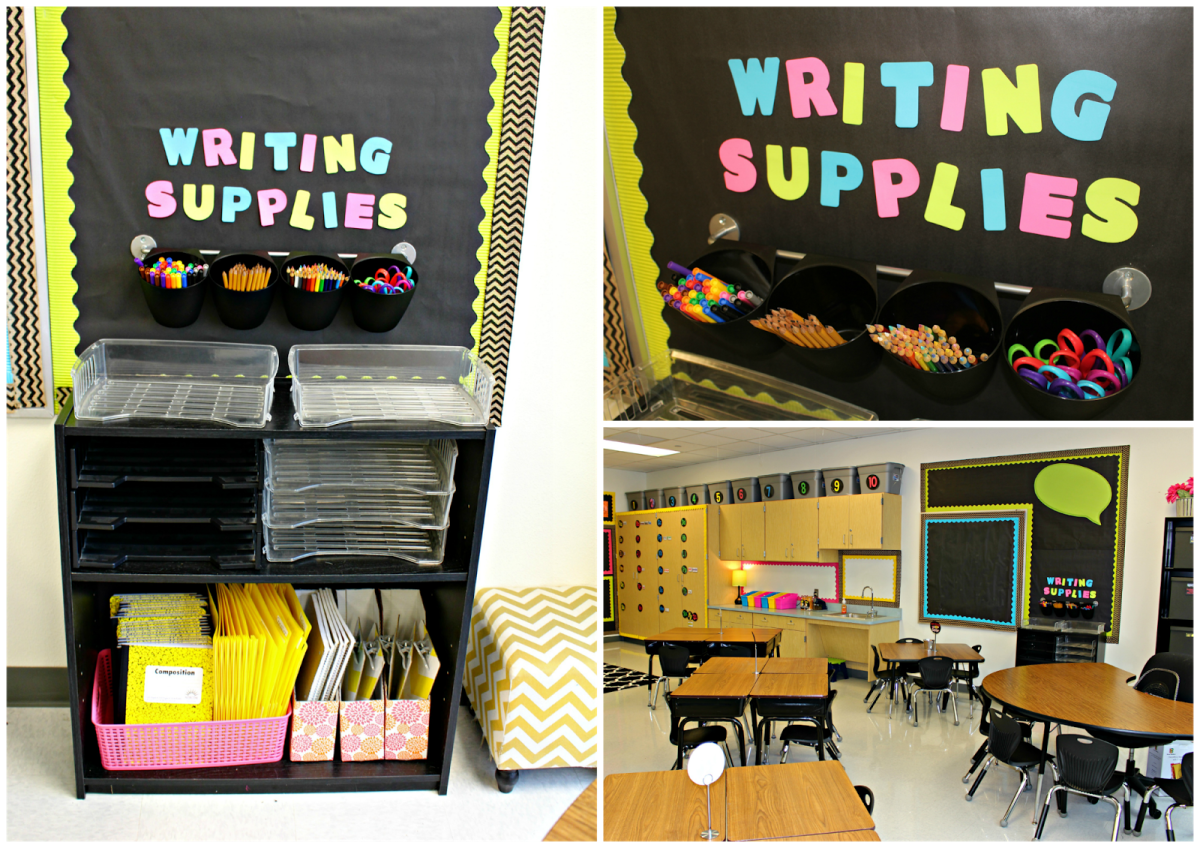
Let’s talk about the writing center! I have a square table here next to the shelf of materials, but I didn’t really get it in pictures very well.
Next to the little table, I will have many different options for writing paper, but we start very slowly and build up to all those fabulous choices. For now we are bare. Students love earning new choices as we build up stamina.
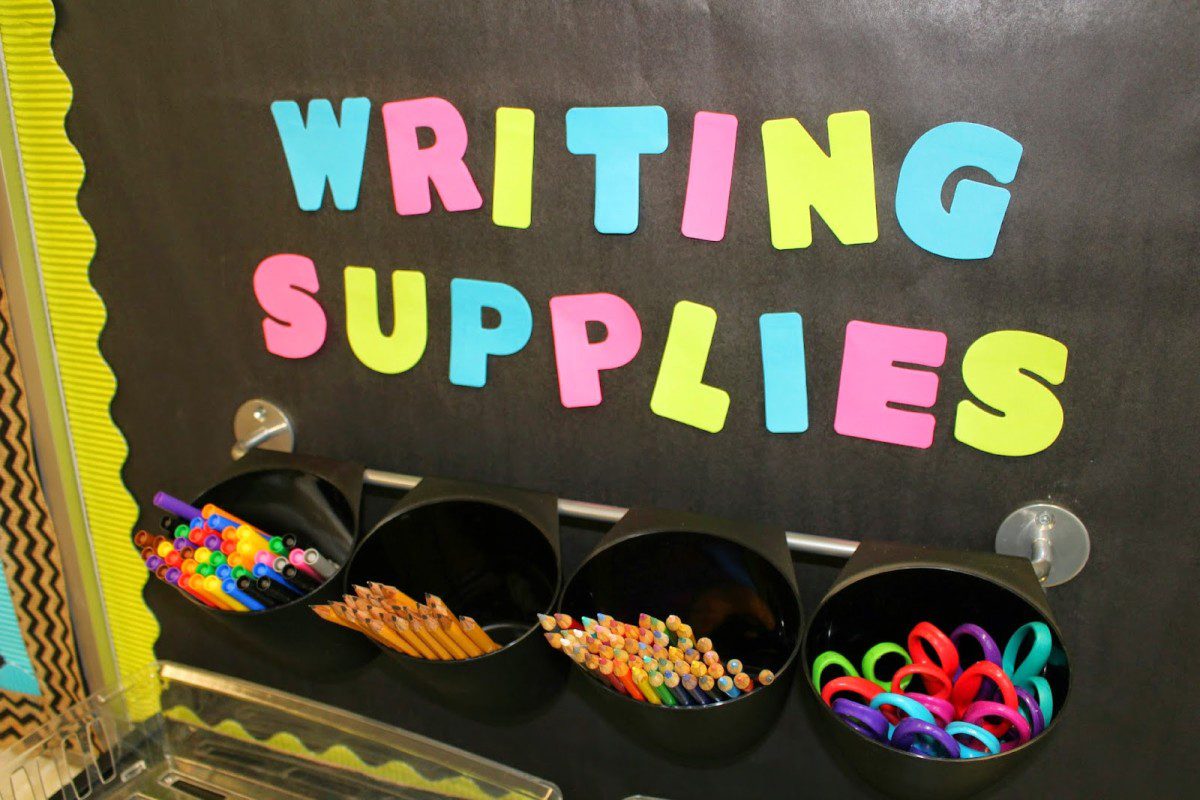
This little supply rod from ikea just makes me happy.
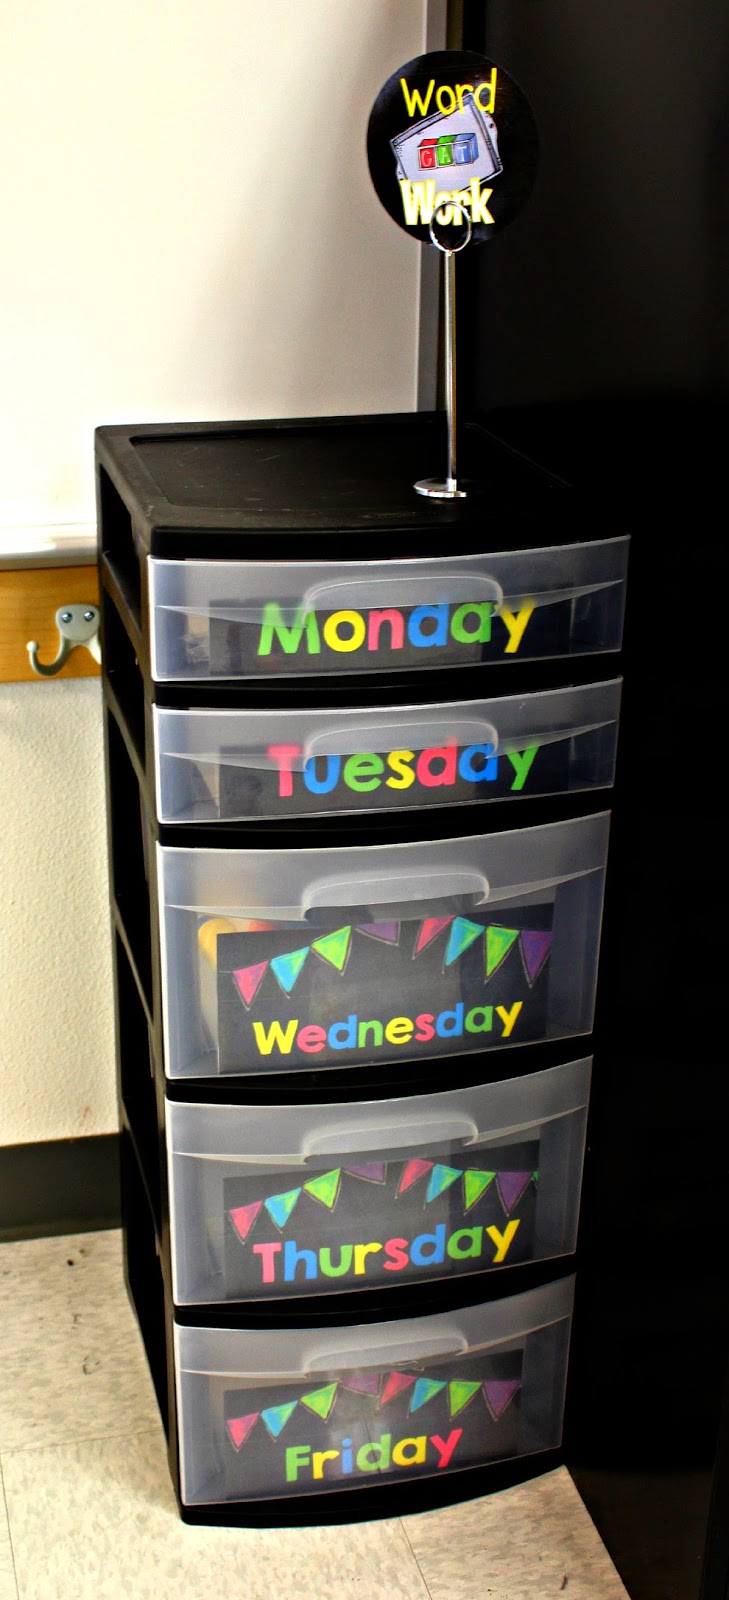
I gave my word work station a little facelift with the help of Mel’s labels.
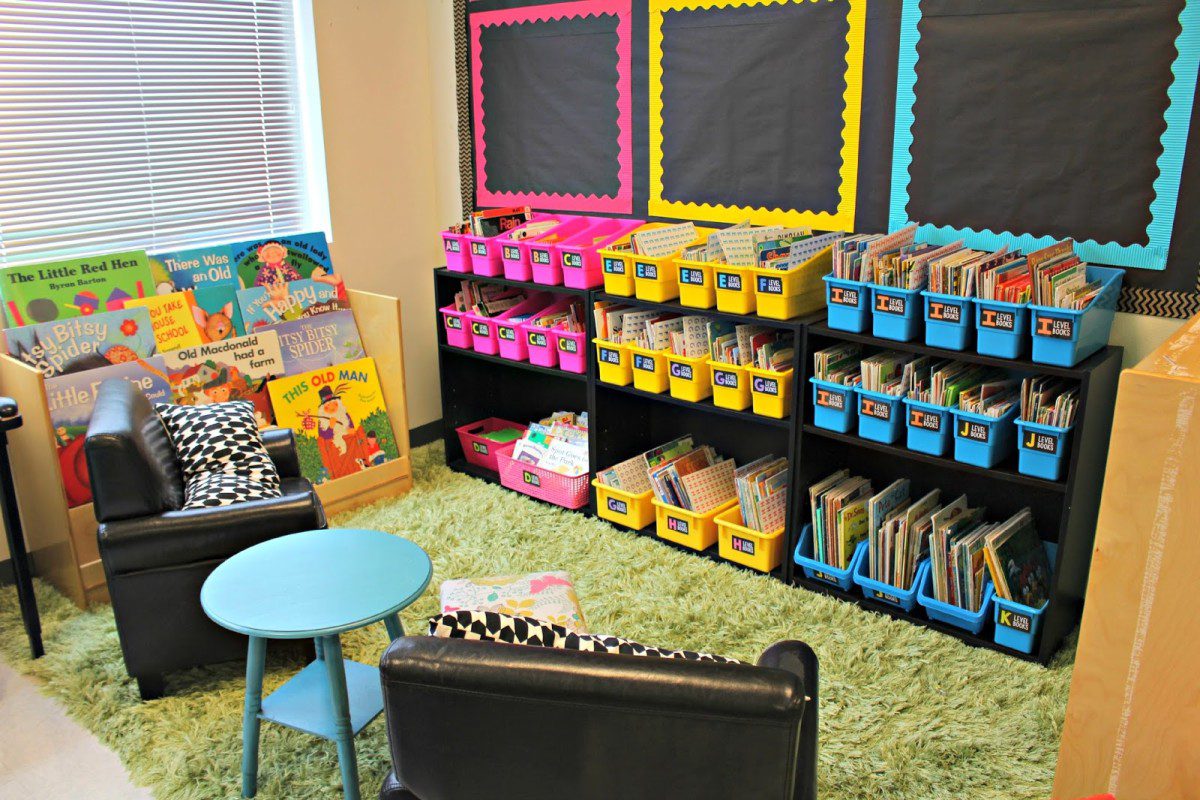
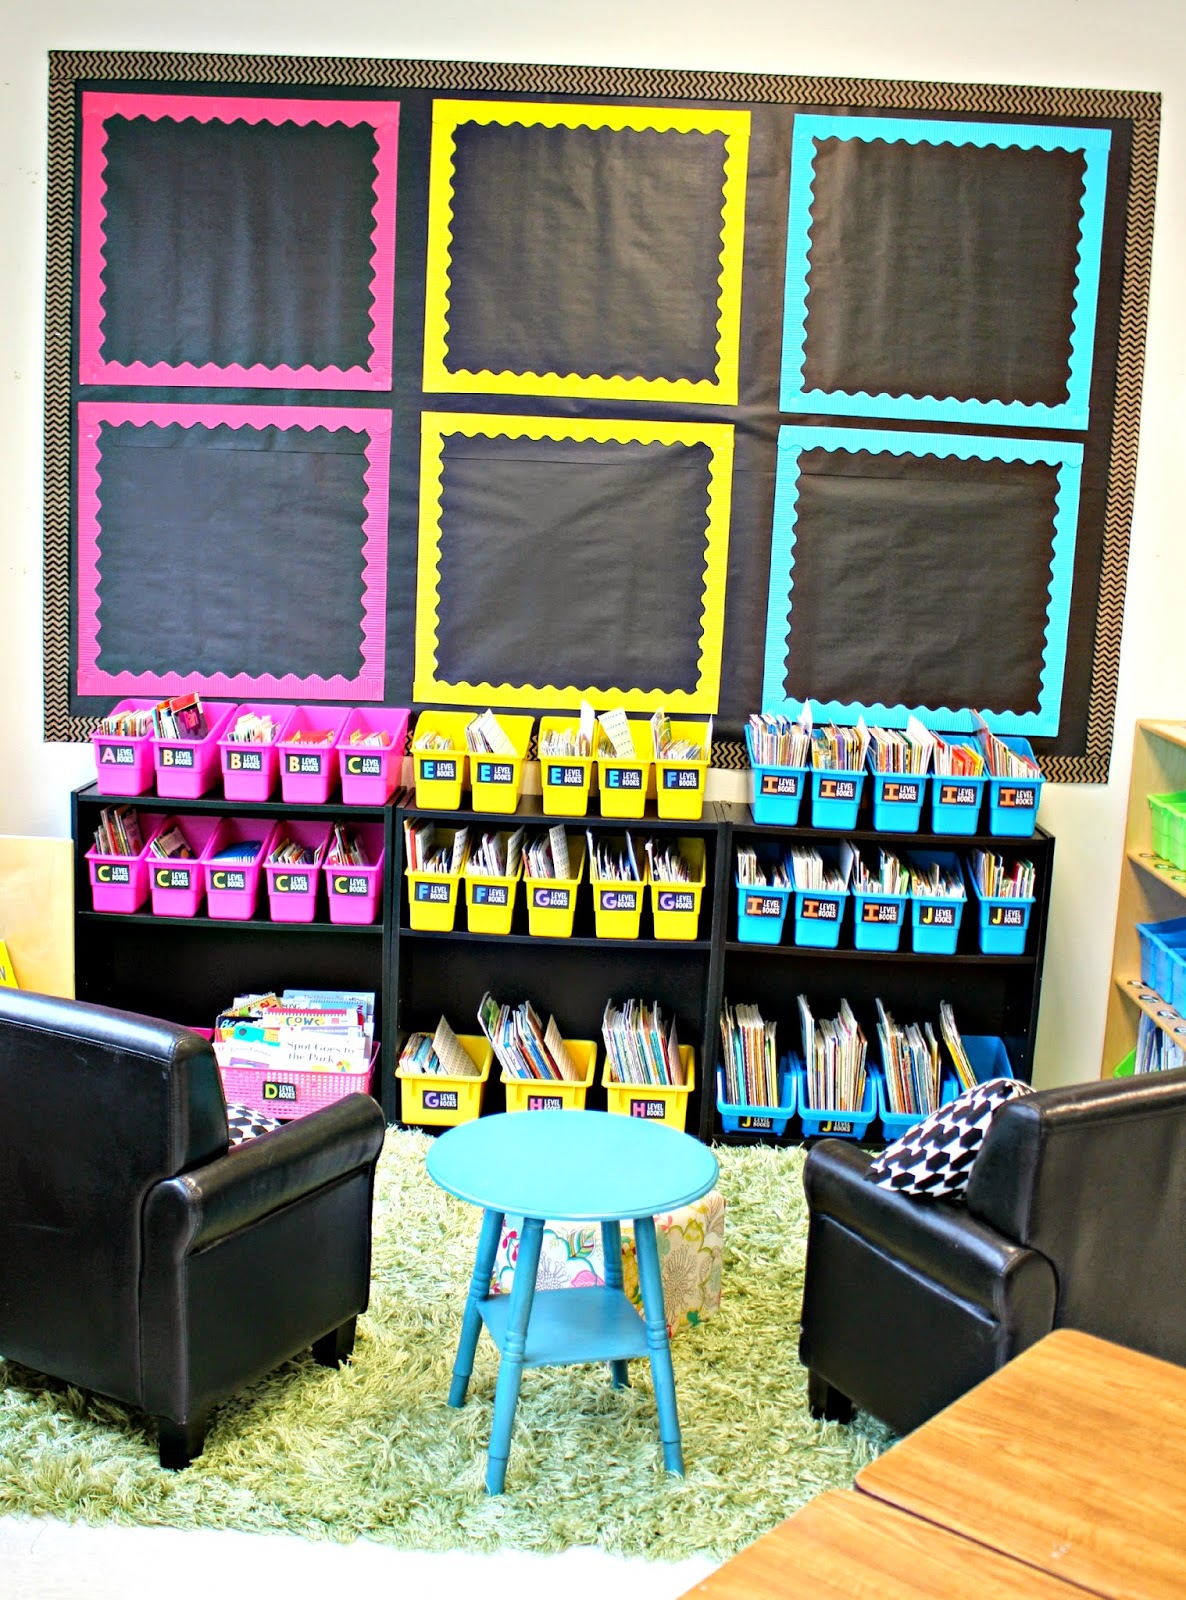
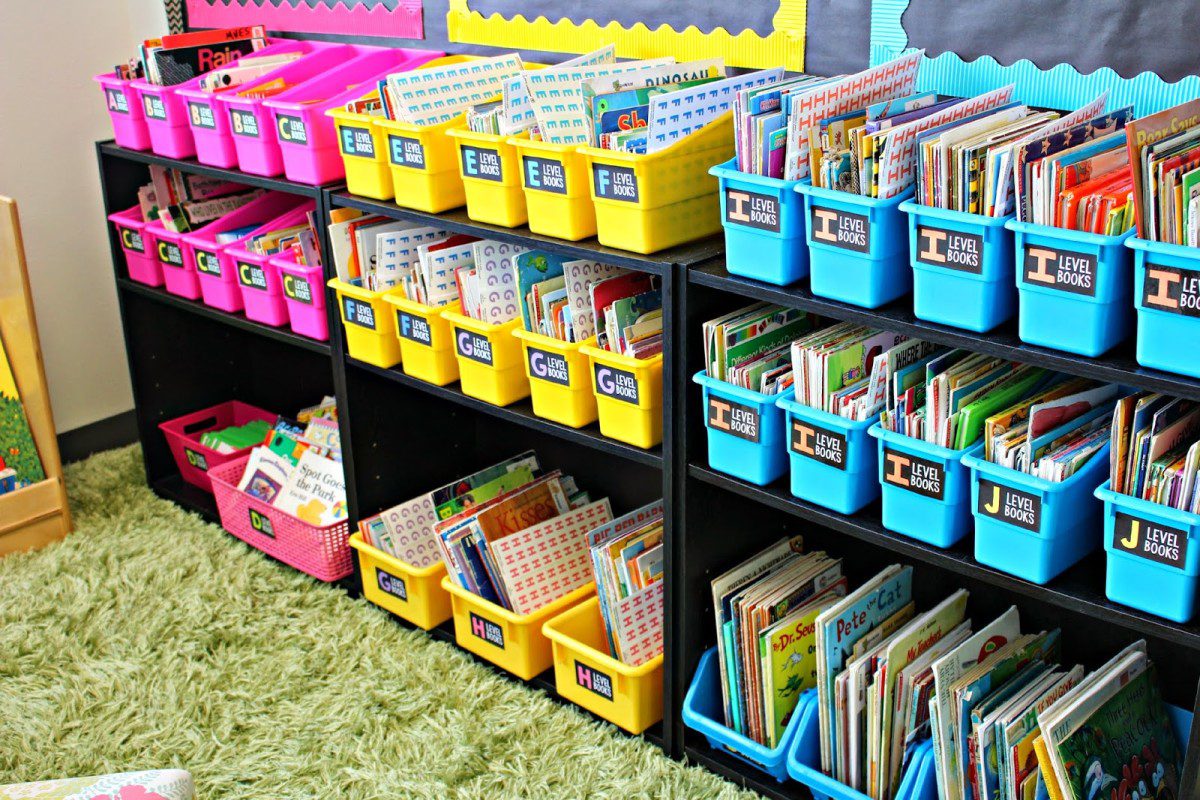
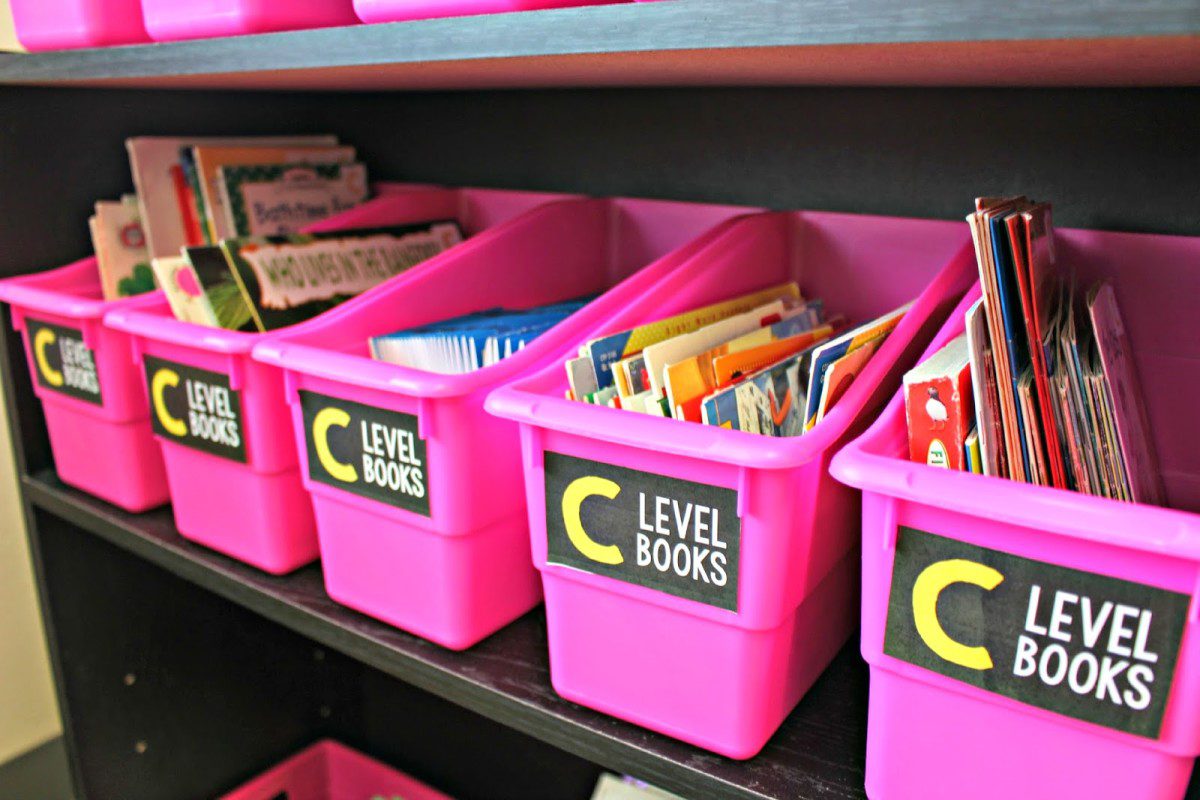
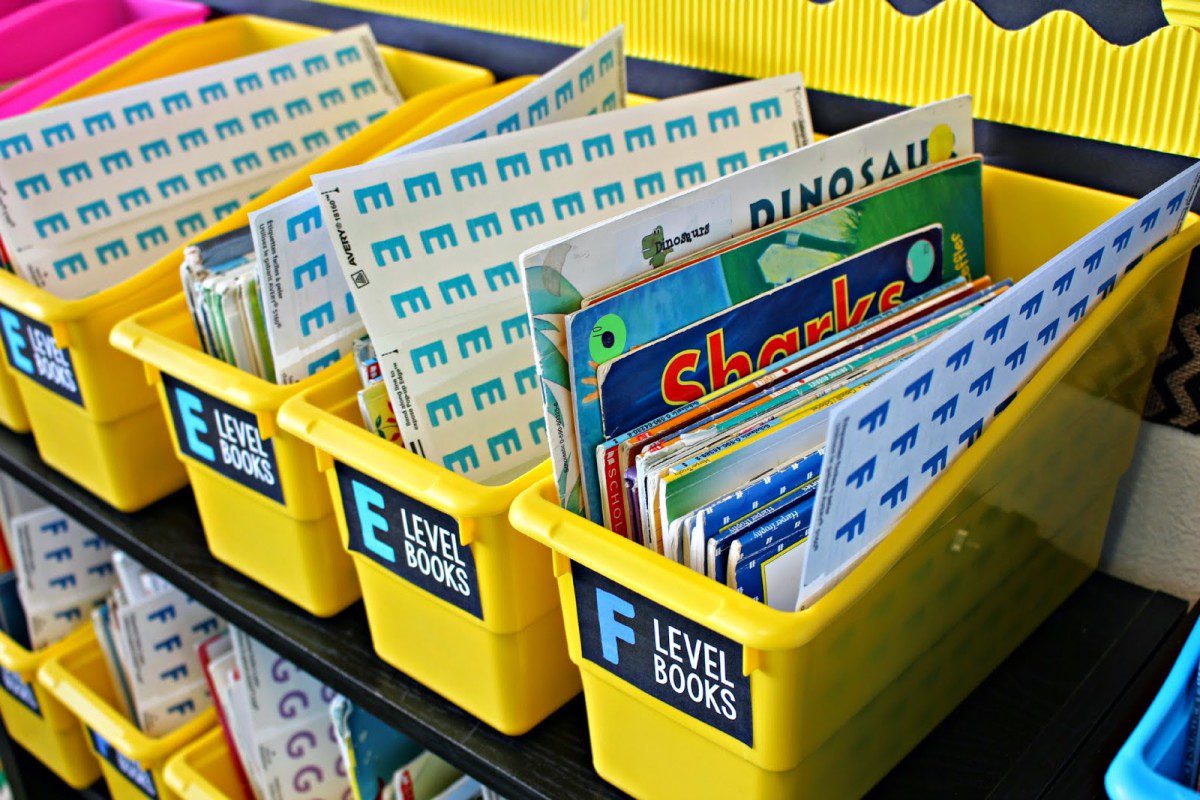
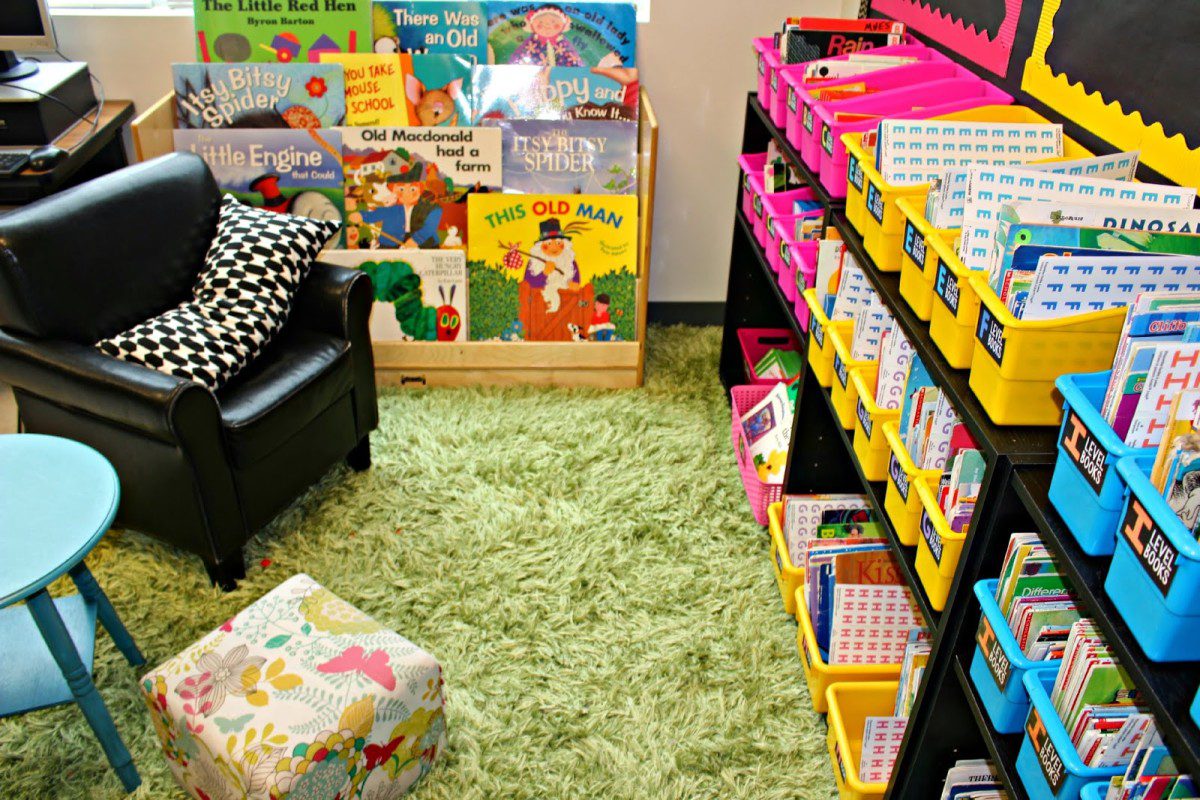
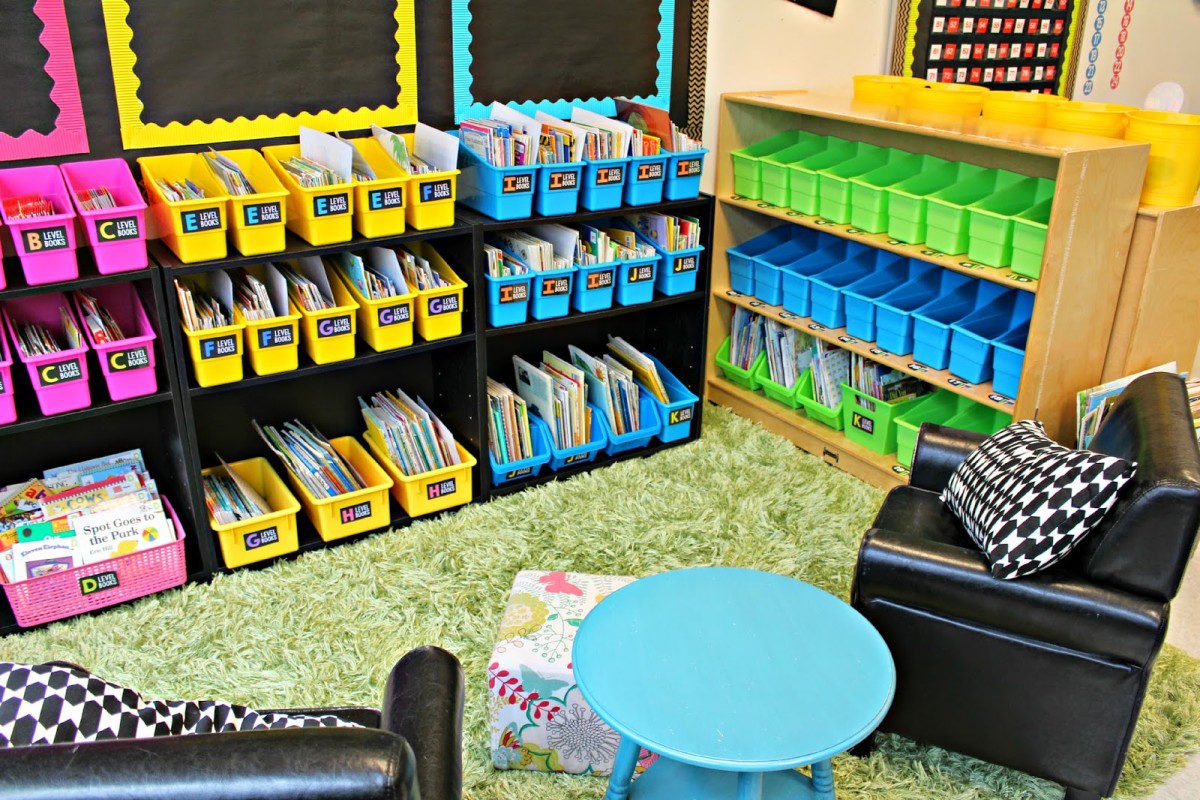
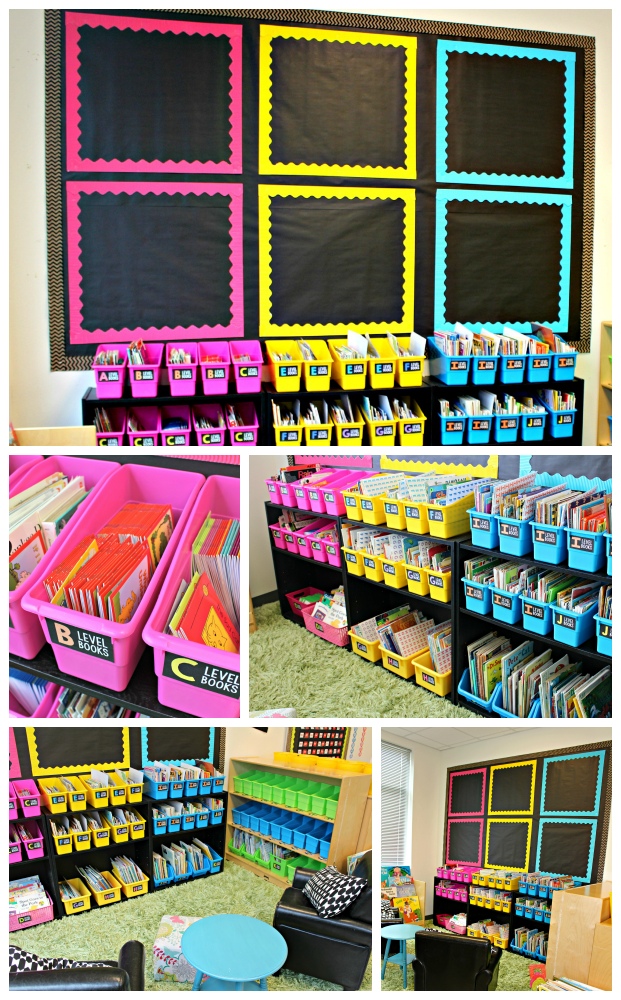
Finally, the library! Okay so it isn’t completely done. I took my library which was organized by genre and author and I leveled all the books using book wizard. I really wanted to do this because I felt it was so important to ensure my firsties had the correct books developmentally.
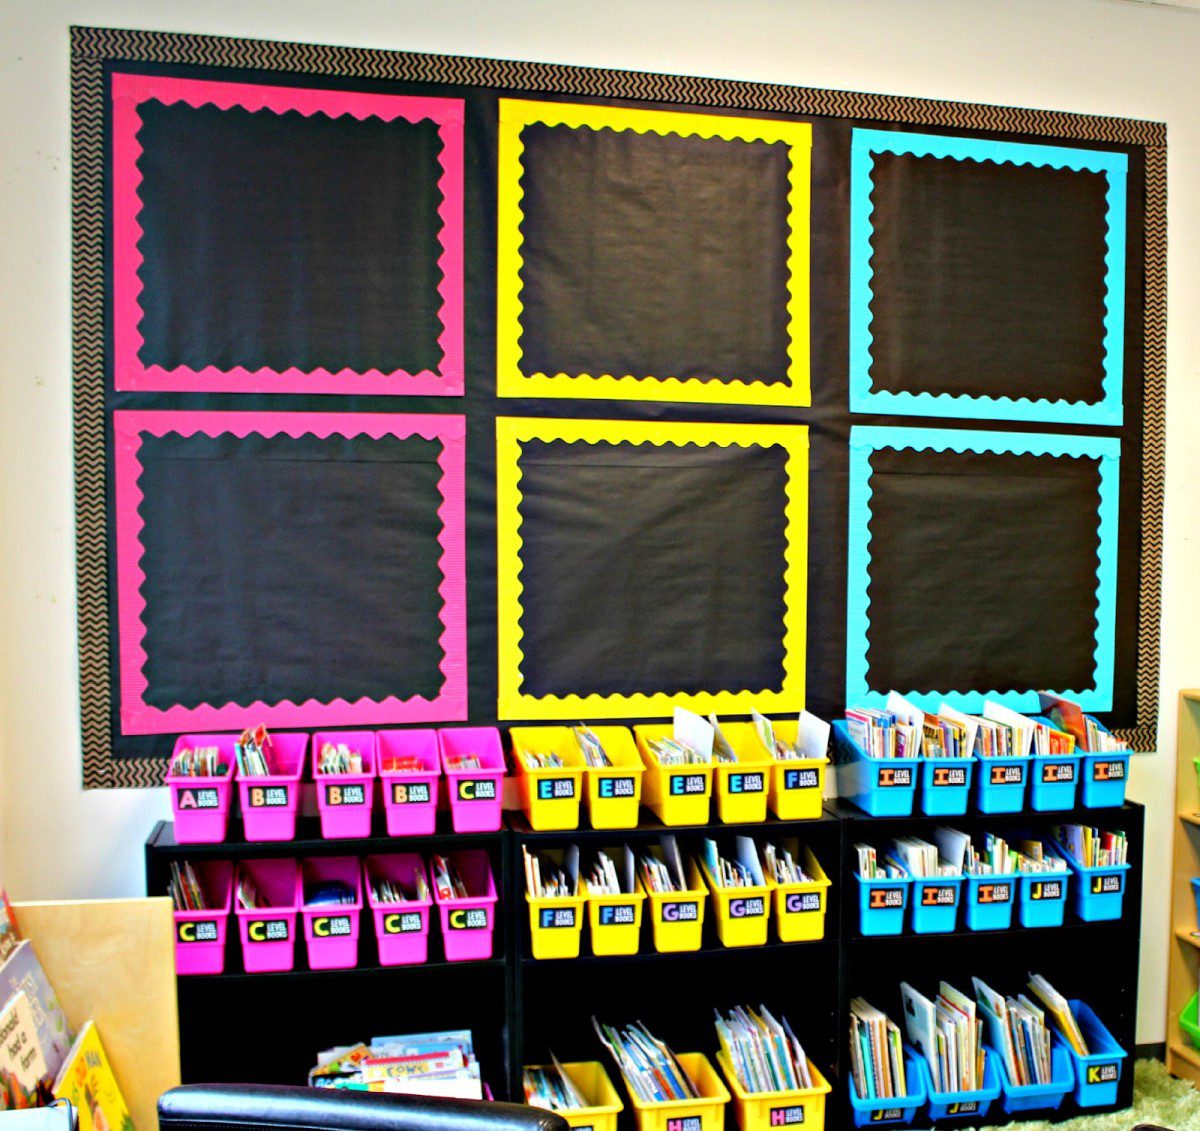
These six sections are color coded this way to bring calm and organization to the space. I have 6 anchor charts ready for our reader’s workshop training time. I plan to use this space to anchor our learning throughout the year.
I bought Maria’s library labels and got organized! As you can see I have the books organized, but still need to sit and label each and every individual book. I am considering hiring on some kids for this one.
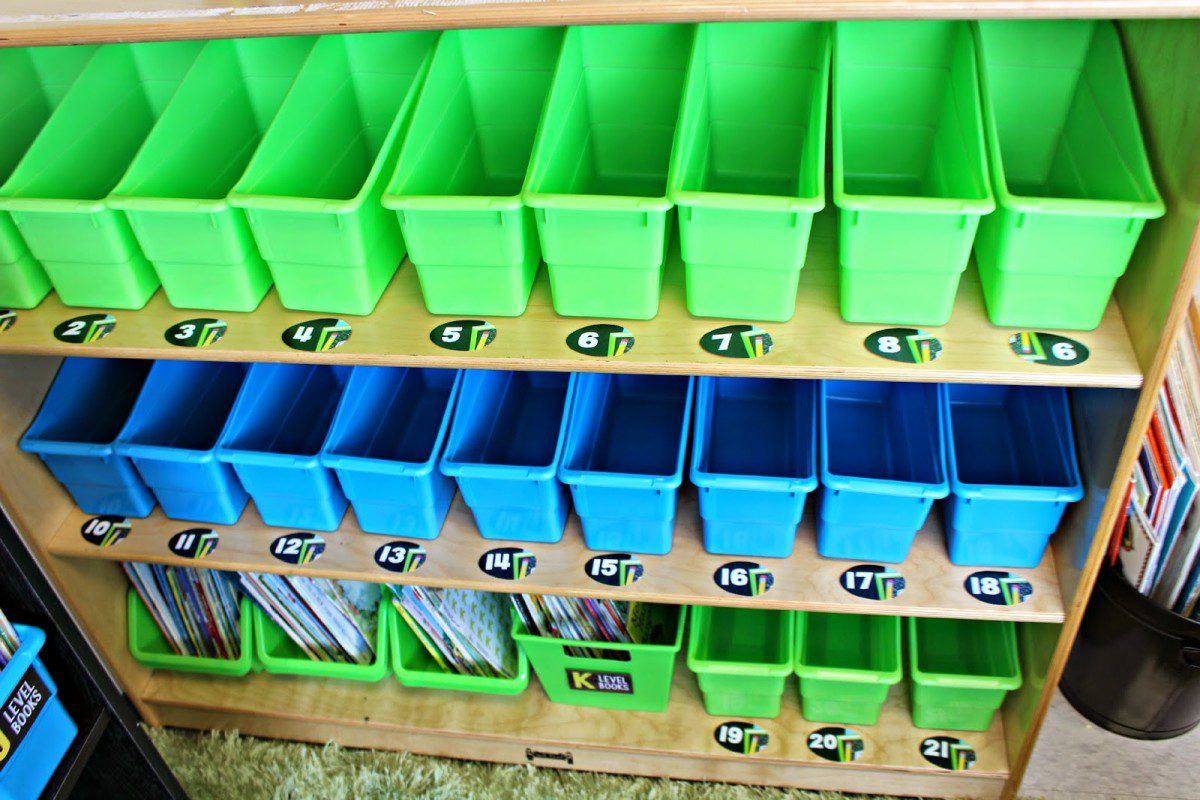
My students will keep their book boxes right here in the library when not with them around the room. I guess I better not get more than 21 students since I don’t have any more room. 😉
The labels came from Ladybug Teacher Files HERE.
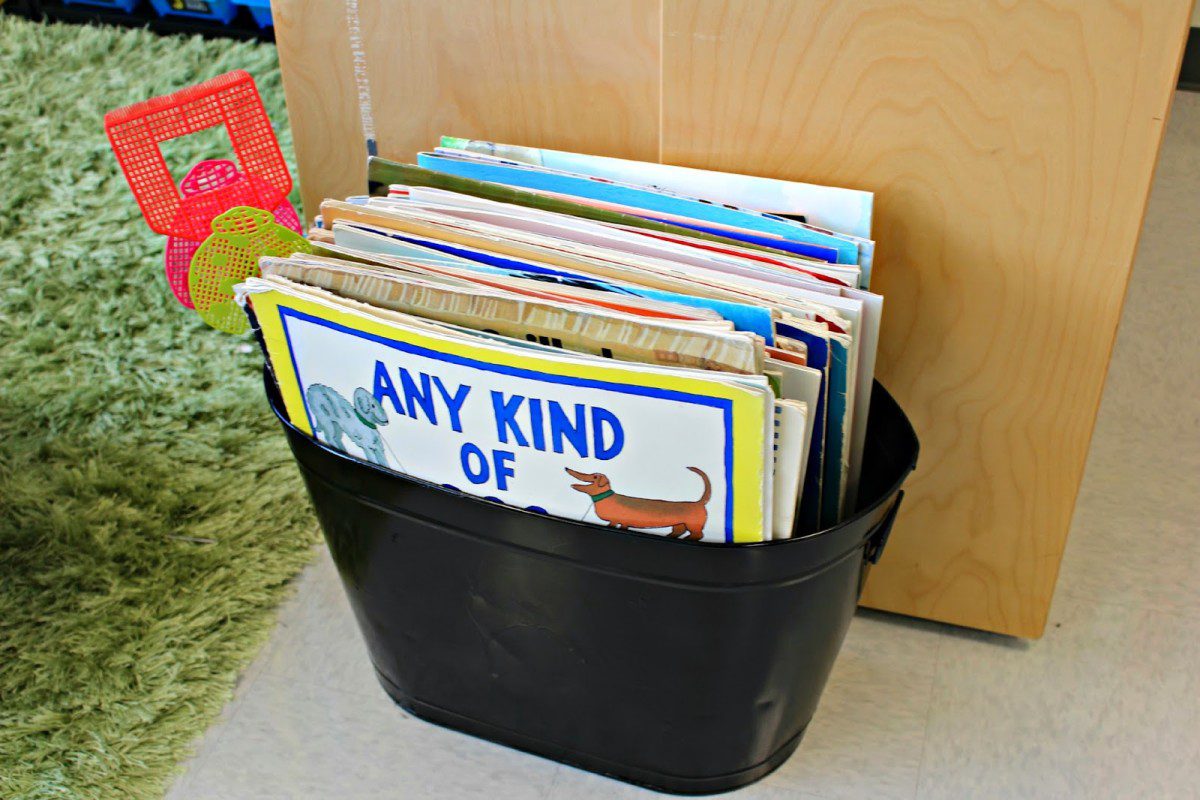
This is my beloved big book tub. It has been 3 colors over the years. I got it at Target in the garden section. It was royal blue metal. It was 15 dollars and I remember I did not have the money to splurge on it but I knew that I just had to do it. This was money well spent!

 Contact Us





Oh Reagan! this is like a completely different space! I love how you made bulletin board space! Makes me wish my entire room wasn't cinder blocks!!! It's lovely!!
I have cinderblock walls too….Hot glue and fabric work wonders! I have bulletin boards all over the place now!
Looks great! Where did you find your rug?
I bought a rug something like the black and white one at Wal-Mart!
I got it at AT HOME. It used to be called Garden Ridge
What size is your rug?
Wow! Your room is gorgeous! I would like to live there! Thanks for such a comprehensive tour. I am inspired!
Love, love, love everything in your room! Very organized! I especially love your black carpet!! Where did you get it?
Sarah
teachingiscolorful.blogspot.com
I got it at At Home
Wow!! Your room is amazing. So organized and neat. Thanks for sharing!! I have a long way to go after looking at this.
It feels so good to completely revamp every corner of the room. Your room looks great! I love every detail.
As always, your room is spectacular. I know your students are going to love learning in here. Have a great year, Reagan!
Wallis
Ms. Wilson’s Wolves
I love how organized your room is…and the colors are great! Your students will LOVE coming to school everyday!
My favorite classroom reveal on the internet!
Beautiful!! Makes me excited to get back into my classroom (they are cleaning it right now). You are so great about sharing where you got everything!
Nicole
Wow! Just wow! I taught first grade for over 15 years and my kids would have LOVED your room! So envious of all the computers and iPads! Have a wonderful year!
Debbie
K-4 Teaching Resources
Beautiful room!!! We are not able to get into our rooms until August 11th!!!!! Can't wait!
Love your leveled reading area. Where are the book bins from… I like the size of them.
They look like ice cube bins…I've seen others get them at Walmart cheep!
Really Good Stuff sells the book bins.
Love everything about your room!! I want to be in your class! Thanks for all of the inspiration!
Stephanie
Thanks for sharing your room with us. I love it and the colors. You have a great space. Good luck and keep us posted!
Really a beautiful space! The kids are going to feel very special there! Your technology looks amazing!
Gina
This is beautiful! I want to be in your classroom!!! 🙂 Maybe I need this theme when I go back into the classroom in the future. Good luck this year!
Meredith
Love it! The children are very lucky to be in your room! Have a great year!
Oh my gosh, your classroom is GORGEOUS! I love all of the black furniture against the white floors. And your library looks amazing! LOVE! Thank you so much for the shootout!
Maria
Love this room!! It looks amazing! You have done a great job on it! Thank you so much for sharing!
Reagan, it looks fabulous! How exciting for all your firsties to come into such a beautifully organized room! They are some lucky little ones:)
Squirrels
Go Nutty with Me!
The balance of those colors throughout the room does indeed make it calm & organized! Super cute! I'd live to know where the little blue table is from and the leather chairs. Have a great school year!
Your room looks amazing! I love the colors. Your students are lucky and I am sure they will love it. Thank you for sharing your room with us.
I love the simple clean lines! The black and brights are happy and cheerful. Your room is calming and cheerful at the same time. So many ideas I can take away to my own room. Thanks you for giving us a peek.
Terri Izatt
KinderKapers
Love the way it looks!
Reagan, this looks amazing! So organized and colorful but not distracting. Where did you get the labels you used for your student book bins? I love them.
Reagan, I always look so forward to your big reveal! It gives me so many great ideas as I work to pull my own classroom together. Sending you and your new Firsties so much love as you start the new year.
Your room looks beautiful! I love the colors, how organized it it, and all your labels! Thanks for sharing!
OMG!! LOVE your room!!! Very colorful, well organized, ready for students to learn,have fun and teach! Thank you so much for the freebies and sharing your ideas with us all! Think i'm going to snag a few ideas and use the freebies to add some Tunstall's flair to my own classroom! Happy Back To School<3!!!!
I love how crisp and clean your room is! I also start with a lot of bare space and add on with charts made in class. Looking at your pics makes me excited to get back to work this week and work on my own space. Thanks for sharing pics of your space!
Marlene
I Heart Teaching Elementary
I absolutely love the Writing Center supply buckets hanging from the magnetic towel rod, as well as all of the blank bulletin board space waiting for student work and group-made anchor charts! What an inspiring, organizing, and welcoming space!
Thank you for sharing!
~Jennifer
Stories and Songs in Second
Wow! I really love, love the neat and "clean" look of your color scheme. Beautiful. I appreciate the walk through and resource notes. Feeling inspired…
Love your room. So calming and organized. Thanks for sharing.
Your classroom looks amazing! I love how you were able to get everything so streamlined and clean looking! The kids are sure to love it.
🙂 Kaitlyn
Smiles and Sunshine
GORGEOUS!!! Your students are going to be so excited to come and learn everyday in a beautiful room like that! I have some serious envy about your clean white tile, sleek black chairs, and walls that aren't cinderblocks. Beautiful! Thank you for sharing!
Erin
Short and Sassy Teacher
Garden Ridge is my favorite. I still call it Garden Ridge Pottery. Great childhood shopping memories with my mom! Don't live near one now (sniff, sniff) but definitely visit when I'm home!
Room is lovely. Have a great year!!
Stephanie
Lunch, Snacks, and Recess
Your room looks great!! I wish my classroom was that large! 🙂
Your room looks so inviting. Love the organization and colors! Happy new school year!
-Lovely Nina
I am SO in love with your classroom! I feel like you make it completely different every year and I love all the inspiration!!
Shelby
First Time Firstie
Love! Love! Love! Thank you for sharing. Your room is so big compared to mine but it still gave me some good ideas. Where did you get the stands you use for holding the Table numbers, centers, etc? Love that idea!
Thanks for all your fabulous sharing!
I love the way your room looks!! Where did you get your tubs?
I was just thinking, ooh, it's August 1, time to start in my room! And here you are finished. As always I am impressed by your detail and organization. Congratulations on another year of 1st graders, and I am so glad to hear you still have smaller class sizes out there. Everyone who spends time in your room will be calm and focused. Have a great start of the new year!
Your room looks awesome!! I hope I can get mine up and going quickly. You have inspired me.. Have a great year.
Love your room set up. Where did you get your easel from?
[email protected]
Wow, your room looks amazing!! It's so organized and colorful. I love the way it is setup, thanks for sharing pictures of your classroom. Have a great school year!!:)
Alma
Mrs. Solis Teaching Treasures
Gorgeous!!! Your kids will love this room!
Tell me about the hula hoop on your board…….. 🙂
They are used for building number sense. It's a great teacher tool to use with student number bracelets. You can learn more about them at mathcoachscorner.blogspot.com. Her blog is a great site. Check it out.
Amazing! I am in awe of how thoroughly you have thought through every single detail. Your students are going to thrive in this classroom. Have a great year! 🙂
– Kelly 🙂
Mrs. Campbell's Kids
Because I know you haven't heard it enough..hehe.. your room looks GREAT! So inspiring! I cannot wait to start working on mine for next year!
Erin
Creating & Teaching
Your room looks fantastic! Love the black with the bright colors. I saw your writing center bar from your IKEA trip earlier this summer and I had to have it for mine, too. Your library is so comfy and inviting! Love the space for the anchor charts. Lots of fantastic ideas, thanks so much for sharing.
~Laura
Luv My Kinders
Your room is absolutely gorgeous. Love it. Thanks so much for sharing and taking time to explain everything.
ilive2learnilove2grow
Absolutely breathtaking!
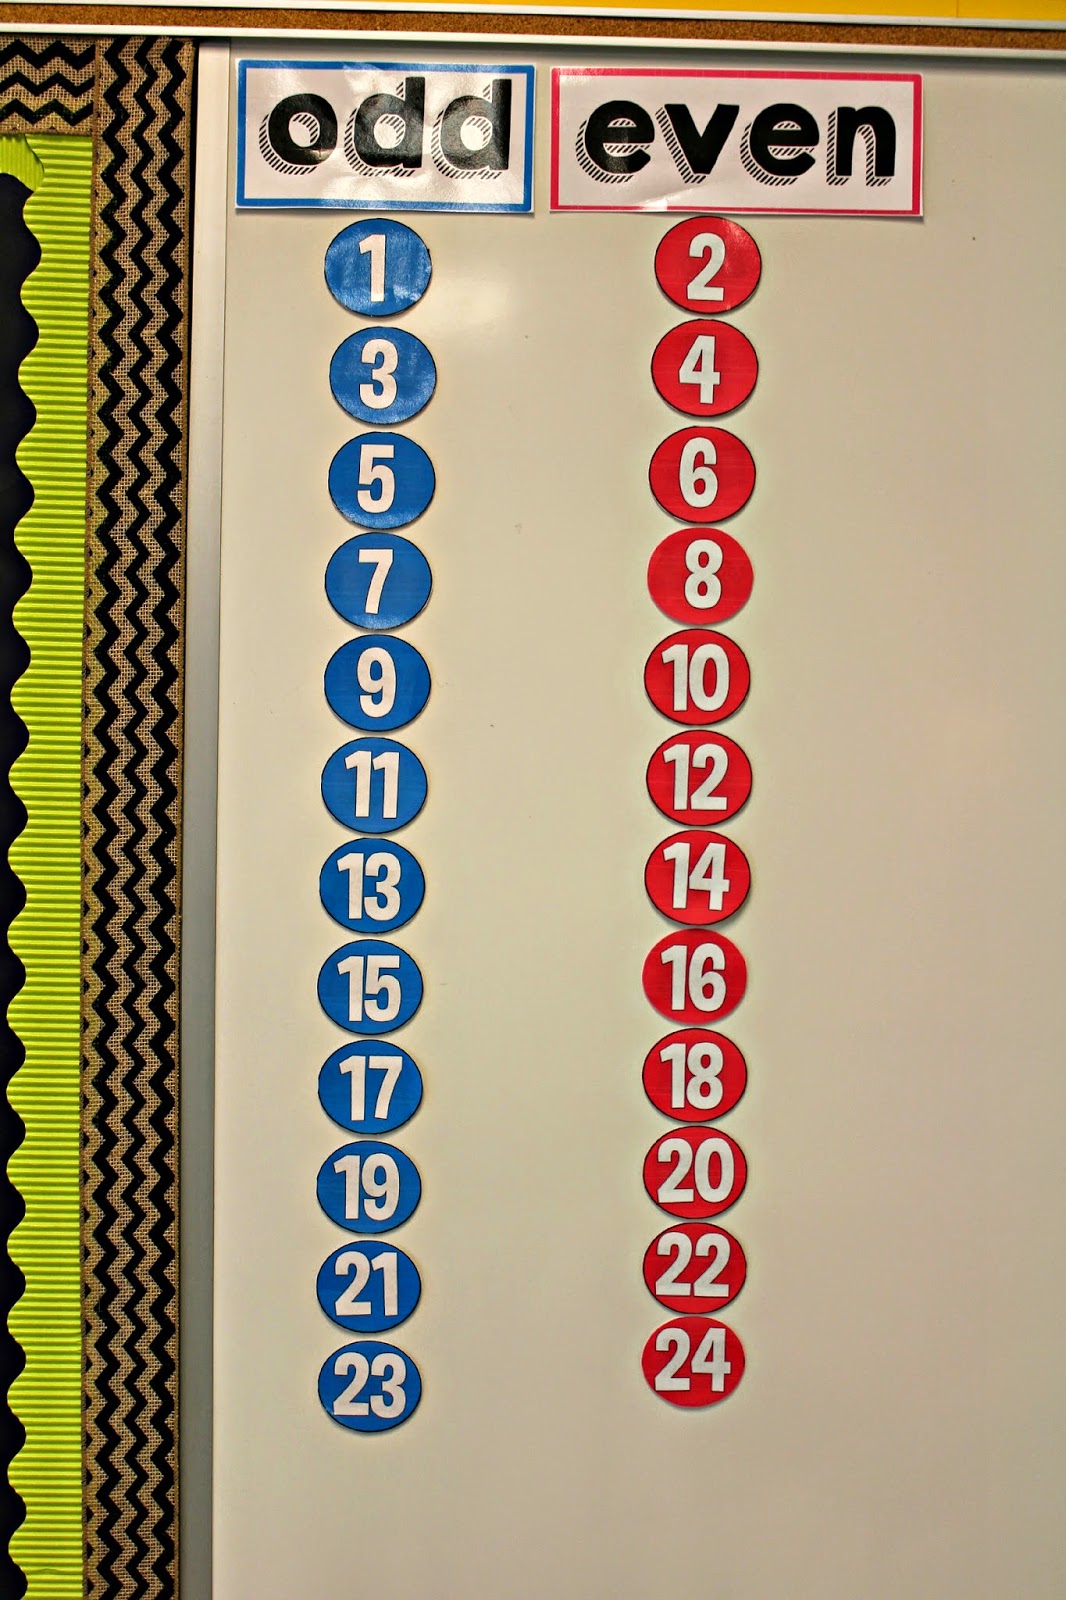
Your room looks so organized and cute! I am wondering, what are the odd/even numbers on the board for? Just for math lessons or are they student numbers?
They are part of the Reference Wall: information students need to refer to daily.
The whiteboard there with the odd and even numbers is going to be daily data. we will use those numbers for some interactive activities. I plan to blog more about this as we do it in class! I will also use them for student numbers and voting. My girls will be even and my boys will be odd sometimes. Just one more way to get them to remember the difference! 🙂
Haha! I love it…boys ARE odd! Well, the grown up ones, anyway!
It looks fabulous! I love the chairs your school has! Is your school newer? It looks very new. 🙂
My school is 5 years old. 🙂
WOW!! Love, love, love. So different from your last room, but still so neat and organized. Love it! Nice work 🙂 Your students will have a very productive year in that room.
Kaitlin
K&C Love Grade 3
Can I have your classroom?!?! I love the clean and organized look of it!
Jana J
Your room looks AMAZING!! You have done such a wonderful job creating a safe, bright, and happy learning space for your firsties!! Kudos on the awesome job!!! 🙂 I'm going through an Extreme Classroom Makeover and it's stressing me out, but your gorgeous finished product gives me hope!! 🙂 Have a great school year!!
Warmest Wishes, Erin from Kindergarten Dragons
This is a masterpiece! I love the simplicity and organization! I think I may need to come and spend a day with you this school year!!!
Enjoy what is left of your summer break!
Katie
Let's make a date!!!
Ahhhhh!!! I LOVE IT!!!! You will laugh when you see parts of my room–I have almost the same rug and I am reorganizing my bright bins so they are in groups by color too! Reagan, your eye for design is insane–you have created such gorgeous classrooms over the years and I always look forward to seeing what you have done next. I am beyond thrilled that you like the schedule signs 🙂 🙂 🙂 Best wishes for the happiest of school years!!!!
Awesome room! Love your organization! Can you please tell me where you got the book boxes? Thank you!
Really Good Stuff online store
WOW!!! What a beautiful classroom. Your students will enjoy coming everyday to such a calm and inviting room.
Regards,
Aretha
Just beautiful. Your room looks HUGE! I wish we had built ins like you do….I can do so much with a room like that! 🙂 I am pleased with my room but still looking at tweaking it some! 🙂
Wow I love your classroom! Thank you for sharing your classroom labels!
Anyone know where the colorful book boxes (library and student) are from?
They are from really good stuff.
Where is your desk from? Love the look!!!
The black hutch looking thing at the front came from the same store as the rug. The library chairs also came from there. It is a store called Garden Ridge.
Amazing!! I am so jealous of that room and all the bright light and space and storage and cute colors and organization and EVERYTHING!
You already know how I feel about your room!! Just gorgeous!!
❤Teri
A Cupcake for the Teacher
You could become an organizational designer!!! Fabulous! 😉
Literacy Loving Gals
Your classroom in fabulous! I'm so envious! My school is over 100 years old — and my desks and chairs are from the 70's, lol. But, I make it work 🙂
Simply stunning!!! you have me reconsidering now 🙂
Karen
I love the black as your background color & that makes everything else pop. Hmm maybe I can use this as color scheme for next year. Great job, I love how clean & organized everything is. 🙂
I'm not a teacher anymore but every once in awhile I still see a blog post about teaching that catches my eye and your post certainly did that. I had to check out all your pics and in a word…wow! Your.classroom.is.awesome. The design, layout, organization, colors, everything. You're the teacher I would have visited on my off periods to see if your skills would rub off on me! 🙂 I hope you have a great school year and I'm sure the kiddos will love walking in to their new classroom on the first day and seeing what you've created for them.
Your room is amazing! I have been thinking of going with black & bright all summer, and you've definitely convinced me! I cannot get over the space and resources you have. My itty bitty room is 20×30 feet, no computers, no iPads, and almost every wall is either a door, cubbies, cabinets, or an escape window (so very little wall space). I love how you turned your walls and cabinets into usable bulletin board spaces – I'm on it! Thanks for all the inspiration!
Thank you for sharing your classroom. I love how you have set it up. Couldn't help but notice the lion on your easel – do you teach Imagine It
Looks AMAZING! 🙂
Wow! I don't know if it's your pictures or if it's true size, but your room looks HUGE!! Those windows are super nice, too. I love all your light.
I am super jealous of all of your computers and your 5 iPads!! You are so lucky! I have 3 older iMacs,
1 O-L-D MacBook Pro, and one of my old iMacs for my kids to use, and I thought that was pretty good! Ha Ha!!
Your room looks so AMAZING! Will you come do mine? 😉
I think I am inspired to step it up in my room now.
I hope you have a wonderful year.
Jamie
Thrills in Third Grade
I love your room and the calming colors. For your students' book boxes, is the number "9" upside down?
LOVE everything your room is amazing. Where did you get your center sign holders from?
How did you ever replace all of your containers all at one time? It must have cost a fortune. I just don't have that kind of money to spend on my room. I also wonder where are all the other teachers with mismatched furniture and garage sale finds.
Love your classroom!! How were you able to get the rod with the cups to stick to the writing center wall?
Simply beautiful! I love it! I can't wait to get into my room and get busy!!
Shibahn
Mrs. Landry's Land of Learning
Love, love your room!!! Did you make your word wall letters or purchase them?
Wow! I simply adore your room. I'm a middle school teacher and had no idea it was a first grade classroom. This kind of room/decor is so classic it could be used for any grade. I love the combination of black and colors, and also love how it's not over the top colorful. The furniture in your room is also beautiful! Did you purchase it all this year or are they pieces you have collected over the years? Thank you for the inspiration!!
Your room is absolutely beautiful! I love the bright colors and clean organization. Do you have an email I could contact you through? I wanted to see about sharing your site with new teachers in our district. Thank you!
Love your classroom! The colors are gorgeous, and it is so modern and soothing! Love everything about it! Question….I'm new to teaching 4K this year. What is the round thing (looks like a hula hoop with cut pool noodles on it) hanging from your board, and what is it used for? Thanks for sharing!
I absolutely love your room!! I completely agree that the clean look will lend itself to an organized and calm year. Great job!! I am also a huge fan of Ikea, BTW!! 🙂
Where did you find the full page sticker alphabet letters for your class library? Thanks!
WOW, your room looks beautiful!!
Jenn
Finally in First
I love your book bins! Where did you find those? I need some new ones, and I love the blue! 🙂
Thanks!
Erica
Growing Little Minds
Beautiful! What is stored in the boxes labeled 1-10?
Gorgeous!!! What awesome job! Have a great school year 🙂
Love your beautiful classroom! Thanks for the tour and inspiration.
I, too, would like to know about the hula hoop and "beads" hanging on your "reference" wall.
Have a great year!
Lisa in CO
Inspired!
Where did you get the alphabet /manuscript? Do you have a desk for yourself in your classroom?
I thisnk this is what you are looking for… It is located in her Chalky Classroom Garden Decor. You can find it at her TPT store ~ http://www.teacherspayteachers.com/Product/Chalky-Classroom-Garden-Decor-730842
THANKS!!
I may have missed this one so I apologize if you have answered the question up-teen times already… Your black easel/white marker board… Where did you find that piece?
Your room is beautiful! It's exactly how I hope mine turns out: pretty, but still neat and organized. LOVE!
Wow! I am inspired! I am looking for the MATCHING CHEVRON COMPUTER BACKGROUND FREEBIE and I haven't located a download for it. Can you direct me to where it is?
I need to get off your blog and get to work in my room! If you could maybe email me the download link ?
[email protected]
Thanks so much!
I think this is what you are looking for… http://www.teacherspayteachers.com/Product/Editable-Computer-Desktop-Backgrounds-316201
Ah-MAY-zing! I’m sharing this post on my #TrendingInMath feature tomorrow!
Donna
Math Coach’s Corner
Love your room! I started using book wizard to organize my library by GRL. I have found several books that don't have a level What did you do with those books? Thanks!
Can you tell me how you utilize the hula hoop with pool noodles? Your room looks amazing!
They are used for building number sense. It's a great teacher tool to use with student number bracelets. You can learn more about them at mathcoachscorner.blogspot.com. Her blog is a great site. Check it out.
LOVE your room! I was wondering where you got all of your printables around the room… like all the numbers, your alphabet, number cards hanging above board, etc. 🙂 thank you!! [email protected]
I found them! Thanks 🙂
Where did you find them? I am looking for them too 🙂
Kirsten
I love how organized and clean your room is this year!!! It looks amazing! Great job!
Stacia
I didn't want to look through all the comments to see if someone else posted this, but where you have your student's numbers for their own file holder, I believe your number 9 is upside down! Just wanted to let you know! 🙂 I love your room so much! I now have a lot more ideas for my first year 🙂
Thank you!!
What are you going to put in the anchor charts above the library?
Wow! Very inspiring! I am also going with the neon and black theme, but my "creation" is not half as lovely as yours. Thank you for the great ideas and wonderful pictures!
Where did you get your neon border?
Where did you find the letter-stickers to label the books?
They are part of the library label package on TpT. Here is the link http://www.teacherspayteachers.com/Product/Classroom-Library-Labels-EDITABLE-for-Bins-Books-Black-Series-1231026
Did you make the cheerful green speech bubbles?
I LOVE it all!!! Thank you so much for such a wonderful classroom tour – I have gotten so many ideas from this post. I know everyone is asking you questions, but I don't think anyone has asked you yet where you got your objective card pocket holders?
~Heather
Loose Shoelaces
Love Love LOVE your classroom!
I LOVE YOUR CLASSROOM! I wish I had as much storage as you do! Where do you get all of your baskets from?
Miss Stetson
http://misstetsonclassroom.blogspot.com
This is the best classroom I have ever seen!! It just kept getting better and better. I love how the black lets all the bright colors pop. So many wonderful ideas here! THANK YOU for sharing!!!
Can I find any of the MonSTAR stuff on TPT?? Thank you!
Did you have to buy all those book bins with your own money or does your school pay for them?
LOVE your room! Thanks for sharing!
Your classroom is beautiful and inspirational!! I taught 3rd grade for 9 years and now this will be my second year in first grade. I noticed you had a LOT of first grade leveled books in your library. Any good ideas on where you found them all? I can't seem to find many level A – J books. Mostly I find books K – O. Thanks in advance,
Heather
Kickin' It With Class
I LOVE your classroom! I would love to know what the Ikea organizer is that you use for your writing center! Definitely want to purchase this for my future classroom 🙂
I love your room!!! Where did you get the number and shape cards for your reference wall? I am looking for some for my classroom.
Your classroom is adorable! So clean, bright and organized!
Julie Teaching Blog | Green Apple Lessons
Hi,
I'm a french teacher and i'm so admiring! Your classroom is very cute, I want to have the same!!!
Thank you to show us your work, and sorry for my english wich is not so good I want it to!
Your classroom is GORGEOUS!
You have definitely inspired me 🙂
Your new follower from Brisbane, Australia.
I love your classroom. I wish more teachers could do this. My oldest is in Kindergarten and when I go to his class to help or visit my OCD kicks in and I have a hard time concentrating because I want to organize everything, but it seems to work for his teacher.
Wow what an amazing room!!
What have you used as those wonderful colourful borders on the pin up boards?
Beautiful room! I wish I worked for a school system that would give teachers some money each year to purchase some of the accessories that you've found. I spend a fortune every year gradually buying book bins, rugs, storage shelves, etc. a little at a time, and my room is nowhere close to what you have created. I'm sure you probably had to buy everything yourself, too, as most teachers do. Just the matching book bins alone must have cost you a small fortune! The inviting, welcoming, calm, organized environment has GOT to motivate your students to work hard, do their best, and learn. And, wow… so lucky to have all that technology right at your finger tips! Just amazing! I have to confess that I'm a little envious! Good for you!
I love your room–so clean, organized and bright! Question: I was wondering where you found the bright, colorful borders (pink, yellow, etc.) above your library book boxes? I'm thinking I'd like to do the same kind of idea for a center rotation board.
Thank you!!
Do you recall where you got your sitting chairs and rug in your library? I love them.
Do you need to buy all stuff yourself? I teach in a high school in England – classrooms just don't look like that here because no-one uses that much of their own money. And if you had all wonderful stationery, the students would just borrow it, never return it or just take it. Your classroom looks wonderful.
Your room is awesome!! Where did you get the email ten frames and shape posters that are above your white board? Also is that a hula hoop on your white board? What do you use that for? Thanks
Did she ever mention where she got the easel from?
Love this! Where did you get your clear plastic pockets under your "Today" arrow?
Where did you get your border? This is my dream room!
Your space is amazing! If I had the money, I'd buy everything in it. It looks so comfy and inviting. It's just what I'd picture my ideal room looking like. Slowly but surely, I'll get little by little on my way! Looks…WOW!
OMG!!! Your classroom is amazing!!!! I've been teaching 27 years and I've never seen such a lovely classroom space. You have such awesome organization, flow, and aesthetics. I would LOVE to work in a space like this!!! Thank you for sharing-there are so many great ideas.
Hi Reagan! I am so in love with your classroom and I'm actually not sure if I've posted on this post already. But I was wondering if you'd share a picture of your library area now with your reader's workshop anchor charts, I'm just curious as to how that looks. Do you leave these same anchor charts up all year? Our principal is so into us changing everything as the year progresses; but since these are something that the students could constantly refer to, I'm wondering if he'd be okay with them up all year. Sorry for rambling.
Can you tell me the dimensions of your classroom? I would love to incorporate some of your ideas
Looks great! Where did you find the black hundreds chart?
What did you use the hula hoop on the board for?
I can appreciate the time and money you have spent on this room. Quite remarkable! I would just appreciate desks that match in colour and size.
Hi. Where can I find the alphabet cards you have on your reference wall? Thanks!
I just ordered the charging station "thingy" you use for your ipad station. Do you put the cords into a basket? Your room is so so so so so awesome!
What do you put in your black pocket folders? Also, I love how you do not have a traditional teacher's desk and have freed up more space.
I absolutely love your room! Lots of inspiration. 🙂
Hi! Where did you get those green tubs that you use to organize your math manipulatives? I have a shelf like that in my room, and want to do that for next year. Please, and thank you 🙂
I am a first-year classroom teacher, so I'm constantly looking for tips on good organization.What do you use the file folder pocket chart for?
Waoo… everything in your room! Amazing
Free charge coupon
I love your rug! I guess AtHome does not have an online store. I want to make a trip to a store if I could find out the price on it. It would be greatly appreciated!
I went to At Home today to find out the price of this rug. I saw a similar one to Reagan's rug (same style diff color) for $199 it was a 10'x12', I think… I know it was bigger than 8×10. That's cheaper than most classroom carpets!
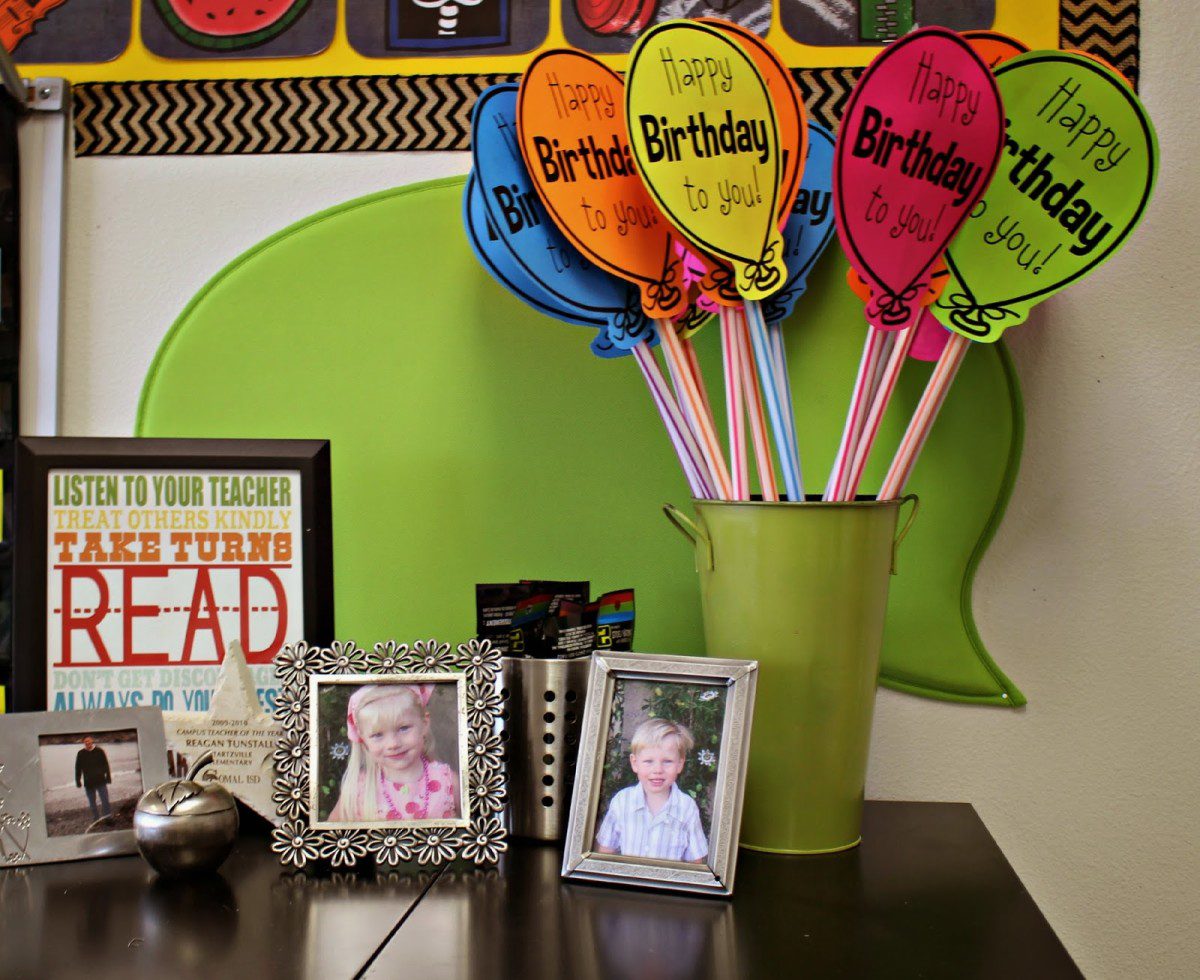
Your classroom is my dream classroom!!! I aspire to one day have mine look similar. 🙂 Where can I find the AMAZING center/station labels you have in the table place holders and the birthday balloon templates?
What a bright shiny room! Please come decorate mine!!! What do you do with the hula hoop that hangs on the dry-erase board?
She uses it for a number of the day segment. If you look on her blog, she has a post that explains it all! 🙂
Where do you purchase your bright borders from?
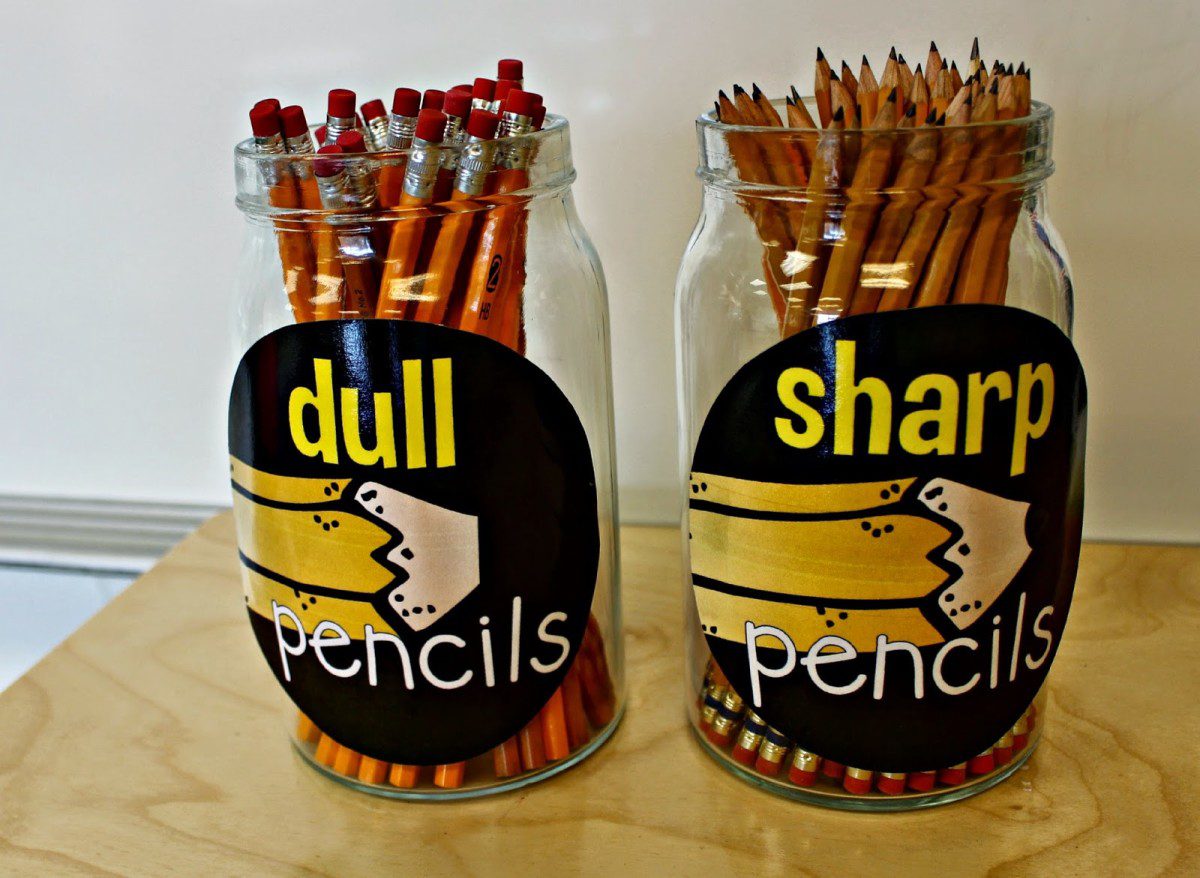
Love this! Where can I find your pencil labels?
If you like her Facebook page, it's a document under her freebie tab 🙂 I believe it's under the Word Wall file. 🙂 click until you find it!
I love this so so much! I was wondering where did you find your tan and black chevron border? I am looking to decorate my room soon! I can only find black and white.
Thanks!
Have you found it yet? I am looking for this too!
Your room looks amazing!!!! Where did you get your book bins from?? I have been searching the internet for neon book bins like that and I can't find them anywhere 🙁
They are from Really Good Stuff! 🙂
I really like the way your classroom is organized! I was wondering where you found the plastic sleeves you have under the "Today" arrow on the wall. I want to do something similar and would love to get some of those sleeves. Thanks for your help!
Can you tell me where you got the bookshelves that your leveled readers are on? Your room is beautiful. Thank you!
Thanks to share such an amazing post.I am ready to spend my vacations in Kashmir!
Kashmir tour
Where did you purchase your book bins? I cant seem to find a place where I can buy book bins in one color.
They are from Really Good Stuff! They have solid colors in sets of 12. I purchase their lime green ones and I LOVE them! Good luck!
Hi this is very useful post for everyone. Thank you so much this post. Just about everything looks good displayed. Domestic tour packages
Where did you get the Take chances, get messy, make mistakes banner?
Nice Post!
Where did you get your alphabet letters from on the wall? And the dull/sharp pencil signs?
Kirsten
Wow!! What an inspiration you are!! Where did the "sharp" & "dull" pencil signs come from?
What are the multi color folders in the black pocket chart used for? Thanks!
Can you please share where you got the neon borders? I have been looking everywhere and can't find them 🙁
Where did you get your ipad cases? I teach special education and I am about to get my class set of ipads and I would like to find some very indestructible ipad cases. Those look pretty substantial!
Absolutely stunning classroom and set up! You definitely have an eye for classroom design! Very inspiring! I know how much time and effort went in to organizing, printing, laminating, setting up. Congratulations!
Are you rich?
Very inspiring! I am especially enamored of your reading area. I've been looking like crazy to find affordable, comfortable chairs for my reading area, and have had no luck. Where did you get your chair?
Wow!
These classrooms look awesome! I have really enjoyed your Articles and images. Here , i am referring a good travel agency that manage sound tours to many historical places.
Download New Windows 7 Keygen 2015 Free Working Here:
http://dlhack.com/download/windows-7-keygen
http://dlhack.com/download/windows-7-keygen
http://dlhack.com/download/windows-7-keygen
http://dlhack.com/download/windows-7-keygen
http://dlhack.com/download/windows-7-keygen
http://dlhack.com/download/windows-7-keygen
http://dlhack.com/download/windows-7-keygen
http://dlhack.com/download/windows-7-keygen
http://dlhack.com/download/windows-7-keygen
http://dlhack.com/download/windows-7-keygen
http://dlhack.com/download/windows-7-keygen
Nice ..Thanx for sharing….
Stone supplier
Manufacturer of sandstone
Stone in India
Exporter of sandstone
Stone in india
Agra red sandstone
Dholpur Beige sandstone
Katni Grey sandstone
Katni yellow Sandstone
Lalitpur Grey sandstone
Lalitpur Yellow Sandstone
Sagar Black sandstone
Fossil Mint Sandstone
Modak Pink Sandstone
Yellow Sandstone/stone
Mosaic Tiles in India
Sandstone Articles
Granites in India
Shree Ganesh stones
Kandla Grey Sandstone
Bijolia Sandstone
Kota green stone
Kota Brown
Stones in Rajasthan
Stones in Madhya Pradesh
Mint stone in india
This was an amazing classroom!
Download This Software + Crack/Serial Free Working Here:
http://dlhack.com/download/full-software-files-143
http://dlhack.com/download/full-software-files-143
http://dlhack.com/download/full-software-files-143
http://dlhack.com/download/full-software-files-143
http://dlhack.com/download/full-software-files-143
http://dlhack.com/download/full-software-files-143
http://dlhack.com/download/full-software-files-143
http://dlhack.com/download/full-software-files-143
http://dlhack.com/download/full-software-files-143
http://dlhack.com/download/full-software-files-143
Excellent Greg. Good, practical stuff. I just floated your article around my network. Keep up the good work.
wall to wall carpet supplier in delhi
I love both of your classroom reveals! Which classroom environment, do you feel, was more cohesive to the students learning? The classroom with warmer colors like a home, or the bright, crisp colors?
Gorgeous! What is the hoop on your whiteboard for? with the blue and green things on it? looks interesting 🙂
Where can I find your ipad holder? For some reason I can’t get to your linked page.
Thanks!
Where did you get your chairs for the reading area?
I got them at a store called at home. Target has similar ones. They are smaller than a normal chair. Perfect for kids!
Where can I find the circles that you have on the board for the subjects? (Math, Science, Social Studies, ect.)
Those are from Ladybug Teacher Files
WOW~ do you travel to set up other classrooms!! =) Love it!
Love your classroom! So nice and neat 🙂 Are the black bulletin boards made with fabric or bulletin board paper? How do you hang your anchor charts on them?
Paper and staples. 🙂
I like how you have the credenza instead of a teacher desk! Where’d you find it? Any tips for parting with a full on desk!!?!
So adorable! Where did you get your easel?
Wonderful job! I wondered what the 6 anchors are you use in your library?
Thanks!
Ok Reagan, I am a teacher on a shoestring budget moving not only schools but states! Where can I get cute armchairs like you have…on a budget? I have also been searching high and low for recycled classroom furniture places and I have come up empty-handed. Any suggestions?
I got them at a store called AT HOME. I think target also carries them too. They come with ottomans. so cute!
Do you have a link to the ikea writing supply rack? So cute!
Hi!!!
I absolutely love your classroom. Where did you get the yellow buckets and black bin storage things that hand on the rod? I have been looking for things like this for my classroom. I would greatly appreciate your help.
Thanks for sharing such a useful information about Filing Cabinet With 2 Drawers
I love your classroom! did youW get the center labels?
*Where did you get your center labels?
Love your room!! I’m looking for new bookcases to streamline my library. Can you tell me where yours are from please?
Thank you!
Hi Danielle! These were provided by my school, but IKEA has great quality, inexpensive ones!! 🙂
Perdere 5 kg in tre mesi
stihi.ru
Where did you get your easel from???
Where is the easel from??
I can’t find you Facebook freebie file. Where can I find the word wall, number line, and label file you have??
I am literally in awe! Your classroom is beautiful and organized so well. I will be using many of these ideas as I set up my classroom this year! Thank you so much for such a detailed tour!
I really liked your way of making a comfortable teaching room. Thank you for sharing this post, Which is very useful for everyone. Keep giving updates.
Hi! I love your classroom decorations! It inspired me to create an exciting and welcoming classroom environment for my own pupils. How did you do those curve borders for your bulletin boards? Or was it ready made?
HARİKA MÜKEMMEL BİR SIINIF …..
Where did you get your book bins from that are in your leveled book area?
Hi! What are the sizes/brands of the black shelves with the book bins and then that great light wood shelf with the green bins?? I need to get a better shelf for storage and those fit the perfect amount.
Where did you find your round math bins?
I wish I had the money and set up a school like yours
The embedded link to the Ipad stand doesn’t work. Where did you get that?
nice post..
can you tell me how you use the hoola hoop with the noodle circles on your calendar board?
Nice informative post
The articlehttps://www.citybeat.com/cannabis/best-cbd-gummies-for-anxiety-most-popular-and-trusted-brands-in-2024-17705729 reviews the excel CBD Gummies for Anxiety to hand this year. It highlights four standout products, emphasizing their potency, flavor, and all-inclusive consumer satisfaction. The founder effectively balances full descriptions with user testimonials, giving readers a extensive awareness of each option. The counting of dosage guidelines and cover tips more distant enhances its value. This well-researched proportion is an a-one resource for the sake of exploring CBD gummies for Anxiety in 2024.